micromobility - Bikes, scooters, boards: Whatever floats your goat, this is micromobility

2806 readers
107 users here now

Ebikes, bicycles, scooters, skateboards, longboards, eboards, motorcycles, skates, unicycles, heelies, or an office chair: Whatever floats your goat, this is all things micromobility!

"Transportation using lightweight vehicles such as bicycles or scooters, especially electric ones that may be borrowed as part of a self-service rental program in which people rent vehicles for short-term use within a town or city.

micromobility is seen as a potential solution to moving people more efficiently around cities"

Feel free to also check out

!utilitycycling@slrpnk.net

!bikewrench@lemmy.world

!bikecommuting@lemmy.world

!bikepacking@lemmy.world

!electricbikes@lemmy.world

!bicycle_touring@lemmy.world

!notjustbikes@feddit.nl

!longboard@lemmy.world

It's a little sad that we need to actually say this, but:

Don't be an asshole or you will be permanently banned.

Respectful debate is totally OK, criticizing a product is fine, but being verbally abusive will not be tolerated.

Focus on discussing the idea, not attacking the person.

founded 2 years ago
MODERATORS
1
2


Trek looks to be field-testing a new gravel bike

3


The 2025 Troy Carbon gets more travel, sharper geometry and a thoroughly modern frame update

4
5
6
7
8
9
10
11
12
13


Specialized vs BMC vs Lauf vs Stinner vs Devinci. Things got weird.

Welcome to Velo’s first Field Test. We put some of the best and most interesting all-road bikes head to head to find our favorites, and we’re bringing you along for the ride with Alvin, Levy, Will, and Josh.

Fans of our mountain bike sister-site Pinkbike will recognize the Field Test format, and in this three-episode series, all-road bikes are in the hot seat.

So, before Big Bike™ gave them a rebrand, these bikes were known by another name: endurance. But the gist of the category, hasn’t changed: a more upright fit for all-day comfort; bigger tire clearance, in some cases approaching gravel territory of 40mm, to ride on more terrain; and more compliant frames to absorb road chatter. An important test ride discussion. Or maybe it was about donuts? (Photo: Jason Lucas)

Velo editors Alvin Holbrook, Josh Ross, and Will Tracy met up with recovering mountain biker and current UFO expert Mike Levy, and headed to one of the most gorgeous riding spots in the world, Marin County, California.

We did a ton of back-to-back-to-back testing on each bike, as well as putting them through some questionable bro-scientific tests to vet them head-to-head. Finally, we chose our favorites and capped it all off with a 100-mile ride to Point Reyes to see just how comfortable they are on a big day. Did we mention it’s really pretty out here? (Photo: Jason Lucas) The Bikes

For this Field Test, we’ve lined up four top all-road bikes, plus two control bikes — one pure race road and one gravel — to provide a source of comparison for the all-road contenders.

We’ve left each bike built as it came to us, except for one crucial change. Josh hard at work mounting some fresh tires. (Photo: Jason Lucas)

Given that tires impact so much of the way a bike feels and handles, each bike has been outfitted with a set of top-of-the-line control tires, Continental Grand Prix 5000 S, to minimize the factors influencing our opinions. And because these are all-road bikes, we’ve chosen size 32mm to put all that tire clearance to use and give us a little more leeway to depart from well-maintained roads. Specialized Roubaix (Photo: Stefan Licko ) Lauf Úthald (Photo: Stefan Licko ) Stinner Carrizo Select (Photo: Stefan Licko ) BMC Roadmachine (Photo: Stefan Licko ) Devinci Hatchet — our gravel control bike (Photo: Stefan Licko ) Specialized Aethos — our pure road control bike (Photo: Stefan Licko )

But let’s not get too far ahead of ourselves. Back to episode 1 where the first up is the climbing challenge. Alvin earned the “honors” of doing this test by beating Will and Josh up all the test-loop climbs on our initial-impressions rides. To keep things standardized, he rode each bike up a 2.1-mile (3.4 km) long sector that averages just under 6 percent over the climb. To keep the tests as comparable as we could, Alvin held a constant power output of 250 watts, riding the same line, and running the same tire pressure on the exact same control tires. Alvin prepping a bike for the climbing challenge. (Photo: Jason Lucas)

Are these tests scientific? Eh, mostly. Sort of. In the words of our fearless host, Mike Levy, “It’s not actual science, but we can pretend.” While you may poke a hole or three in our methodology, our tests do get at some basic truths about these bikes. And when performed back to back, they provided a direct comparison that helped us figure out which ones we like the most. Our fearless host, Mike Levy. (Photo: Jason Lucas)

We’ll see you back here next week for episode 2 where we put the bikes through a descending test and an off-road vibration test to help us get closer to picking our favorites. Scoping out test ride locations. (Photo: Jason Lucas)

Thank you to the crew that made Field Test come together!

Videographers: Max Barron, Jason Lucas, Stefon Licko Editing: Max Barron Emotional Support / Hand Holding / Logistics / Driving: Mike Kazimer

And a special thank you to Continental for providing control tires for this test.
14
15
16
17


Sometimes I get sick of brambles on the local bike lane I use a ton, and take a pair of battery electric trimmers to cut back grasses and brambles that grow over the lanes. But I'm curious if cities have actual programs with access to better tools. Working on bike lanes is super satisfying, but I'd love to do it with a group.

18
19


cross-posted from: https://midwest.social/post/29115624

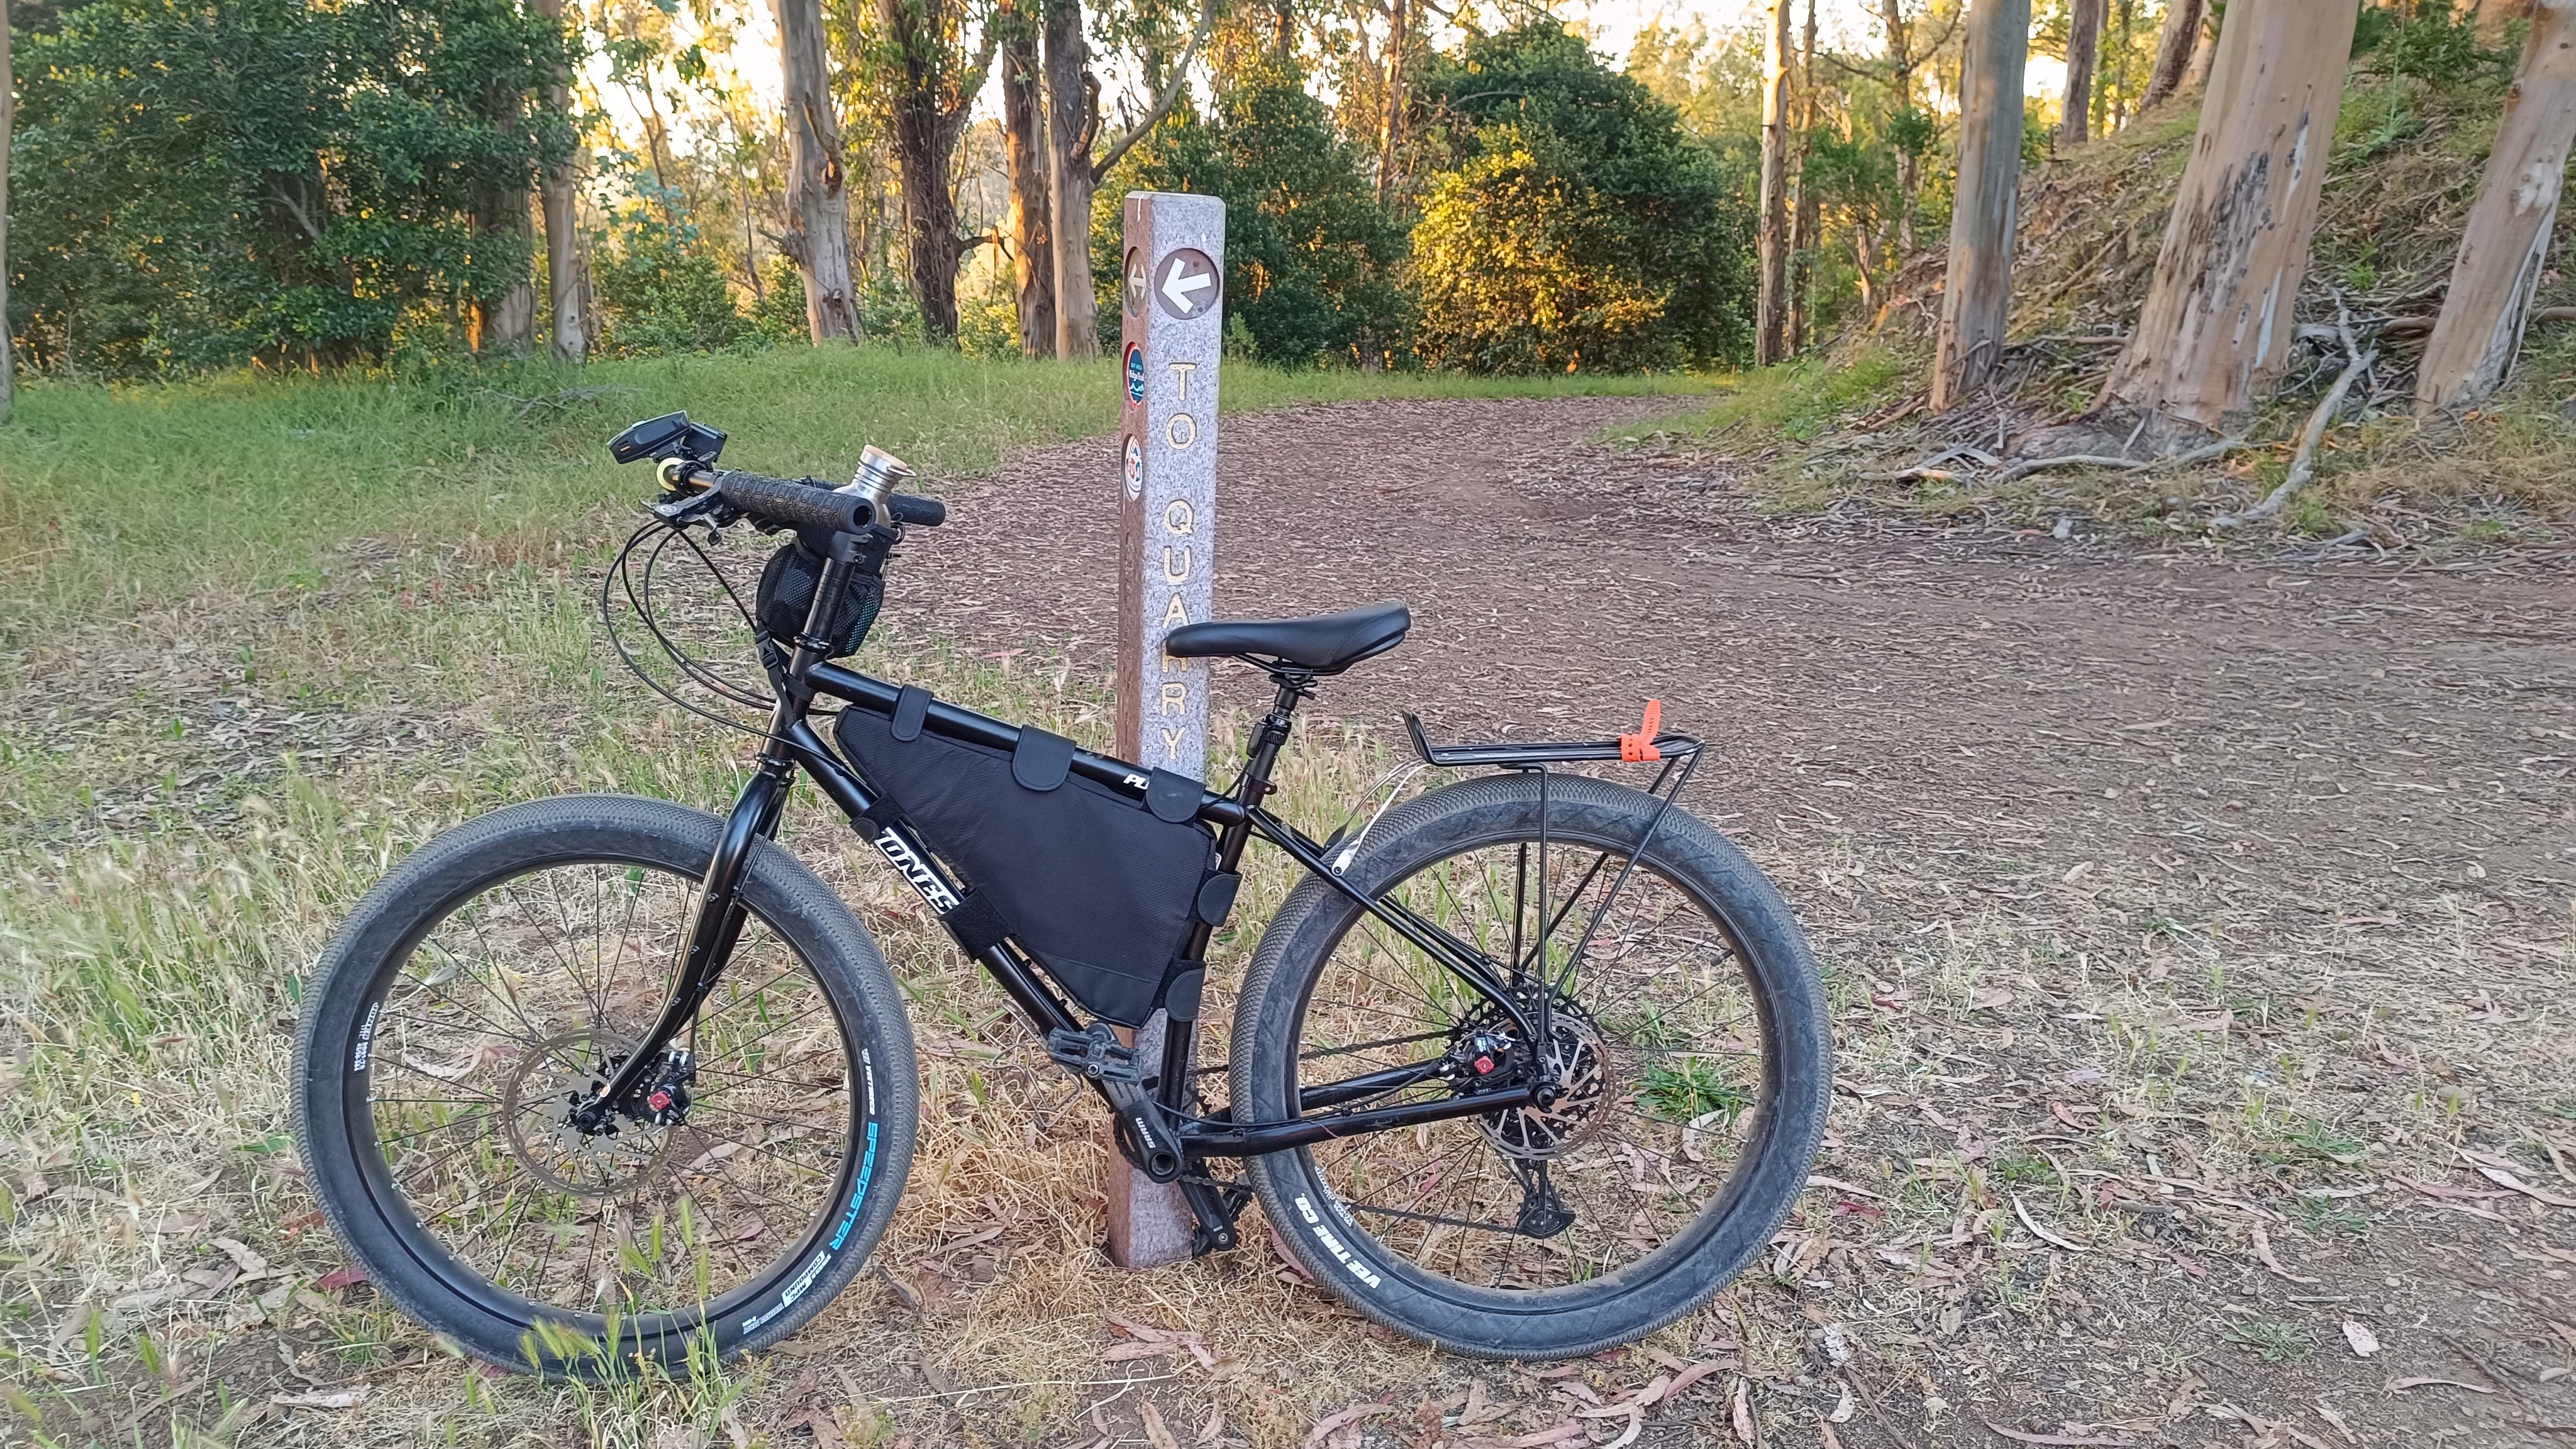
Black bicyle leaning on a trail signpost in a forest

Black bicycle leaning on tree by sidewalk with a large metal part strapped to the rear rack

Black bicycle leaning on bicycle rack with a metal mesh basket on back, in front of a car

Been having a blast living car-free with my Jones SWB, embracing the low-tire-pressure lifestyle. Also, hello lemmy / fedi bikers!

20


cross-posted from: https://lemmy.ca/post/45283933

If you ride in during the summer (who doesn't???), there may be times when you're putting bug repellent spray on.

DEET-based products harm synthetic fabric, so opt for a DEET-free bug spray if you don't want any surprises.

I've used picaridin-based products, and they seem to work as good, if not better, than DEET.

21


cross-posted from: https://feddit.org/post/13428701

This year I did my first bike packing trip. For starting out I had rented some equipment, but with the goal of doing more trips in the future, getting some bags of my own was clearly on the list. With the idea of using panniers for my main storage, I wanted to add some fork bags to balance out the weight a little. Also they are the least obstructive (other than frame bag maybe) from my POV. Somewhat enjoying DIY, the idea of designing the cages myself grew on me.

What this is

Some insights and thoughts on the process of designing and making some aluminum cargo cages for a bike.

What this isn't

A guide on how to design and make aluminum cargo cages for a bike. I have no professional training on anything I did here. This is my first time doing something like this.

Designing

Sketch

After making some sketches on paper, I quickly jumped into 3D modelling on the PC.

The software

The software I choose was OpenSCAD. Reasoning was that I like open source software and I don't know any CAD software anyway. With it being a non-interactive tool, I hoped to somewhat make use of my coding knowledge/background. You write a script and the tool compiles it into a 3D model.

This however, did not work out very well. Going into it without much of a plan, I ended up with a very confusing file with loads of duplicate code and lots of guessing when trying to figure out dimensions. This was not the fault of the tool, but only my own. Not saying I'll never go back to it, but for the next job I will try some more interactive tooling. Some more structure and thought out process would benefit any tool however, so that's a learning I'll take with me.

The looks

Hard requirements were the screw positions for mounting to the fork and space for some straps where the bag is attached. In the middle of designing I noticed, that I might want some material running from the screw attachment points across the whole width of the piece (this might not have been required since the 3mm aluminum I used was plenty strong).

The whole design evolved around these requirements and some hexagons I wanted to add. Everything was kept symmetric and I tried to pick up the angles from the hexagons in the other angled pieces.

For sizing, I tested my dimensions on some cardboard cutouts and went with what felt right.

Finished cage design

The issues

  • The lower part was meant to be bent around and then welded at the seams. However I failed to provide additional material for the bending, therefor it was cut of and completely welded in the final product.
  • The lower part is too wide. Instead of taking a second to think about it, I just kept the lower piece wide with the idea of grinding of the excess. I should have made the diagonal piece of the notch the same length as the vertical line it will get welded to.
  • The straps of my chosen bags do not line up perfectly with the cutouts on the cage. There is enough space to make it work and not look super off, but it would be smarter to get the 'target bag' first.

Also I think it turned out a little like any cage you can buy in a shop. Wish I had made it a little more unique, maybe carry the hexagon idea along the edges...

Fabricating

Having access to at least some of the tools required for fabrication made the project seem somewhat reasonable in the first place. I would not know how to go about this, if you don't have a welder (other than designing a part that does not require welding).

Laser cutting

The whole idea heavily evolved around the idea of using a laser to cut my model from some aluminum sheet. However the laser I planned to use was not available anymore by the time the design was finished. No big deal I thought, there are ordering services for just about anything online. Which there are. But many of them ask a heavy fee for low part counts. To a level that would shut down the whole idea. It took quite some searching until I found someone willing to do the job for a feasible price. Had I not found a laser, filling and cutting with a saw would have been my last resort. Luckily it didn't come to that.

Other than the design issues mentioned above, it turned out just like I wanted!

Welding

You should find someone else to tell you about TIG welding. On the photo you can see the lower base that turned out too wide and never got ground off. Also the lower base that was cut off instead of bend due to missing clearance.

Welded cage

Painting

3 base coats, 3 top coats of matt black. Some deburing beforehand would have helped the final look as well. I always underestimate how much all these details show up after painting.

Finished cage

Bags

For bags, I decided on Cube ACID PACK PRO 3 (which are 3 liter bags). Even though I bought these, this was not the super easy part. Going into this project my thought was that it will be super easy to find fitting bags. But I had to do quite some digging to find something I liked. 3 liters per site are plenty for my setup, since I just want to spread some weight forward. I have seen these cages used with 5 liter bags, which worked fine as well. The straps do not line up perfectly with the cage, but there is enough wiggle room to make it work.

Cage with bag

Final thoughts

It was a fun project and I will hopefully get to enjoy these cages for a long time. Without having done most of the things required to tackle this project, it took me quite some time to do. But I learned a lot and will surely go into my next CAD/metal/fabrication project with more of a plan!

I hope someone can get something out of my post. This checklist should help if you consider doing a similar project (maybe even any DIY project at all)

Don't do this if you

  • want to save money
  • need some cages quickly

Do this if you

  • enjoy making stuff!
22
23
24
25
view more: next ›