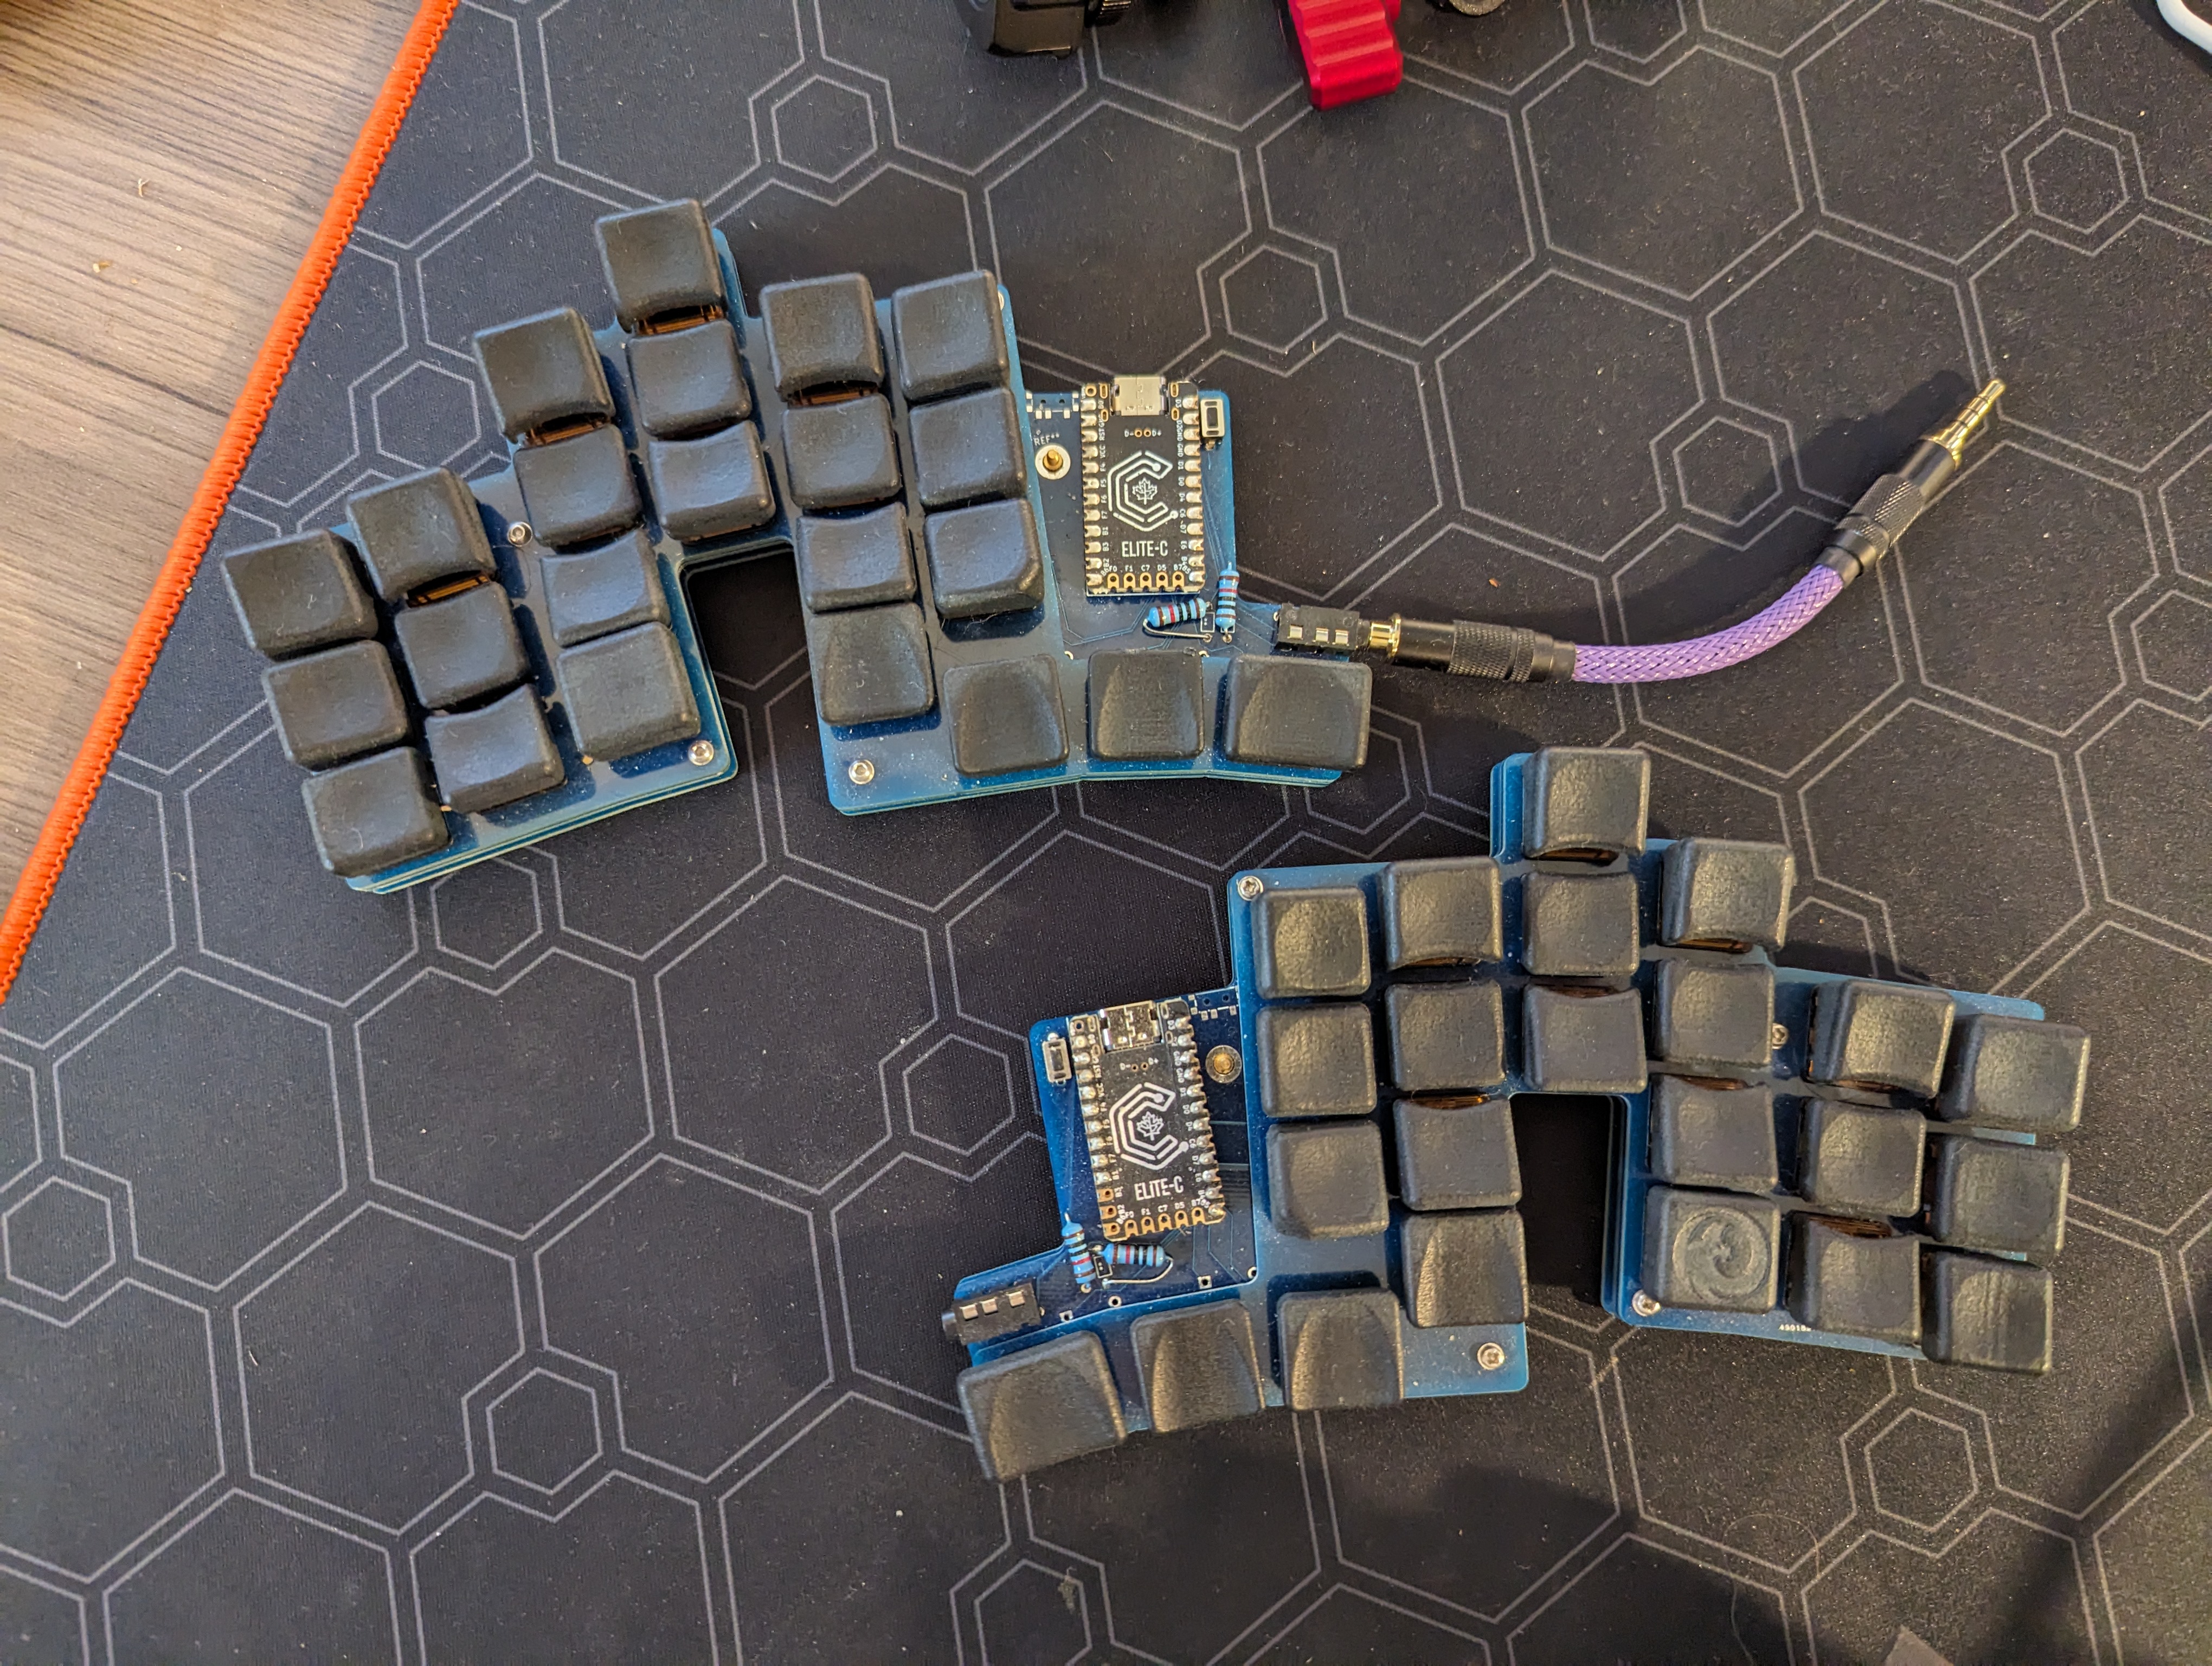
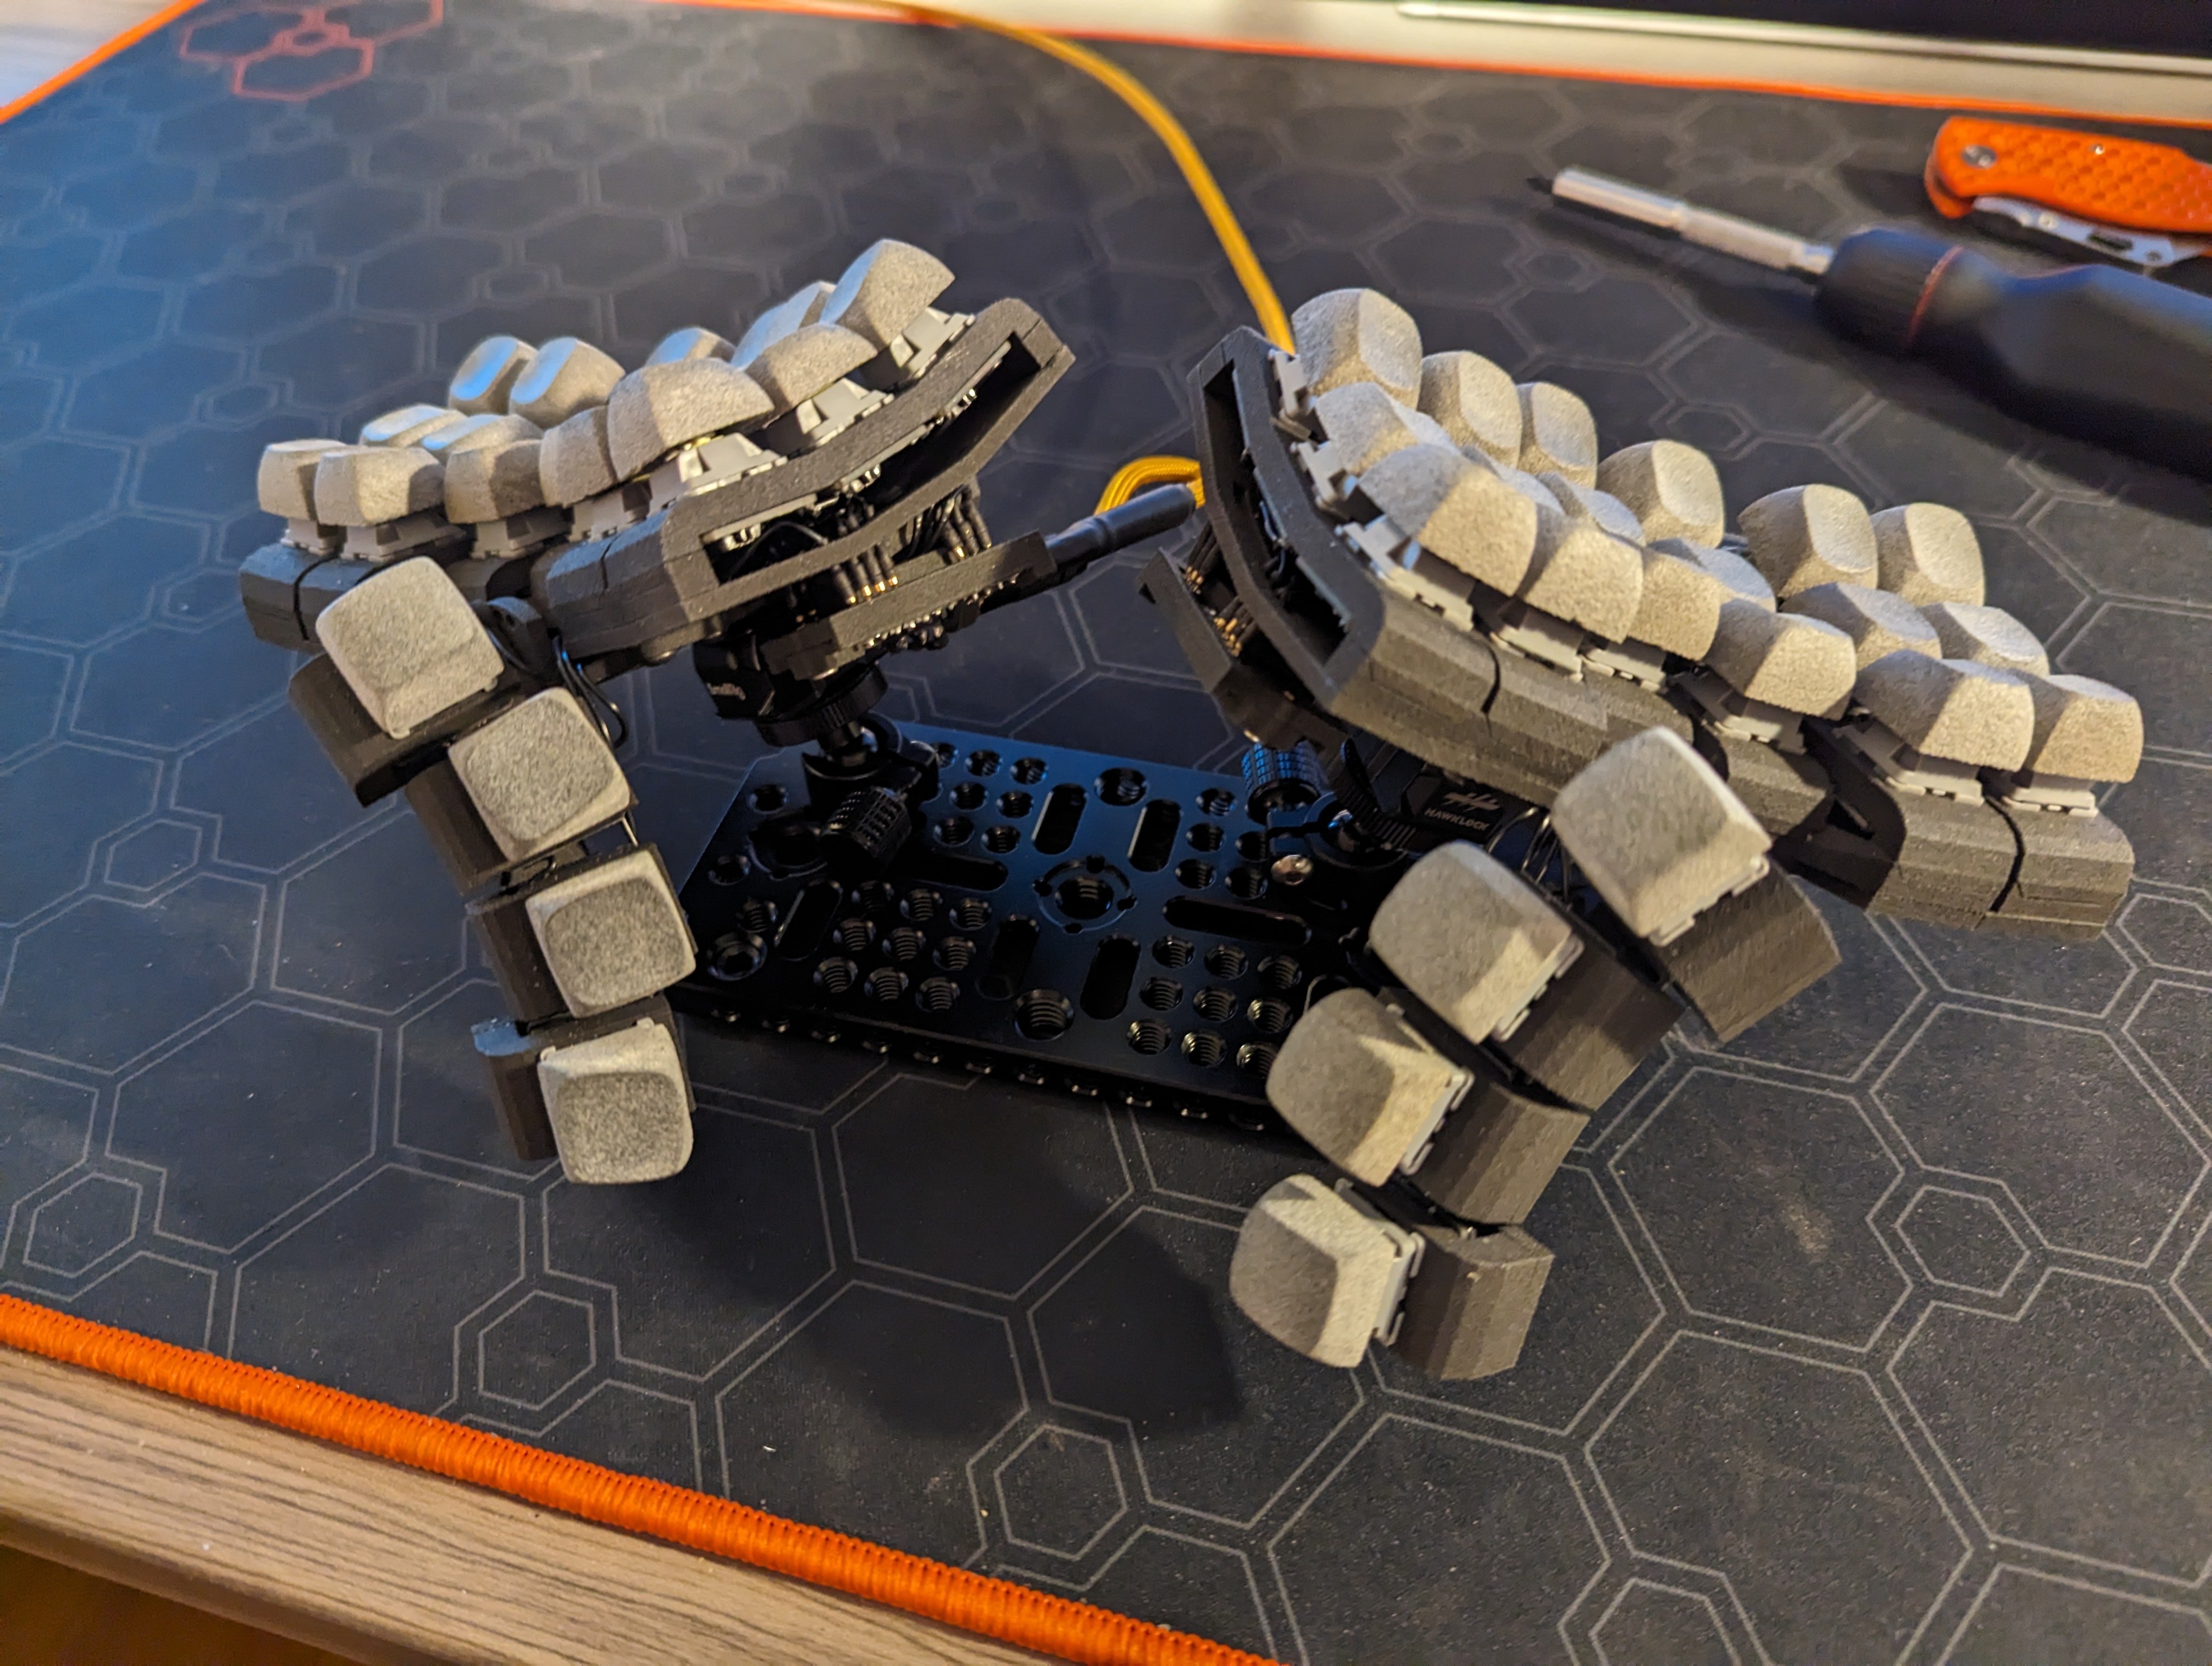
Finally completed my Explorer Pi V2 build. My primary goals for V2 was to adjust economics to fit my hand, improve build quality while reducing total part count, and to create a better thumb cluster. A lot of these changes trade modularity to achieve these goals, which is not a big loss as I get closer to endgame design.


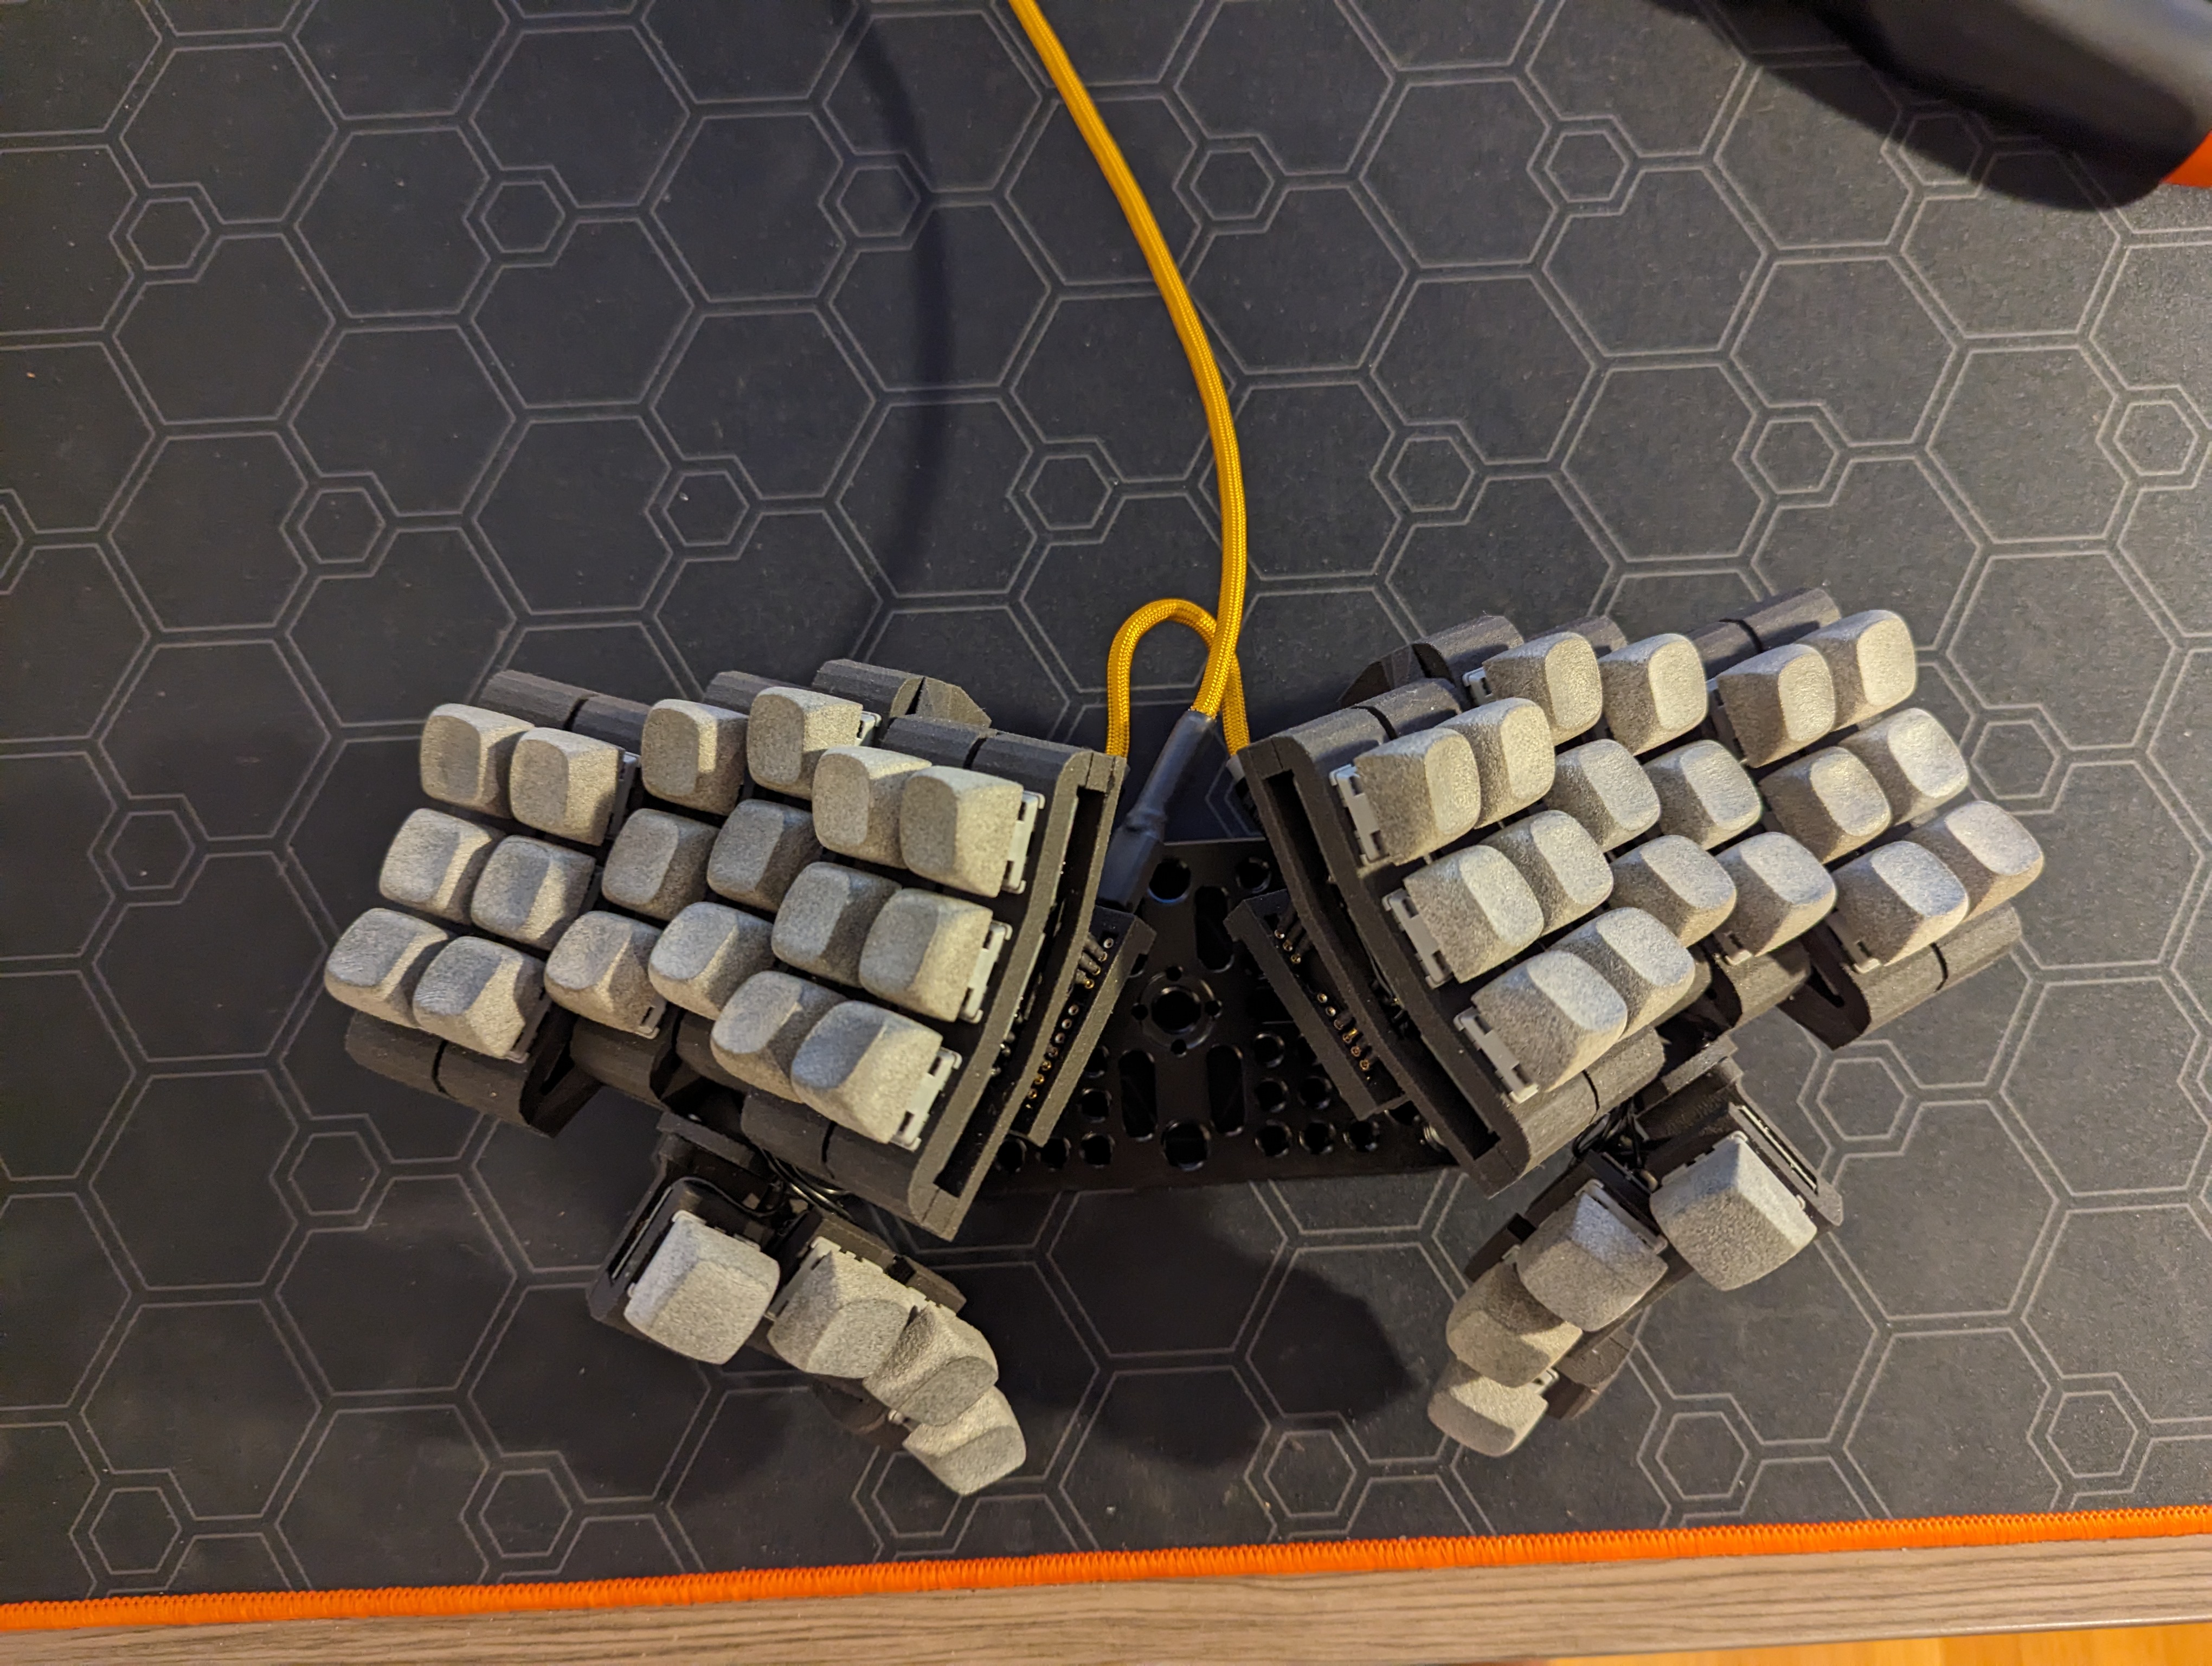
Thumb cluster was my biggest complaint with the original; being modular made the whole assembly too weak and key spacing to large; not to mention inflating the part count. So I made a one piece design with additional mounting support. Also went with a six key, two row design. Finally I make the switch plate compatible with either MX or Choc switches (and swappable). Used my Enigma Dual Hot Swap pcbs for the thumb cluster keys. This thumb cluster is probably going to see some future iterations. I've made things fully modular in case I want to swap it out for a new one later.


I've made quite a few changes to the original to arrive at this point including:
- adjusted stagger of each column
- adjusted splay and height on the pinky columns
- used flexible pcbs (from the BigSkree)
- made the switch plate one piece per side (orig was individual columns)
- added side walls to the switch plate
- added additional support to the thumb cluster so it has less wobble
- one piece, 6 key thumb cluster
- support for both choc and mx switches on thumb cluster
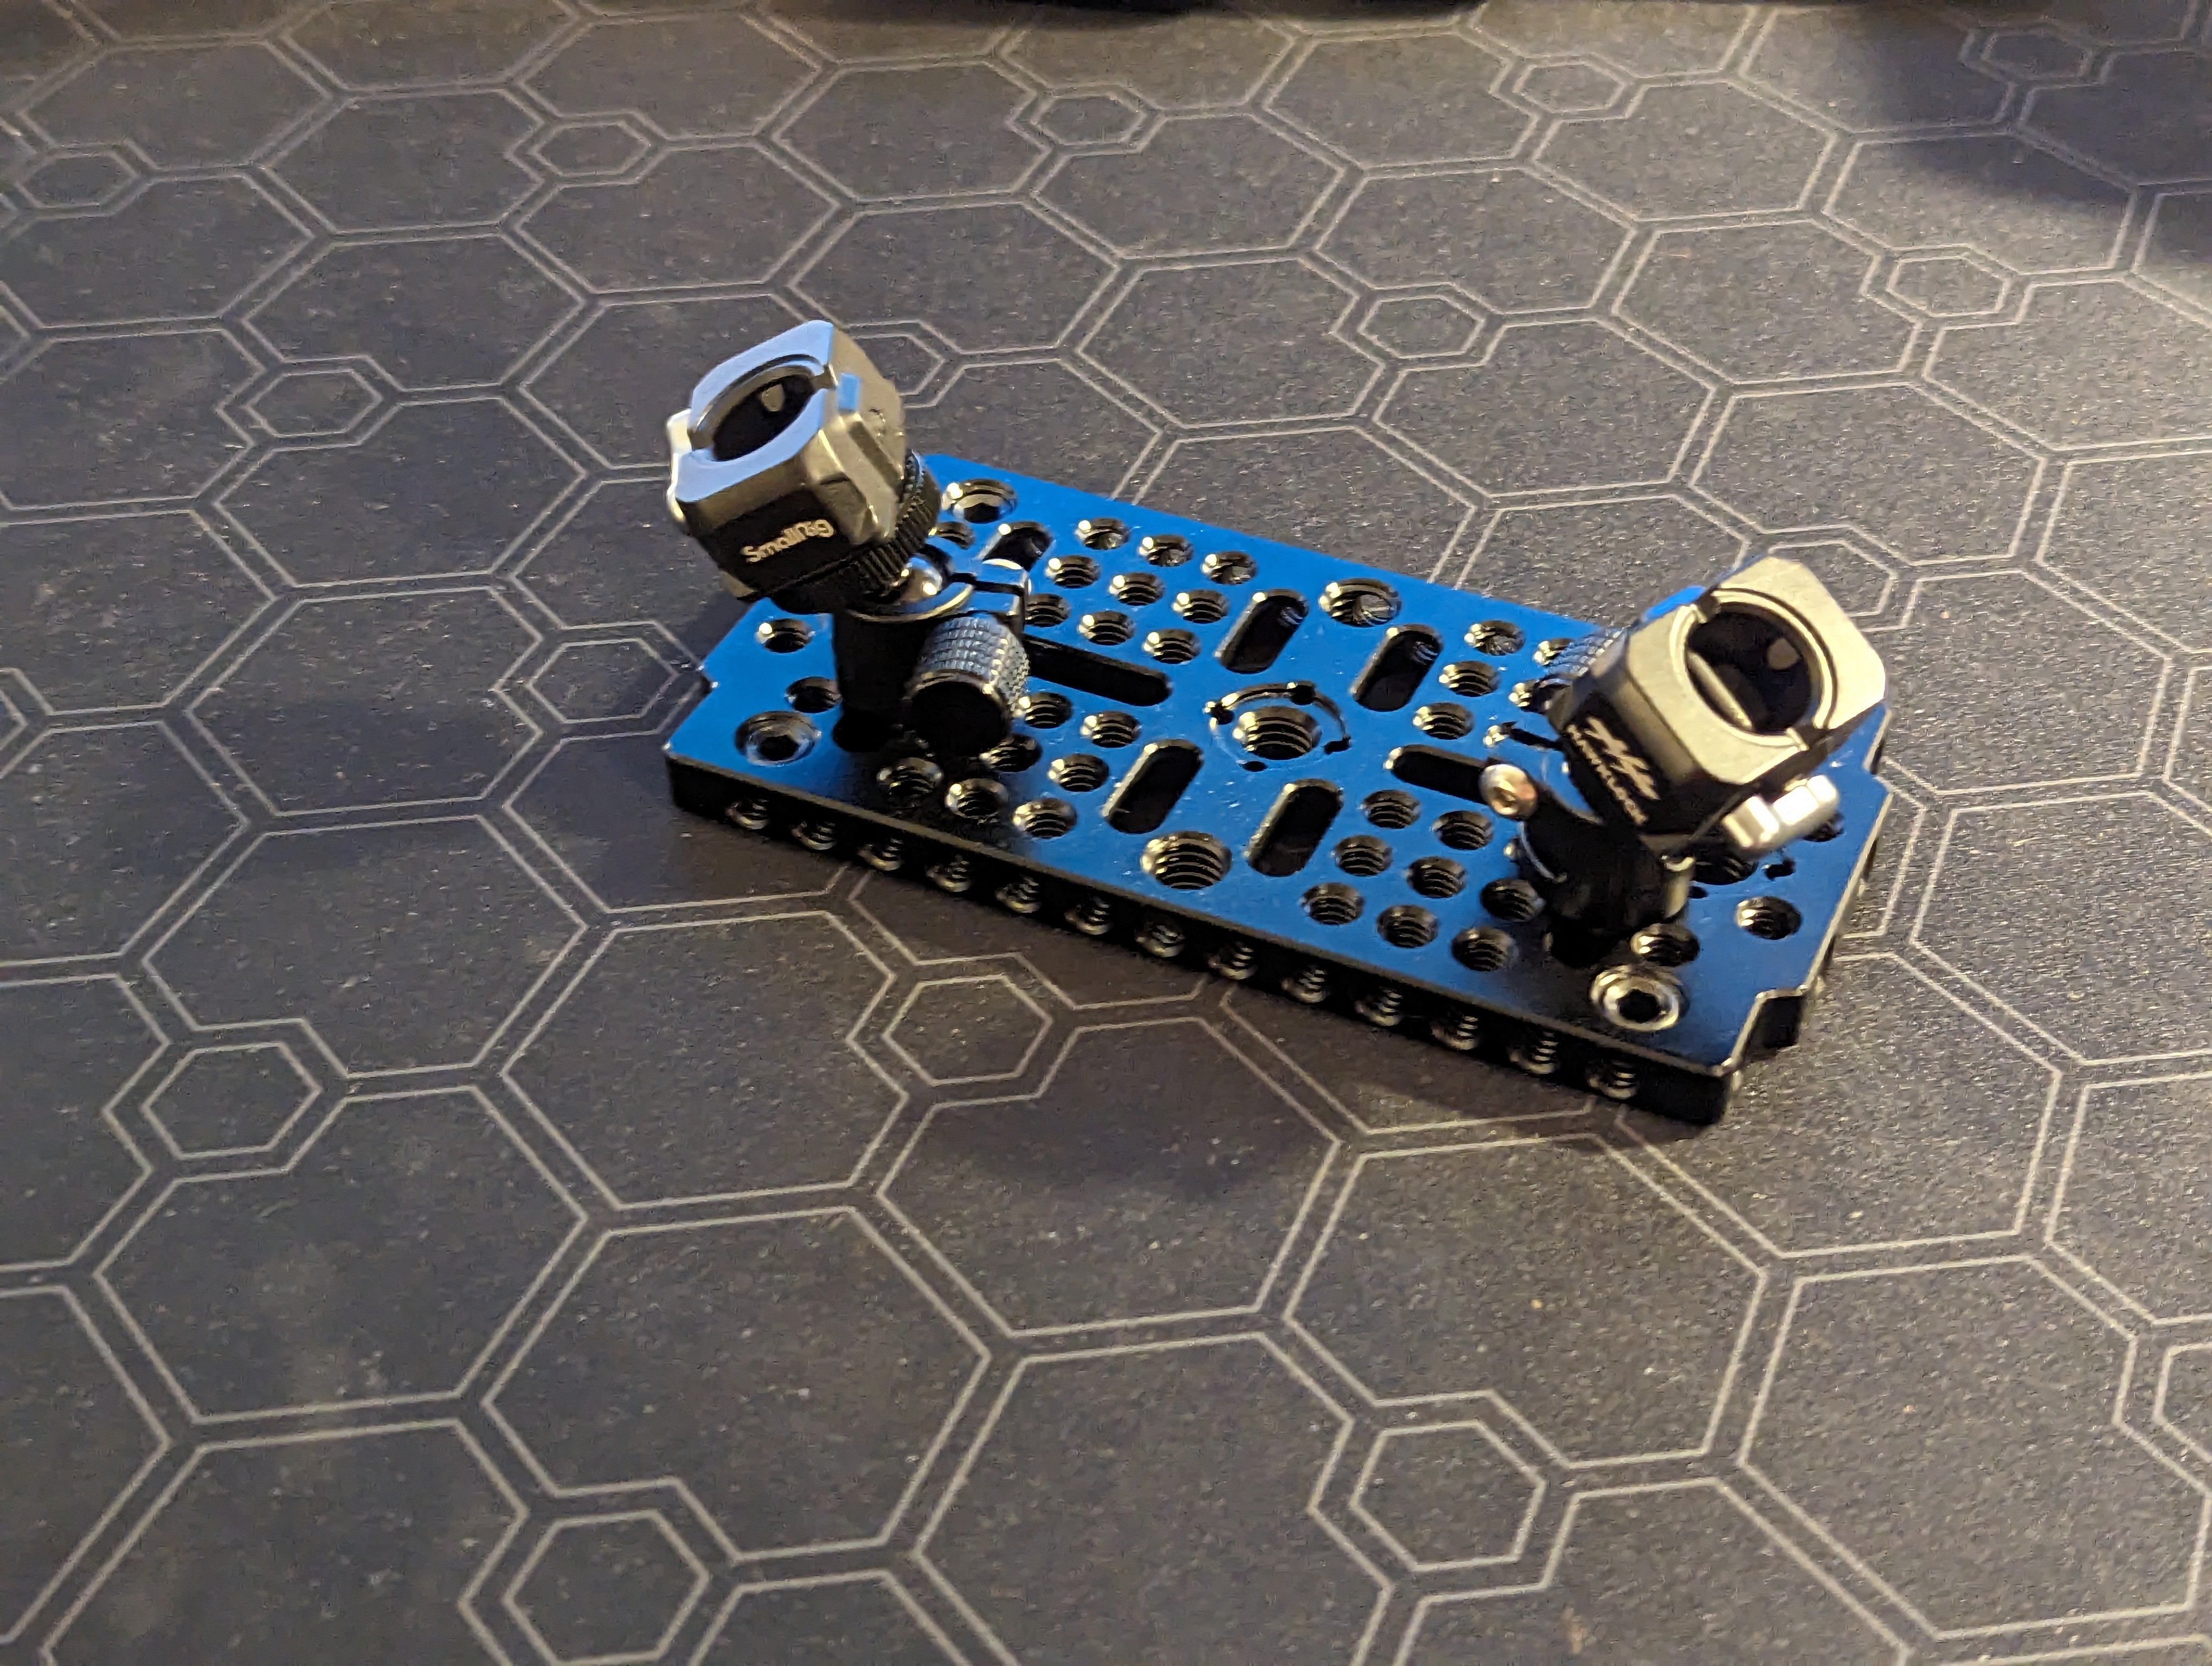
- added ARRI locating holes to the 1/4" mounting point
- reduced total count of required inserts and screws
- reduced diameter of the 1/4" insert hole to better fit the inserts I was able to source
- adjusted 1/4" mount location for better center of balance.
While I originally was planning on taking more build photos and putting together a guide for this iteration I had a bit of a lightbulb moment while assembling this for how to improve the entire build dramatically so that going to be a goal for V3 now.
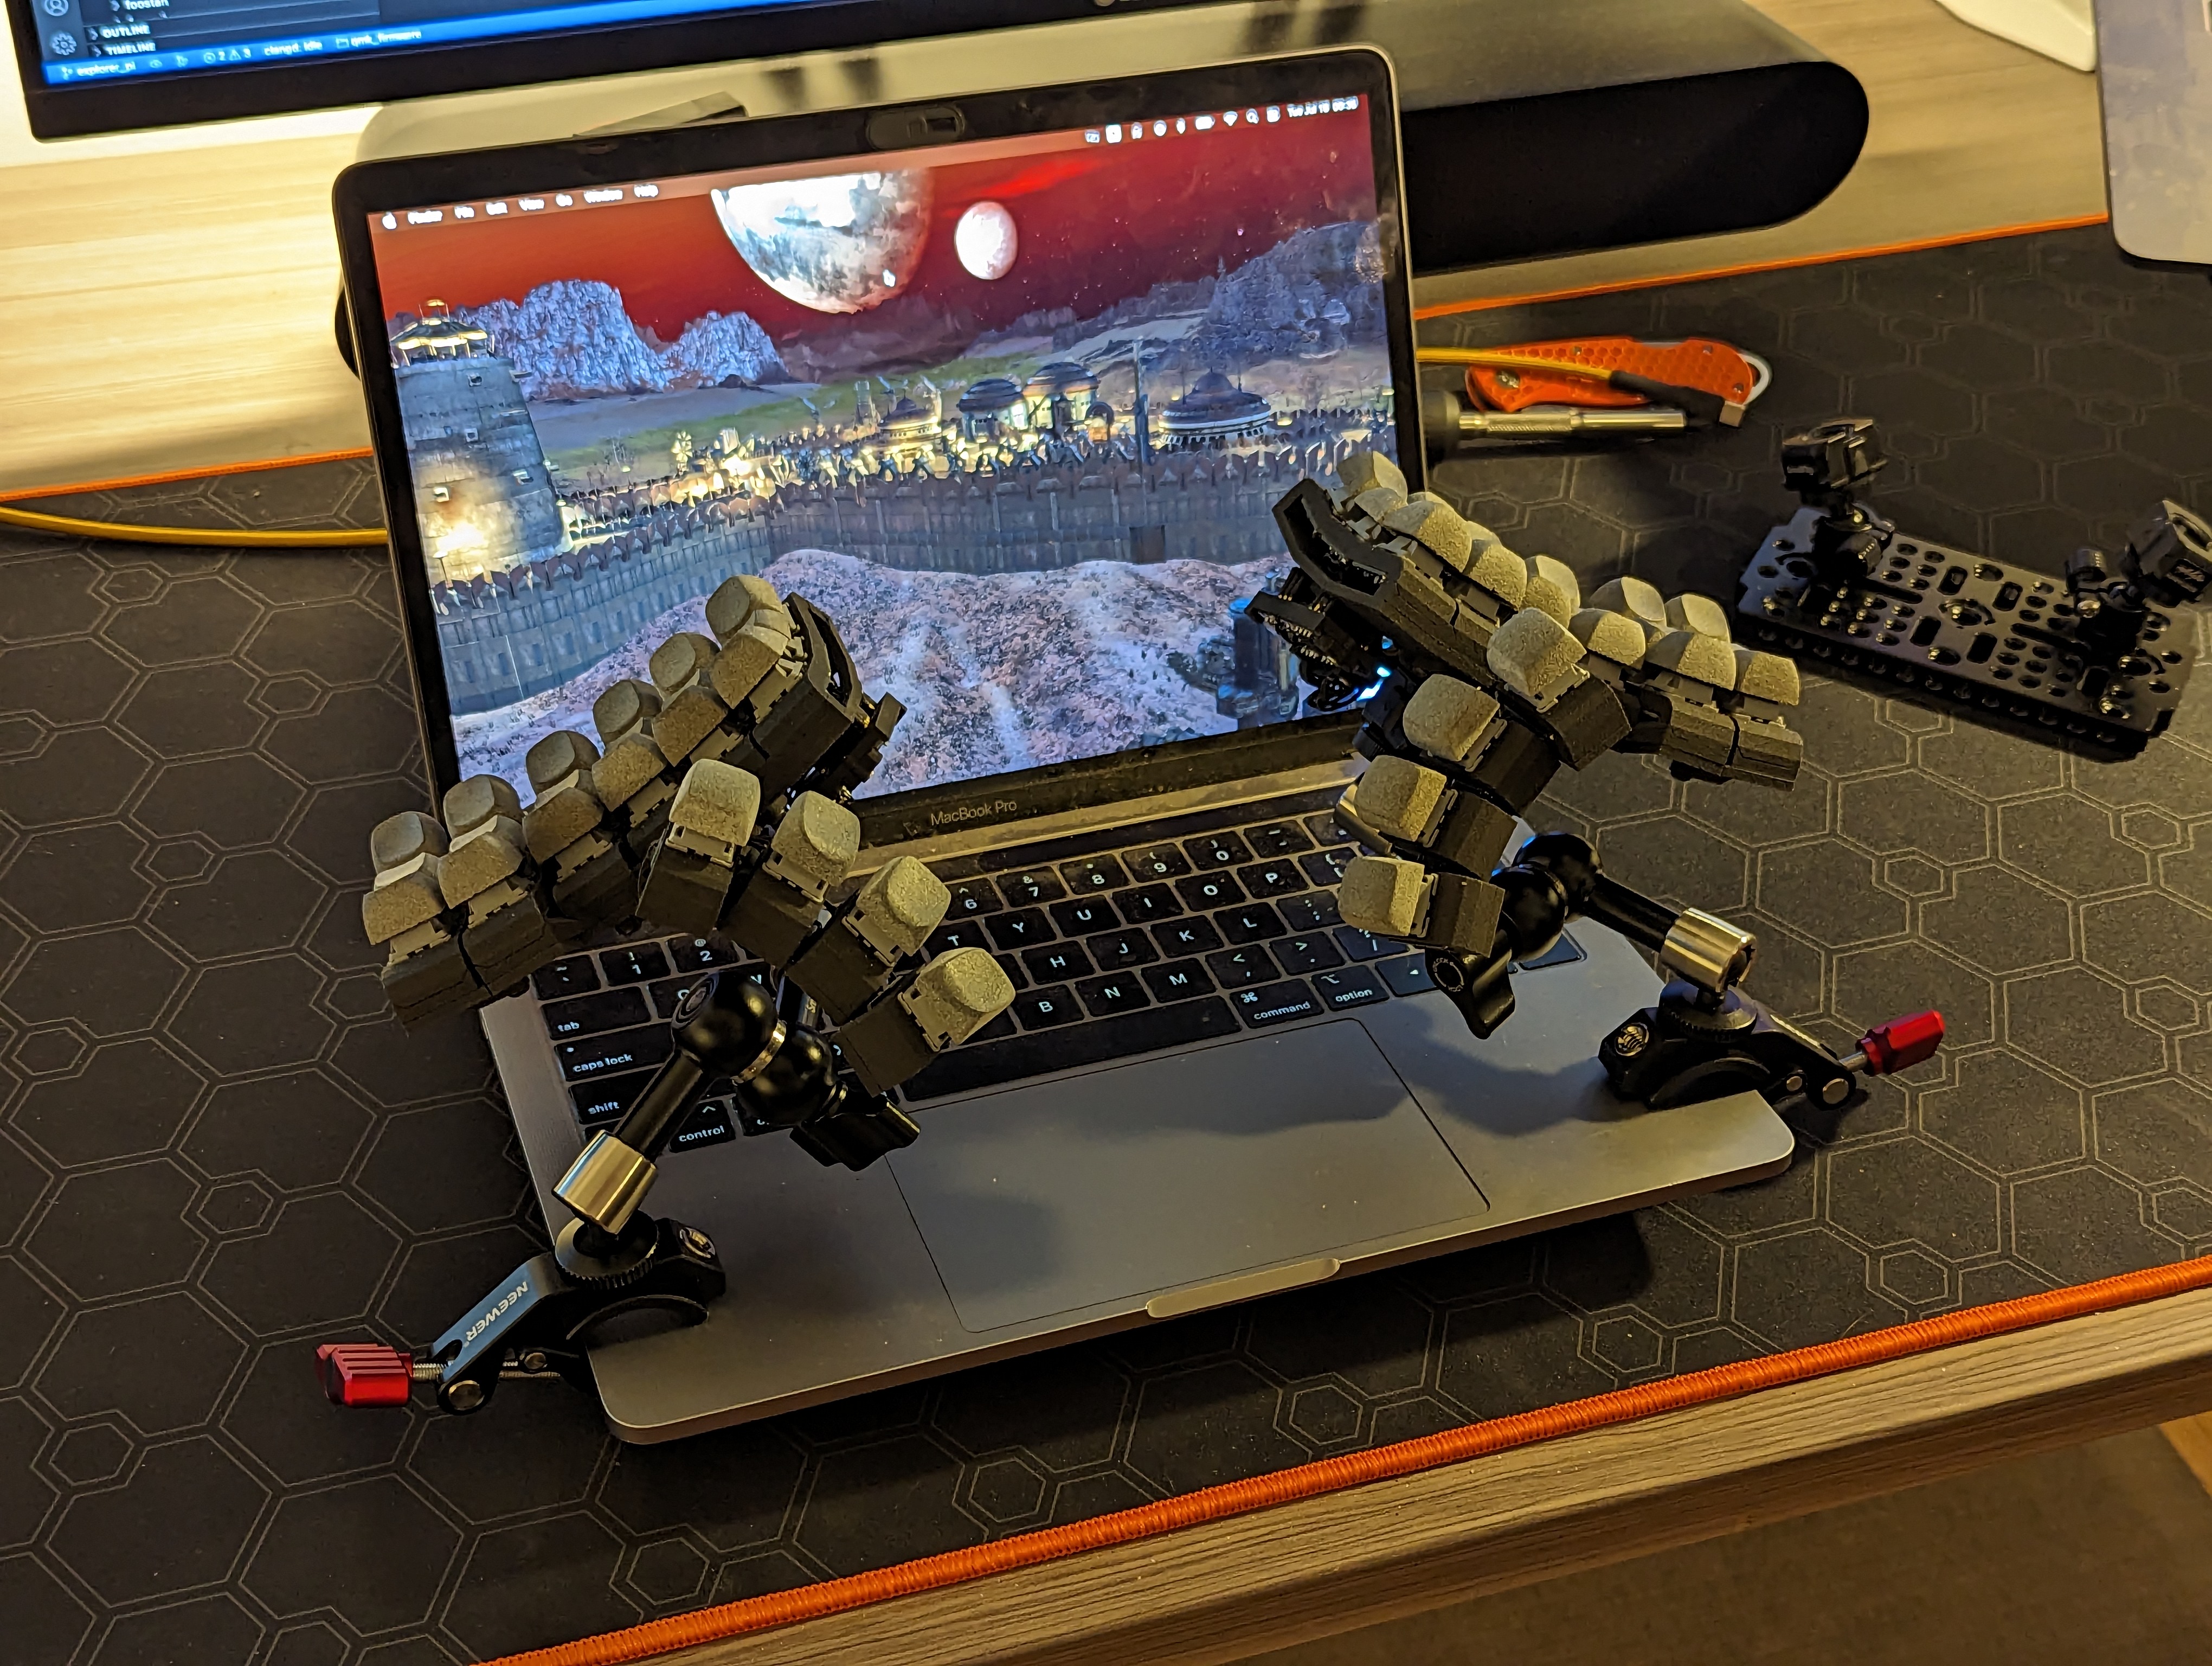
As a slight aside I came up with a pretty good mounting solution for this board. Each half has a stand using these rubber coated magnets, a low profile hawklock and super low small ballhead mounts. With my v2.5 base plate I modified the 1/4" center of balance so that these stands balance well enough on a non magnetic surface to type on. They are also rubber coated so surface damage as well as sliding are minimized. Then for my main setup to make things even more secure I simply place a piece of sheet steel under my desk pad. I'm liking this enough that I'm starting to wonder about the embedding some steel in the desk permanently.

Keycaps:
- DES alphas R2-R4
- 4x DES Thumbs R5x
- 2x DES R5 1.25u
- 2x cDES R5x
- 2x CS 1.25u
- 2x Gravity 1.25u
Switches:
- MX Boba U4
- Choc Sunsets
The Boba U4's are the second switch I've tried on here and still not satisfied. Anyone have some good silent tactile switch suggestions?
Links:


This is the correct peripheral to keep between your splits.