1
22
Mended dog harness (sh.itjust.works)

My dog chewed her harness. Here's the mending job. Mended with embroidery floss by hand.

2
20

Despite trying different fits and brands of pants, I keep running into the problem of them eventually getting holes in them, typically around the seams of the crotch where of course you least want them. The rest of the pants are generally fine, so it feels like a waste to toss them, but I'm not sure how well one might be able to fix such holes right along seams...

Any guidance on this? Thanks in advance!

3
16
submitted 5 months ago* (last edited 5 months ago) by andrewth09@lemmy.world to c/sewingrepairing@sh.itjust.works

I have this nice heavy winter coat that I accidentally tore a small hole in the shell near a chest pocket. It's a tiny rip, but I don't want it to get any larger. Any advice for how I should go about repairing it? I want to try a visible mend instead of a simple patch. The tag says the shell is listed as 61% cotton 39% nylon.

Picture 1

Picture 2

4
22

“Our philosophy is that if you can’t open it, you don’t own it. Once you disassemble, repair, and put back together your laptop or iPod, you have a much better understanding of what goes into it. It’s astounding how just 20 minutes of work can make an iPod good as new – but most people have no idea that there are instructions available to make the work easy. And why should they? Apple tells everyone that the battery isn’t user-serviceable.“

5
5
submitted 8 months ago* (last edited 8 months ago) by activistPnk@slrpnk.net to c/sewingrepairing@sh.itjust.works

cross-posted from: https://slrpnk.net/post/3317096

I bought this machine from the 1960s (cost: 12 Big Macs). I did not clean it or oil it as I wanted to just see if it works.

It made a straight line without issue. Then on the 2nd straight line the top thread got bundled below the plate. I cleared that & started over. Then went to the narrowest zig-zag setting and the needle broke.

I’m just starting to learn. I know from videos that pushing the fabric while the needle is down can bend the needle and put it in harms way. I don’t think I was pushing or pulling the fabric when the needle broke. So I wonder what would cause this-- does this mean the timing is off and needs adjustment?

I’m not enthusiastic about doing much experimentation at this point because needles seem pricey enough that I don’t want to break many (1¼ the cost of a Big Mac in my area buys 5 needles). But I just removed the top thread and bobbin and installed the empty bobbin case. When I manually spin the wheel with no thread at various zig-zig widths, there is no apparent contact with the needle. So perhaps the thread occasionally bundling up under the plate is part of the issue.

update: if I load thread and manually crank for the zig-zag patterns, most stitches are missed. The thread is plunged in from the top but does not get grabbed from the bottom most of the time.

6
6
submitted 8 months ago* (last edited 8 months ago) by activistPnk@slrpnk.net to c/sewingrepairing@sh.itjust.works

I watched several sewing videos in preparation to buy a machine. The consensus is that drop-in bobbins are easier for beginners than front-load. Well I’m the kind of person who wants to get to the /expert/ stage & if that means doing things the hard way, so be it. But then the question is, what are the advantages of front-loads?

Youtube video id rbhfilt68vI titled “TESTED Best Sewing Machines for Beginners” suggests that front-load bobbins are more likely to get tangled and jammed. That sounds like an anti-feature for both beginners and experienced users. So why do front-load bobbin designs even exist?

(edit)

I think I got my answer. Video F7GTjrc-m5w says front-loading enables the machine to go faster and also enables you to switch bobbins mid-task.

I care more about jamming than speed. But the mid-task swapping sounds useful because I don’t suppose you can predict when it will run out. So I guess I need to consider how much stock to put into the comment about jamming.

7
53
Second darned sock (sh.itjust.works)
submitted 9 months ago* (last edited 9 months ago) by pedantichedgehog@sh.itjust.works to c/sewingrepairing@sh.itjust.works

I've recently started darning my worn-out socks (shoutout to that one poster who posted a tutorial) and so it's going really well! My socks are still comfy, and the woven patches do the job.

8
16

cross-posted from: https://slrpnk.net/post/2890733

I think I need a sewing machine that can do a variety of different kinds of stitches. One use case is to repair holey socks by cannabalizing fabric from other holey socks. Thus the stitch needs to be the kind that can stretch and ideally not create an awkward feeling on the foot.

Some sewing machines have a fixed number of stitches they can do. Would it make sense to get an embroidery machine and use #inkStitch (an Inkscape variant)? I’m not sure if that’s strictly for embroidery -- or does that give the ability to do a variety of stitches using FOSS?

The inkstitch.org website steers people toward taking a basic sewing machine and modifying it using 3d printed parts. That’s too ambitious for me. I don’t want a hardware project. I just want to buy hardware that’s ready to go and use free software to control it. Is that possible with things that exist already?

9
15
10
37
11
42

This is an update to this post.

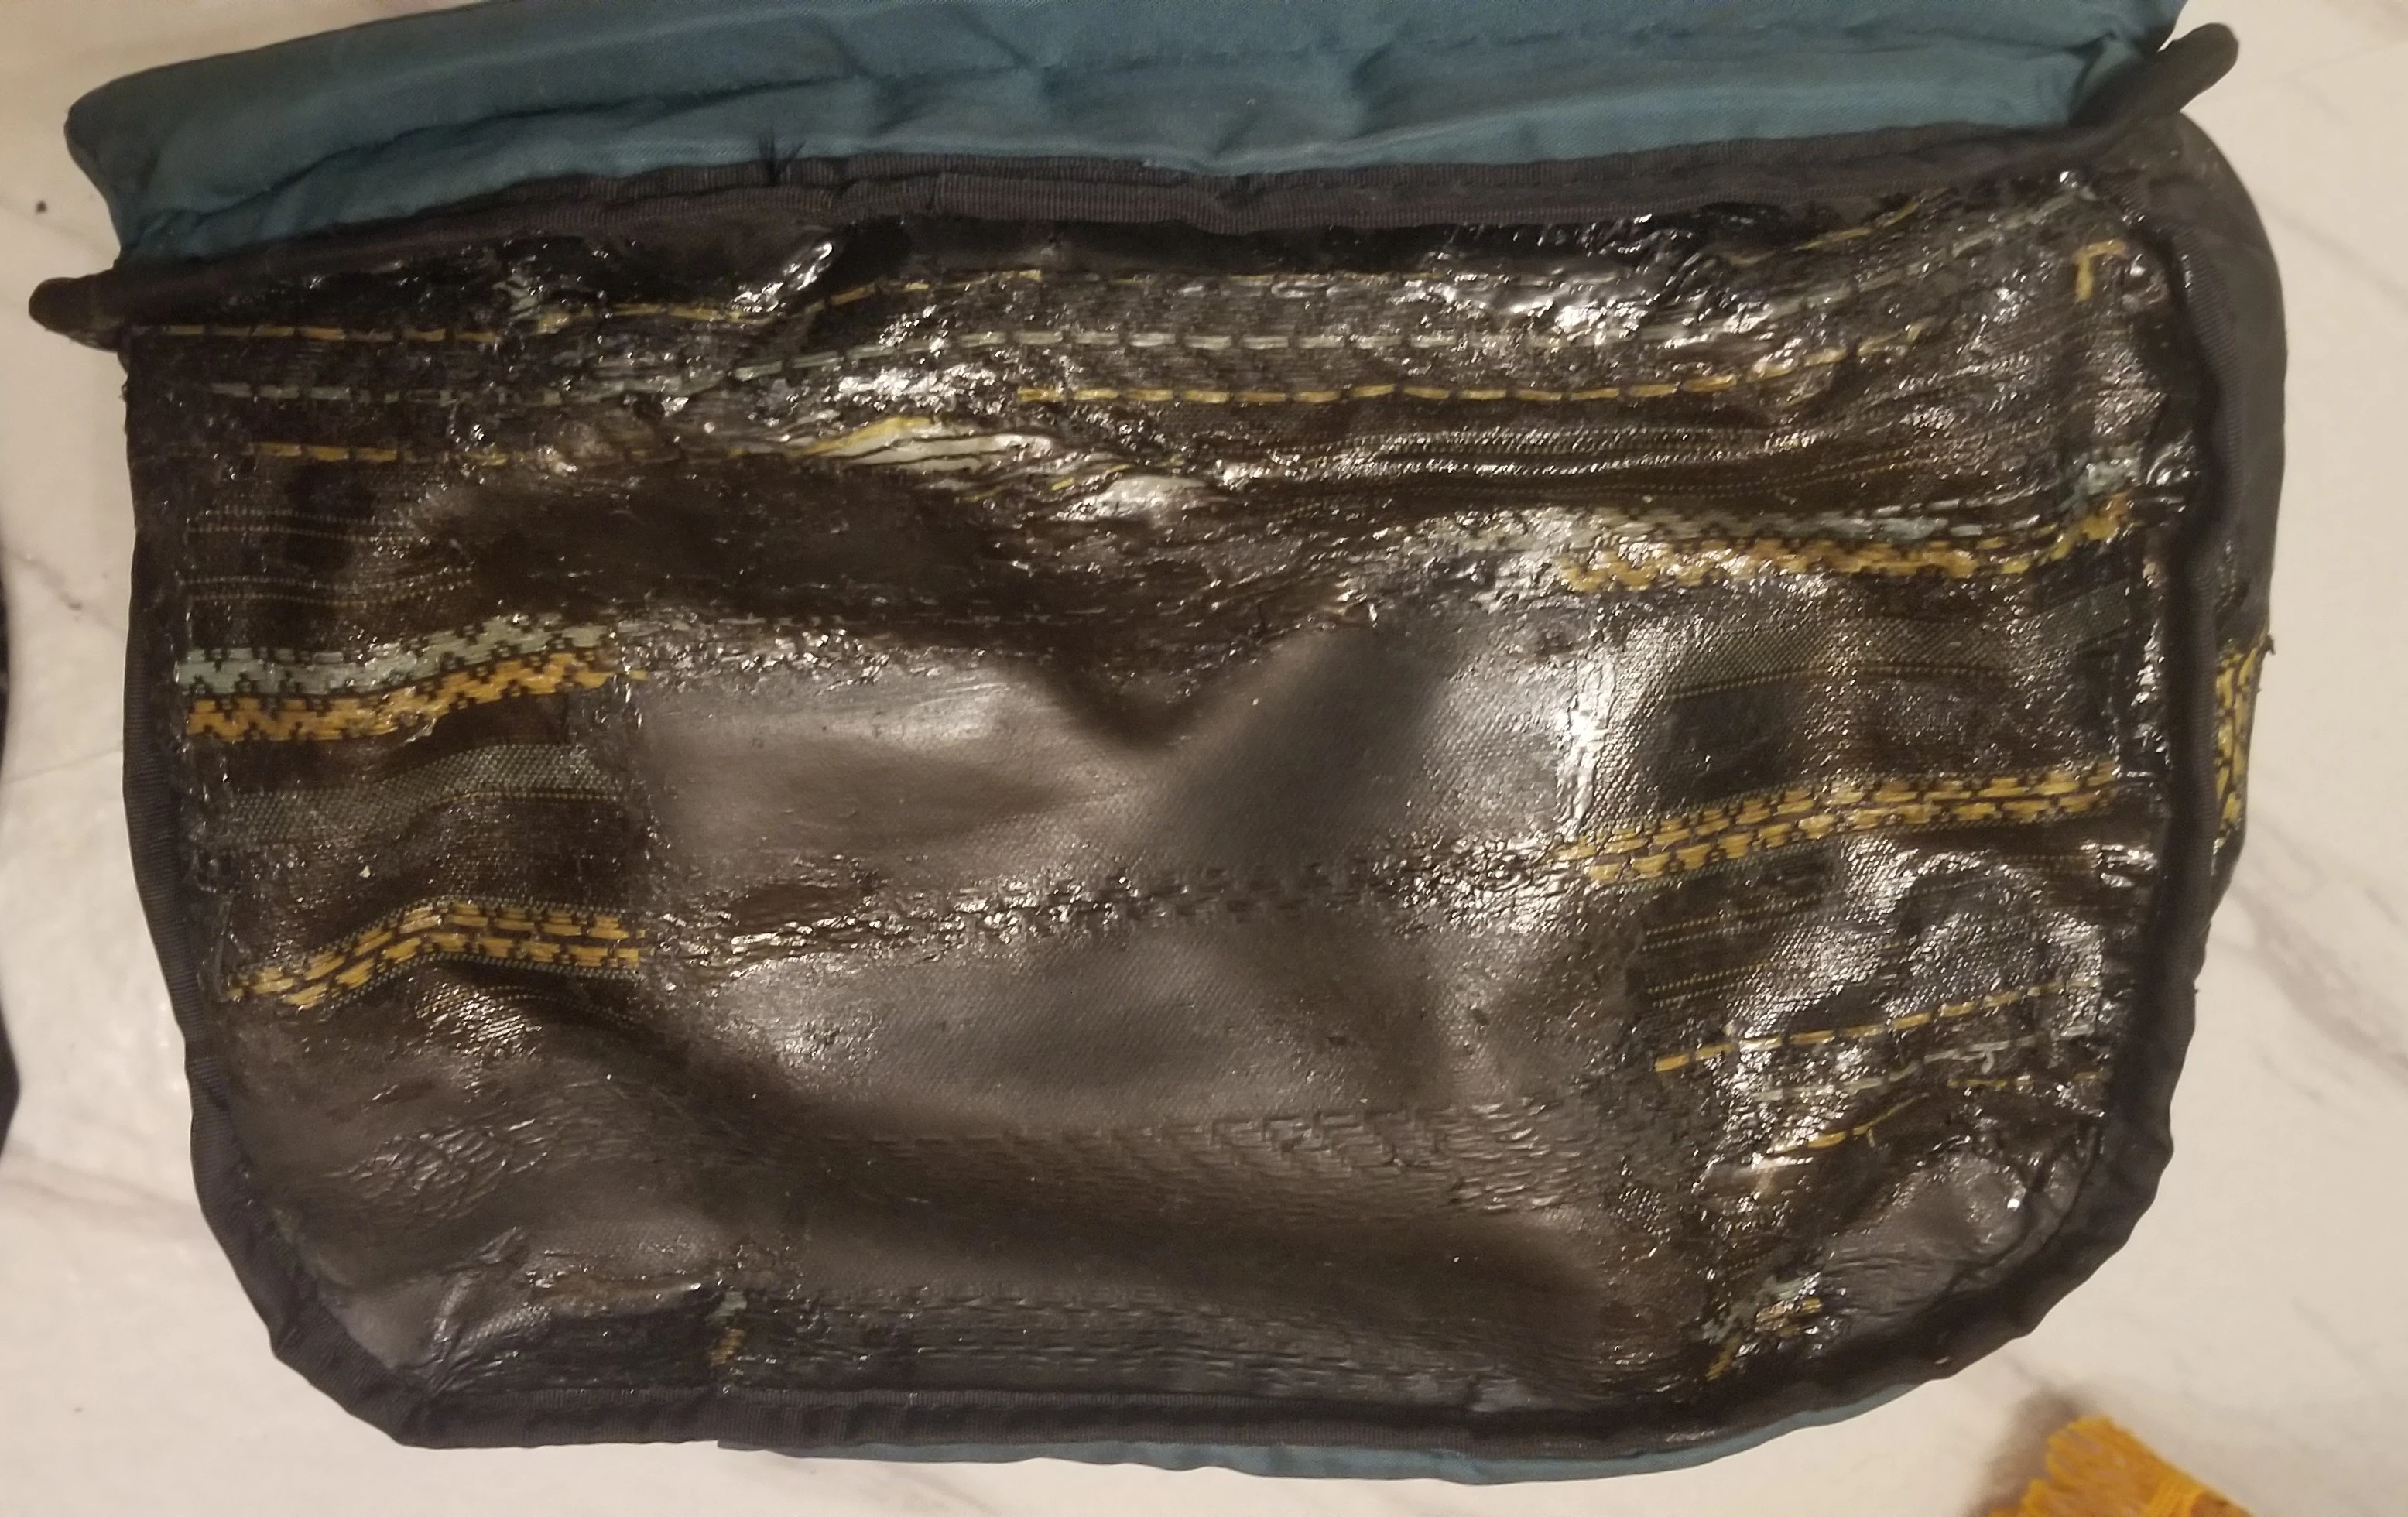
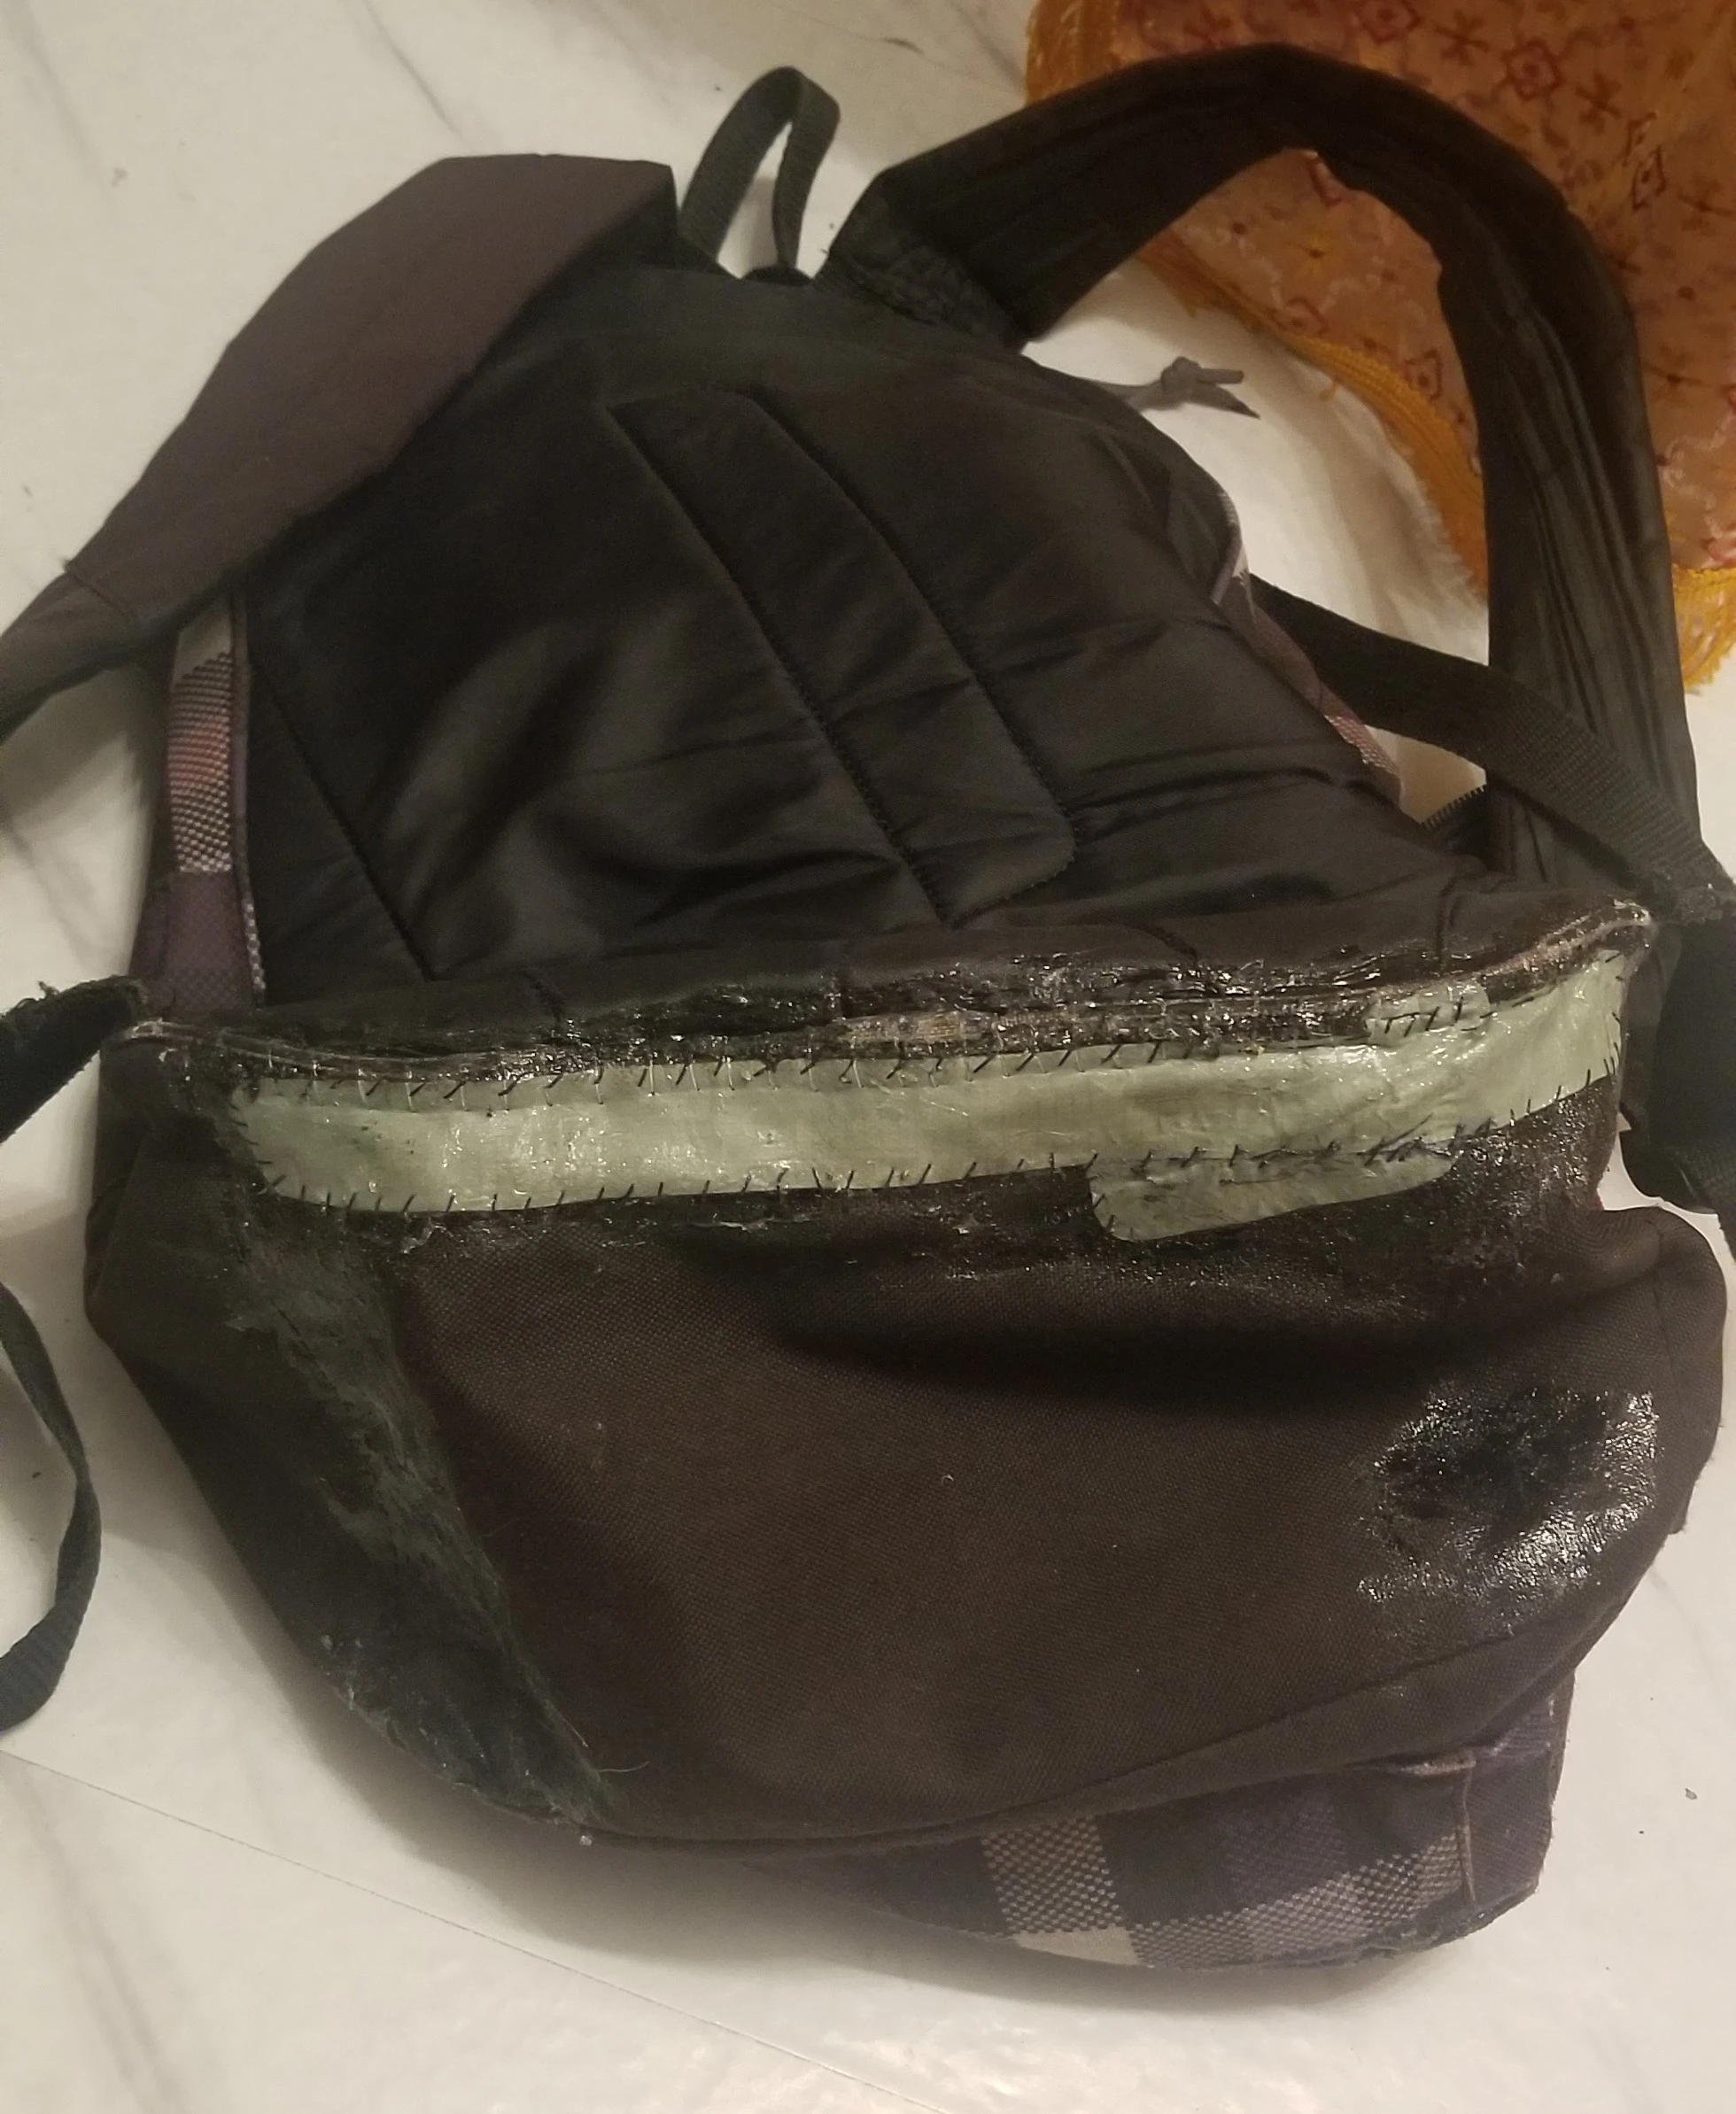
I turned the backpack inside out to see the damage on the inside. Most of the black plastic coating was gone, and you can see the patch I applied in the outside.

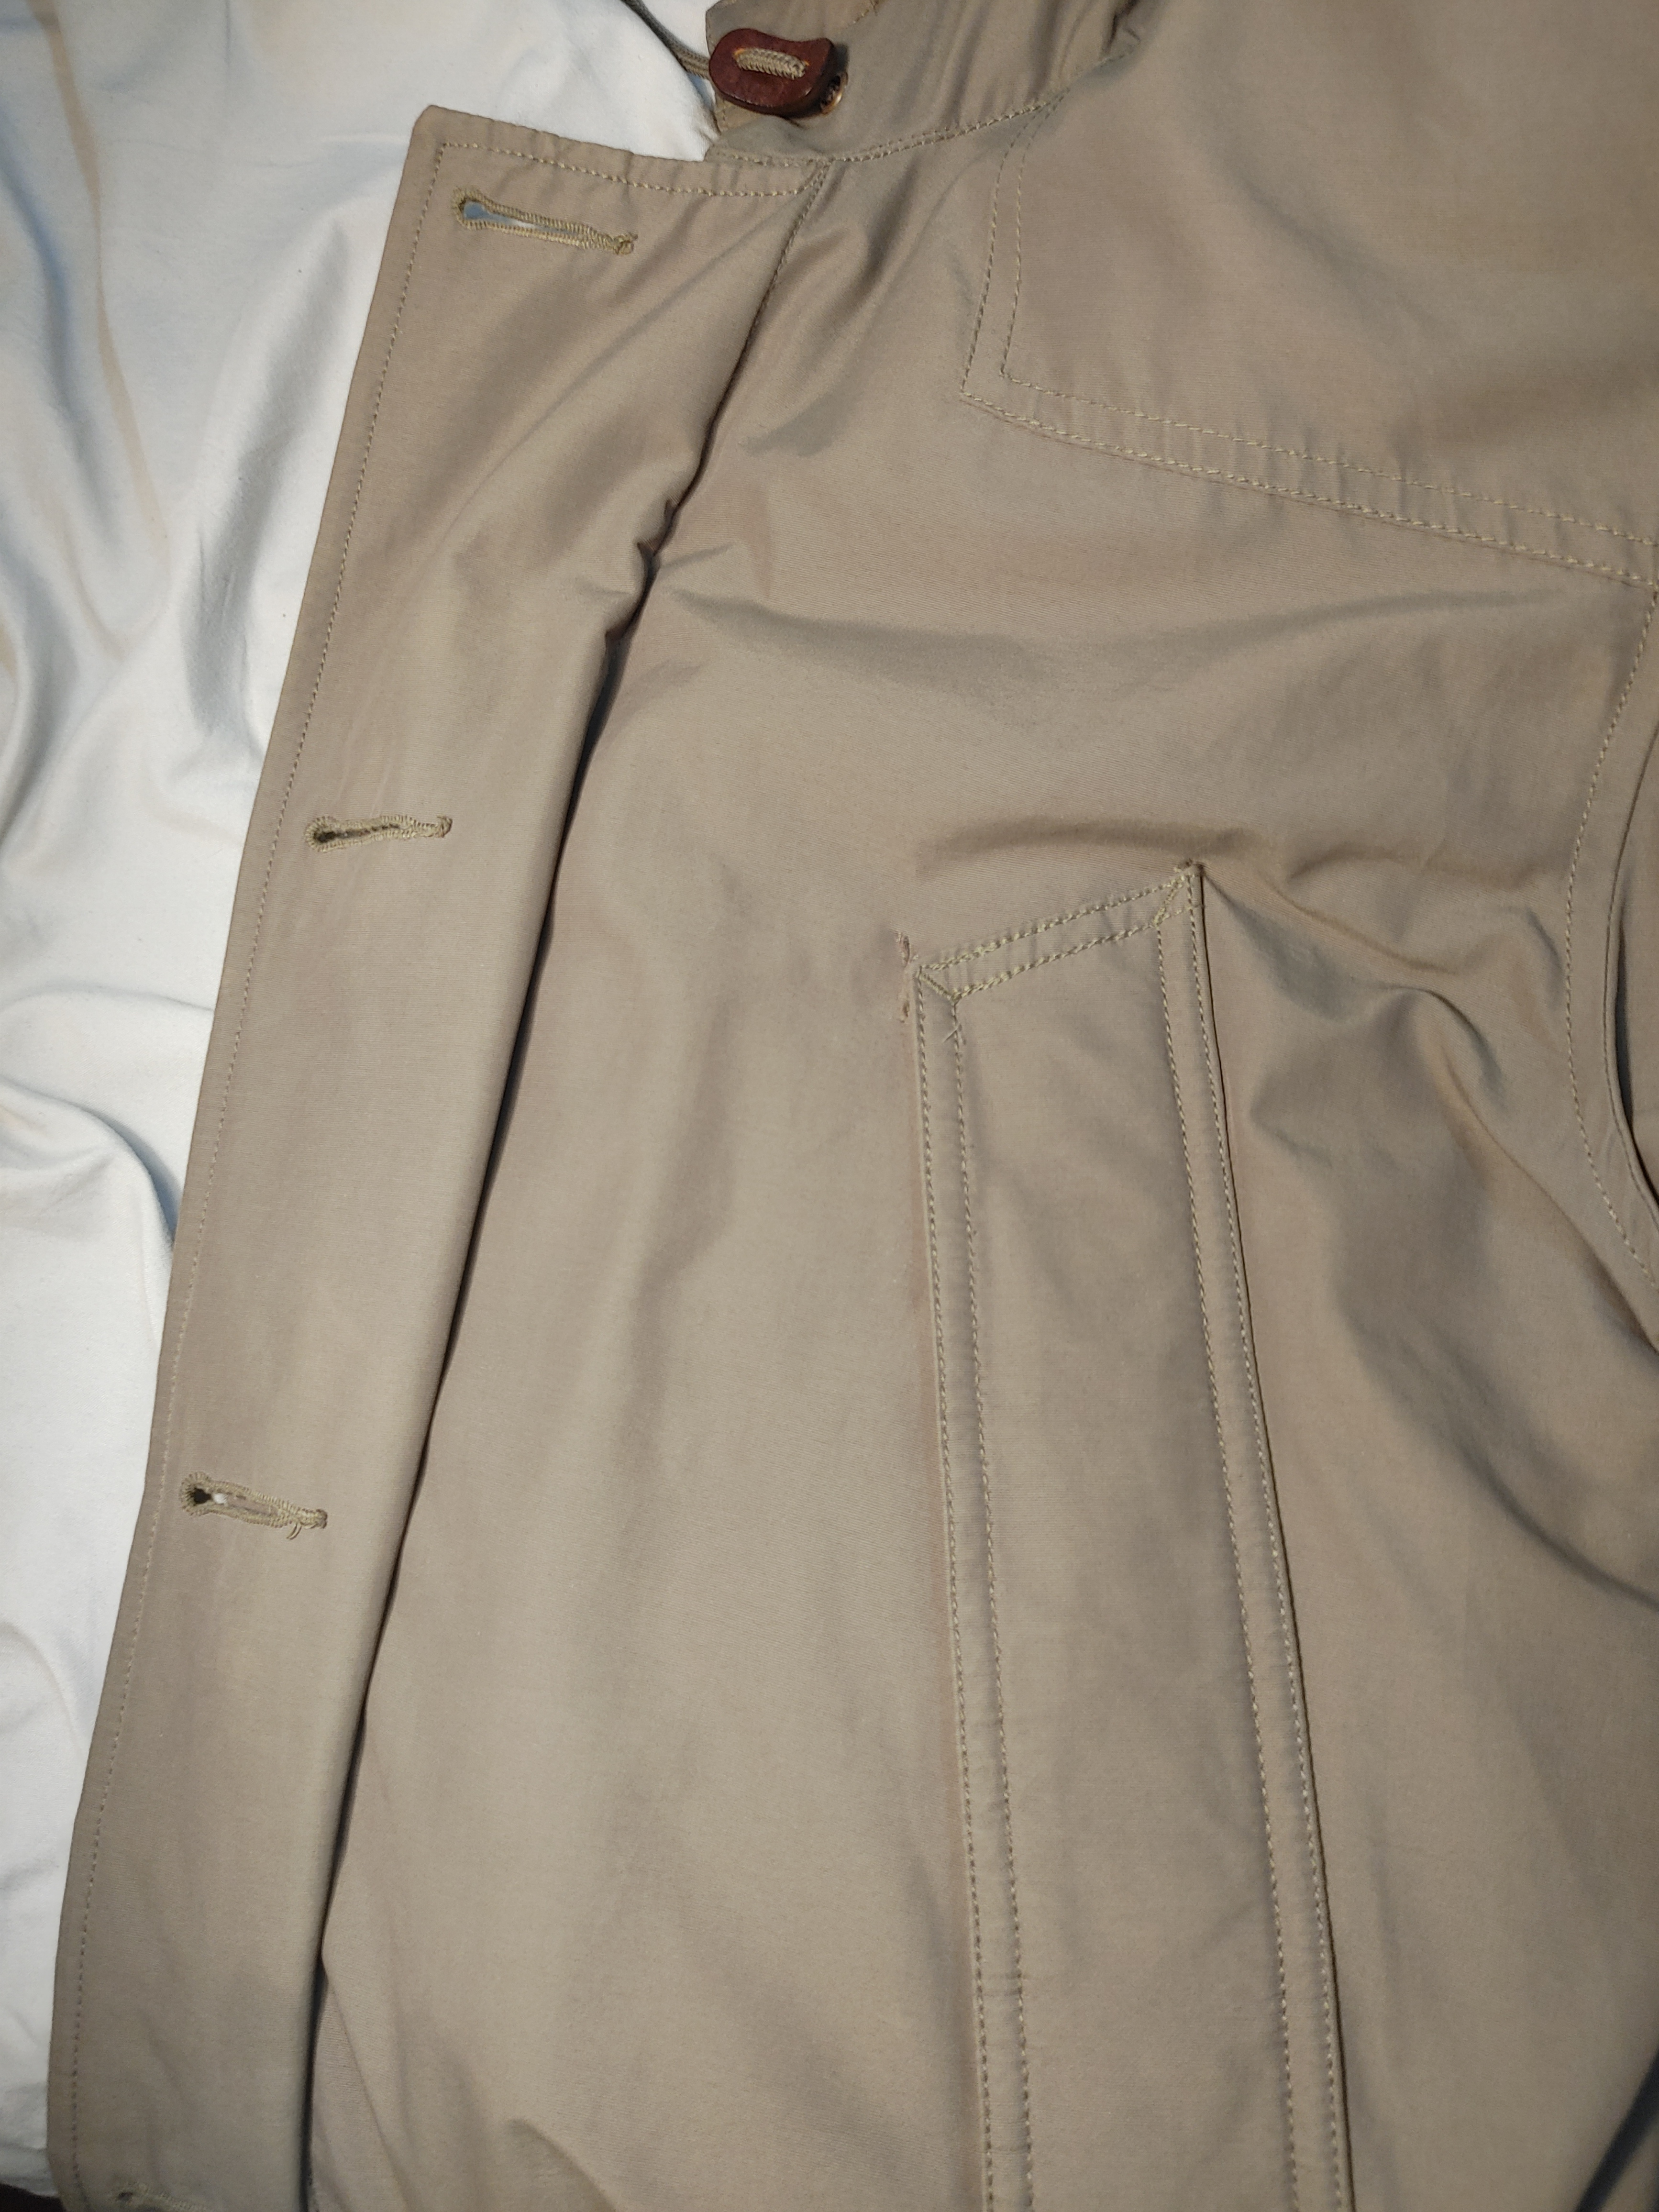
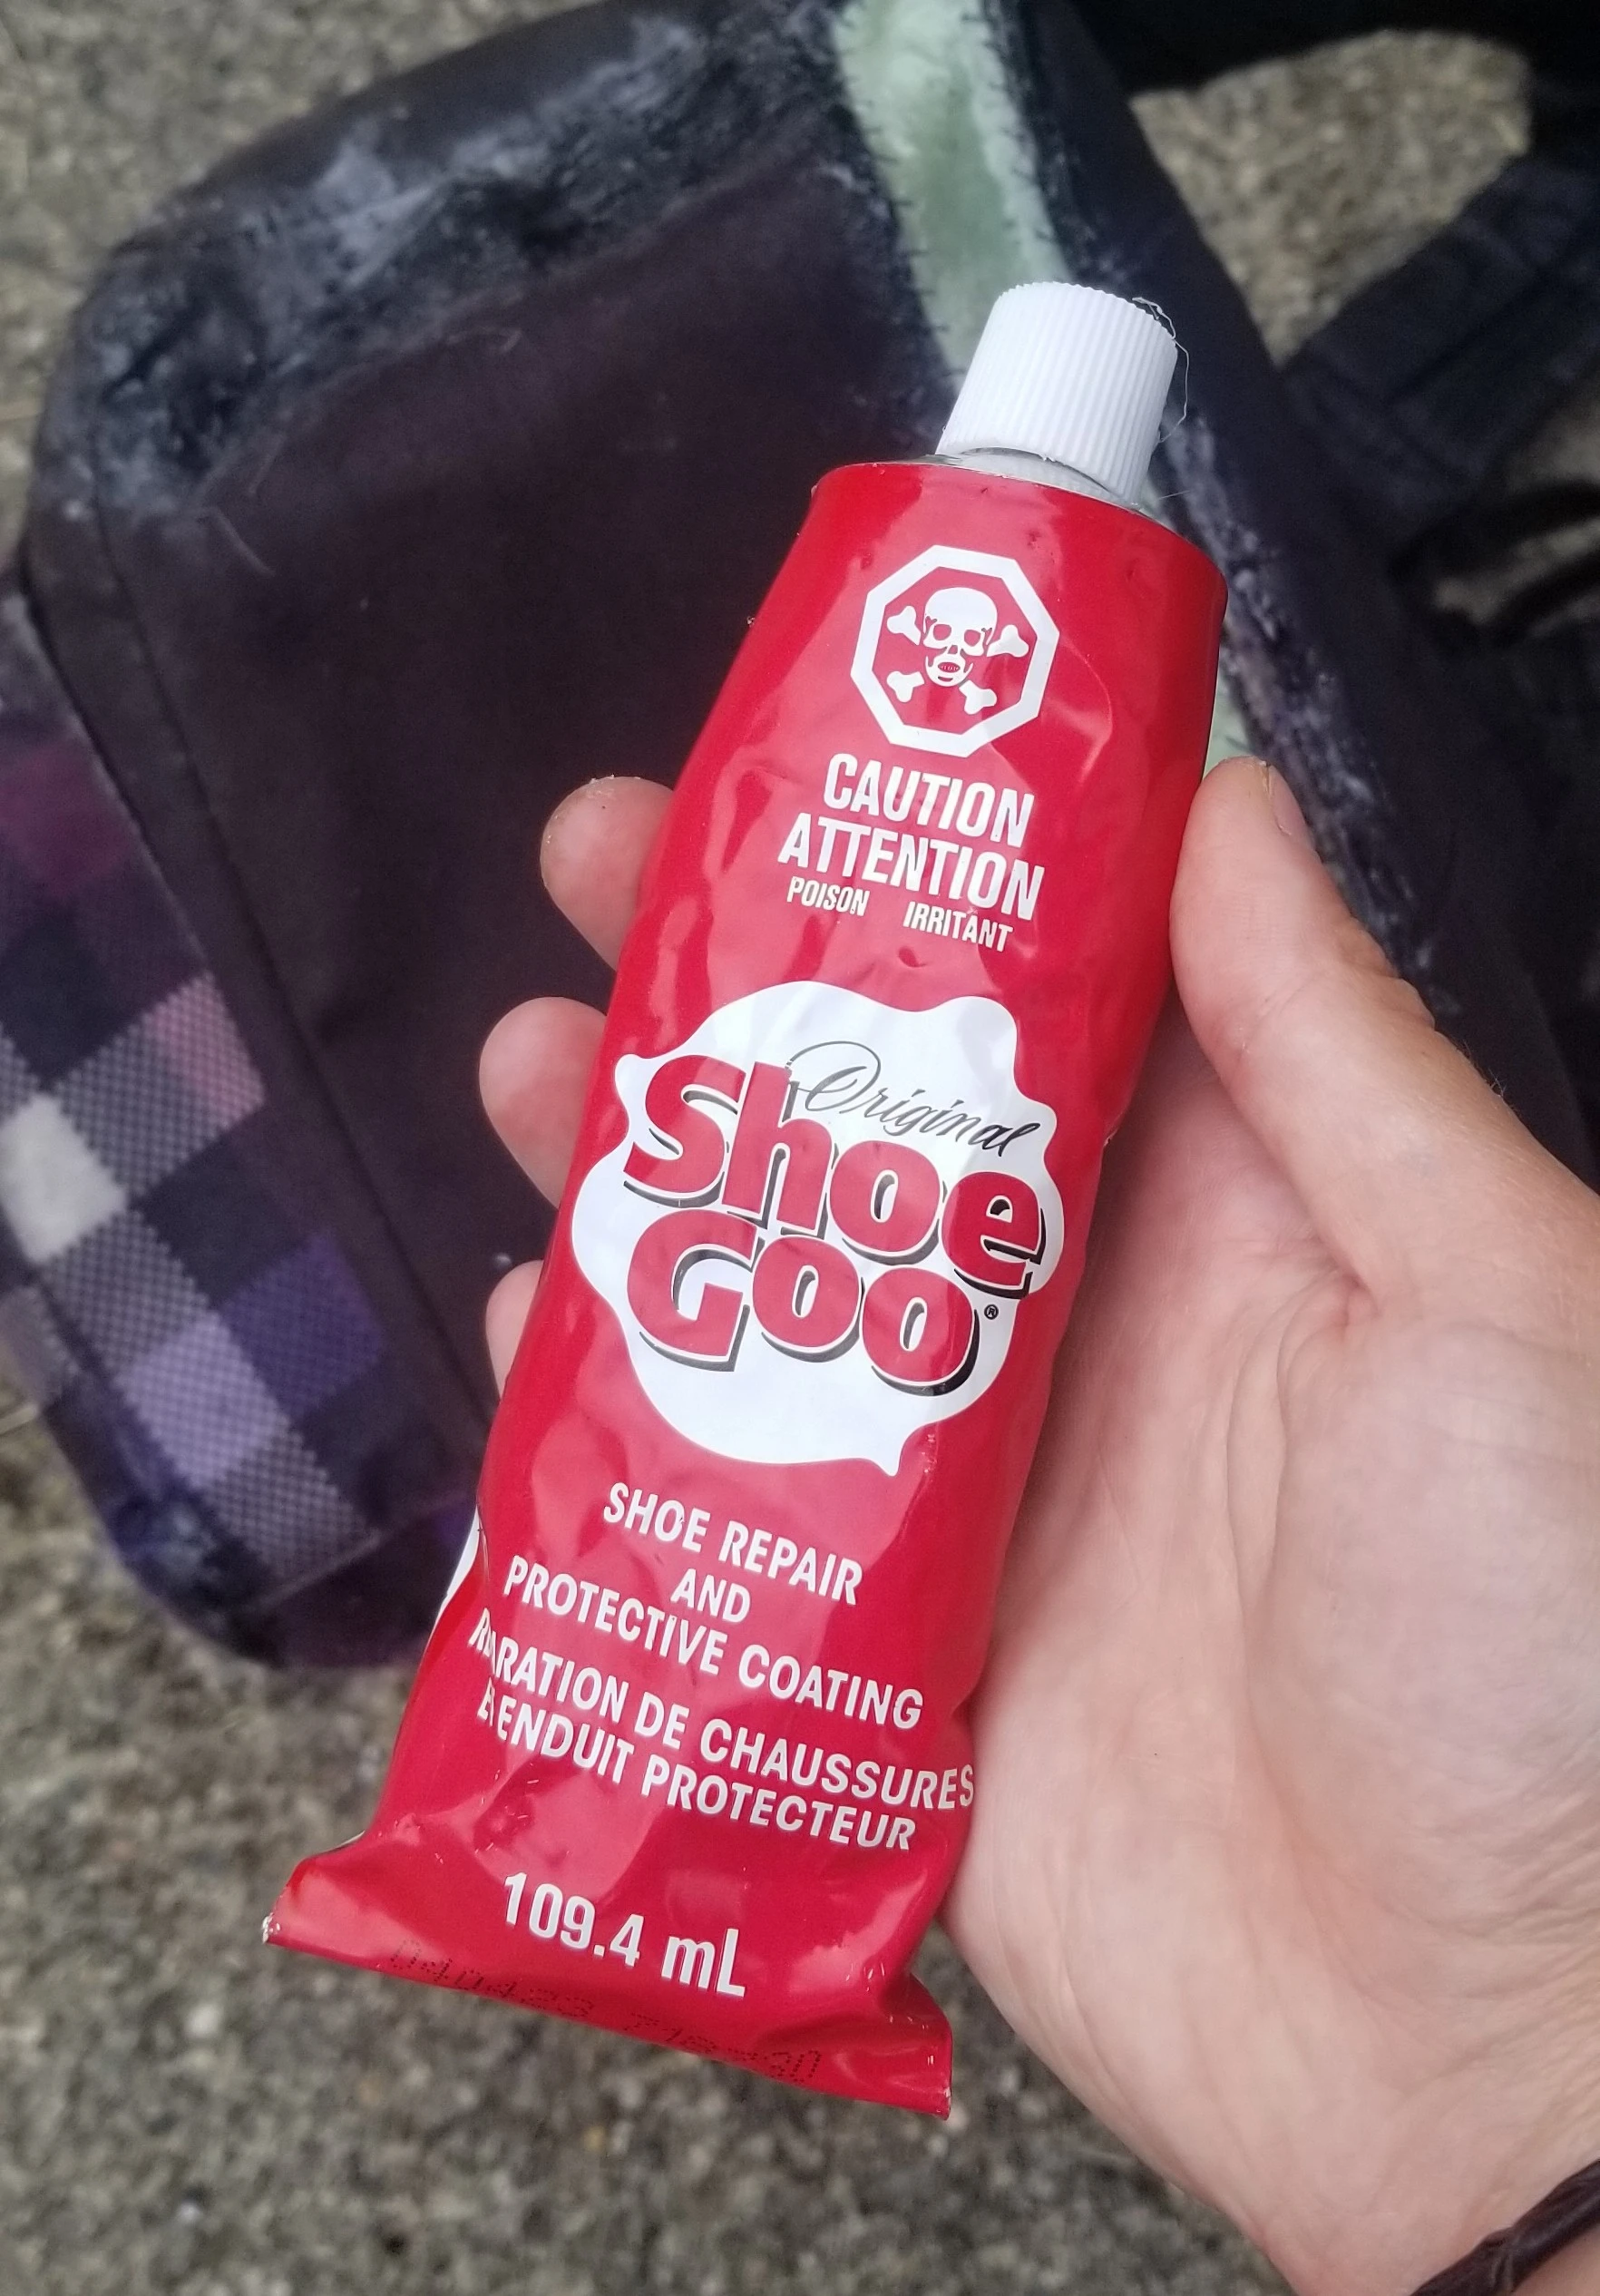
I decided to coat pretty much the entire bottom with Shoe Goo sealant, like I did in my last repair. This gave the material a lot of extra stiffness, as well as waterproofing it. You can see it applied in the shinier areas:

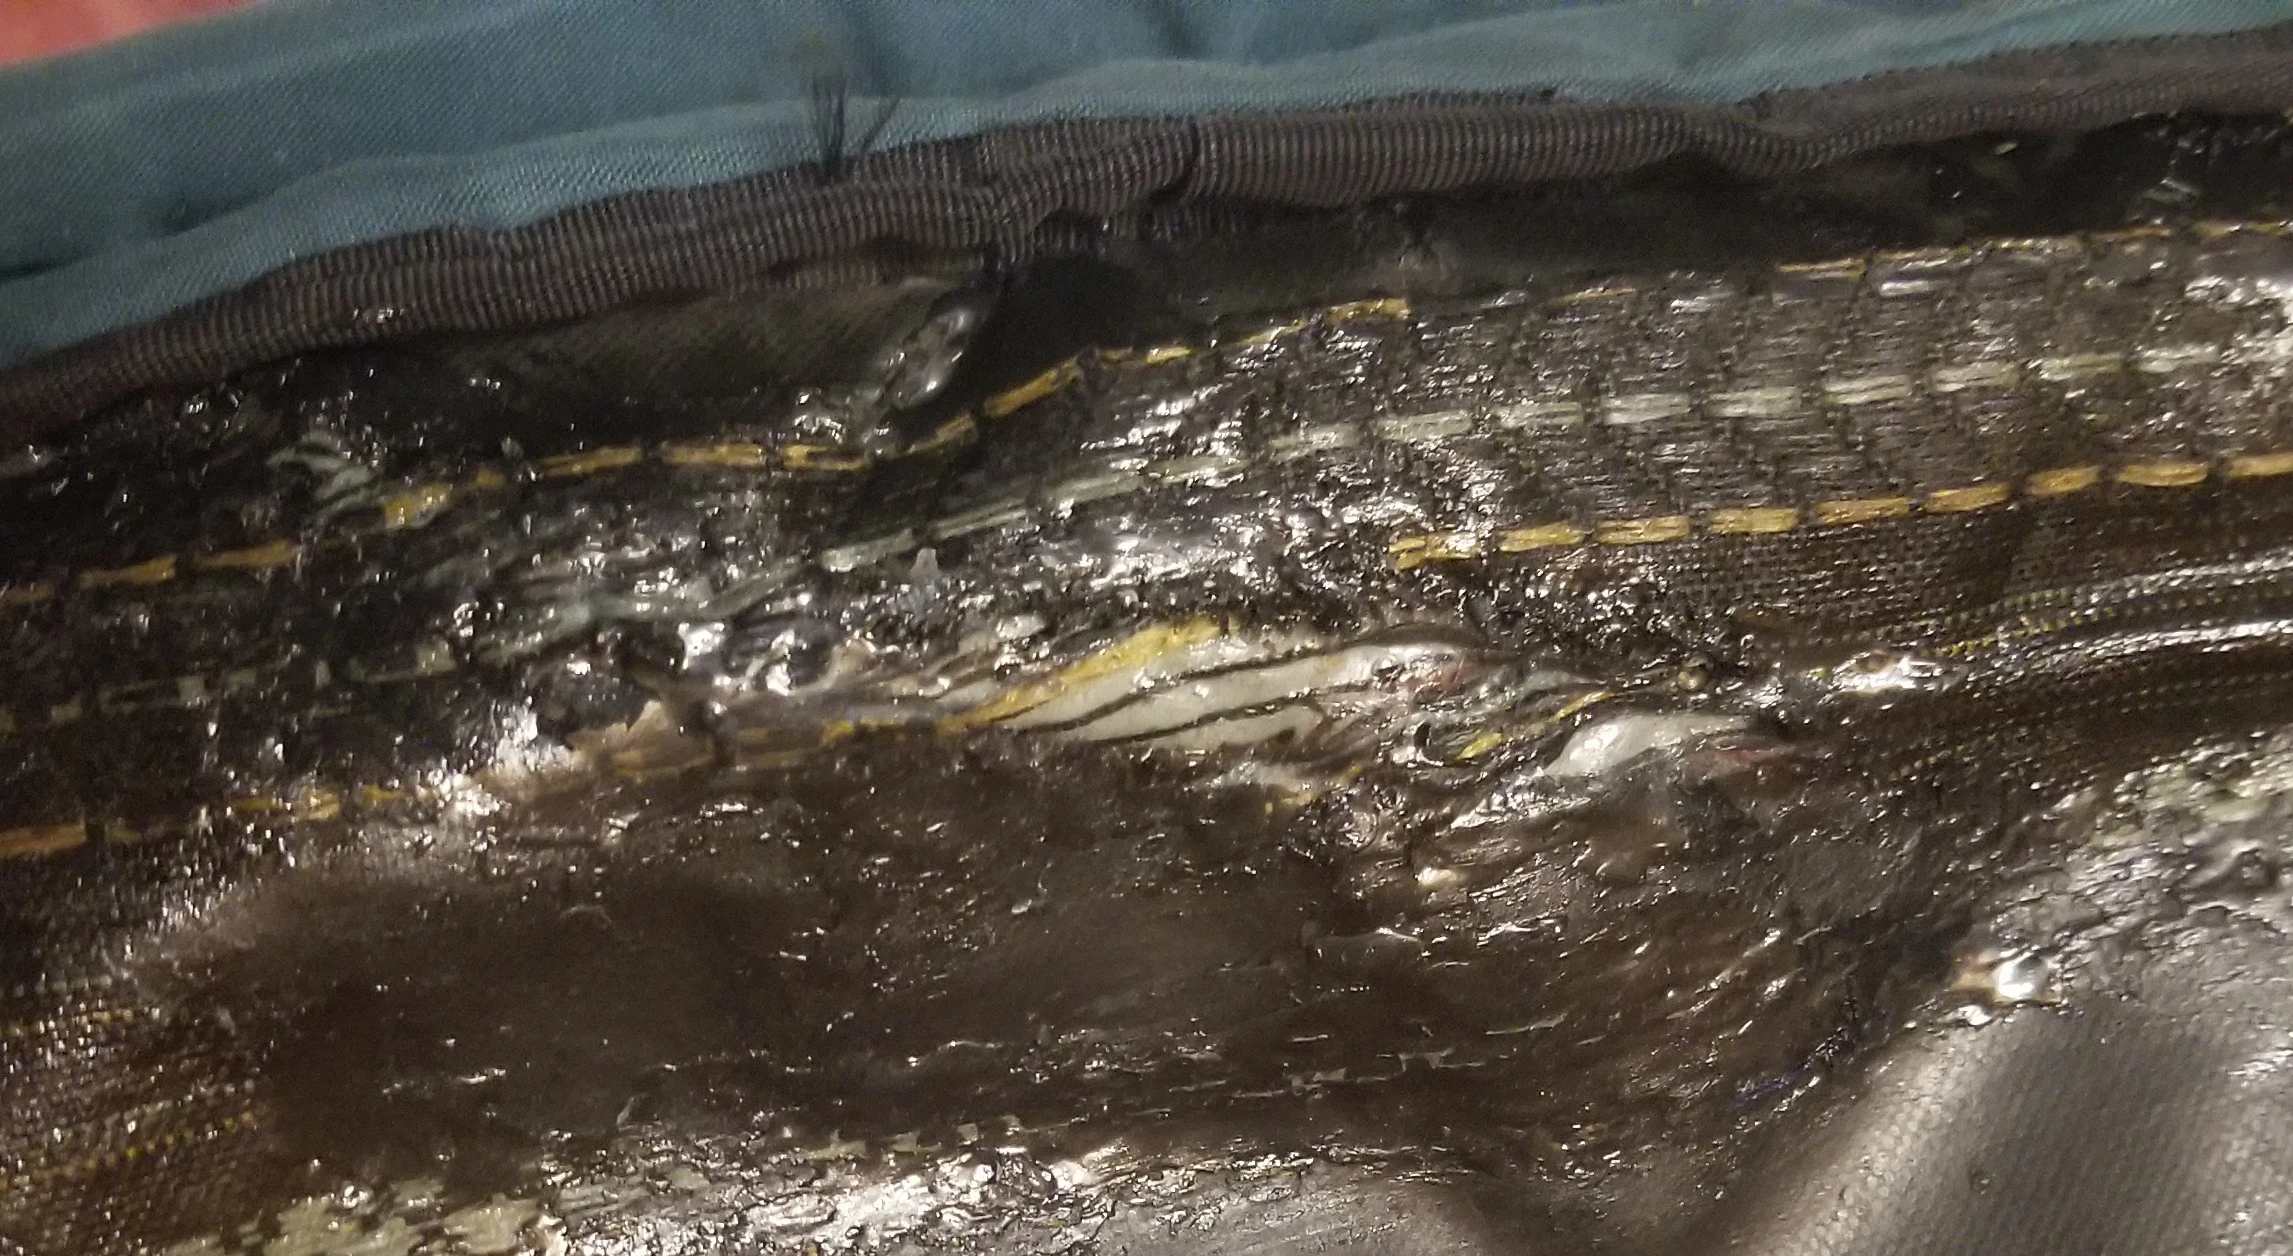
Here is the sealant on the inside of the biggest rip, holding the patch in place:

I know this update isn't particularly visually impressive, but it felt like a pretty successful fix. I'm looking forward to being able to use this bag again!

12
209
I love things! (lemmy.ml)
13
23

I've been looking for more adjustable closure ideas (excluding zippers and buttons) and ways to reduce my fabric cutting waste. This tutorial pointed me in the right direction!

14
30

This backpack has been stowed away at the back of my closet for a few months waiting to be fixed. It was being held together pretty tenuously: 
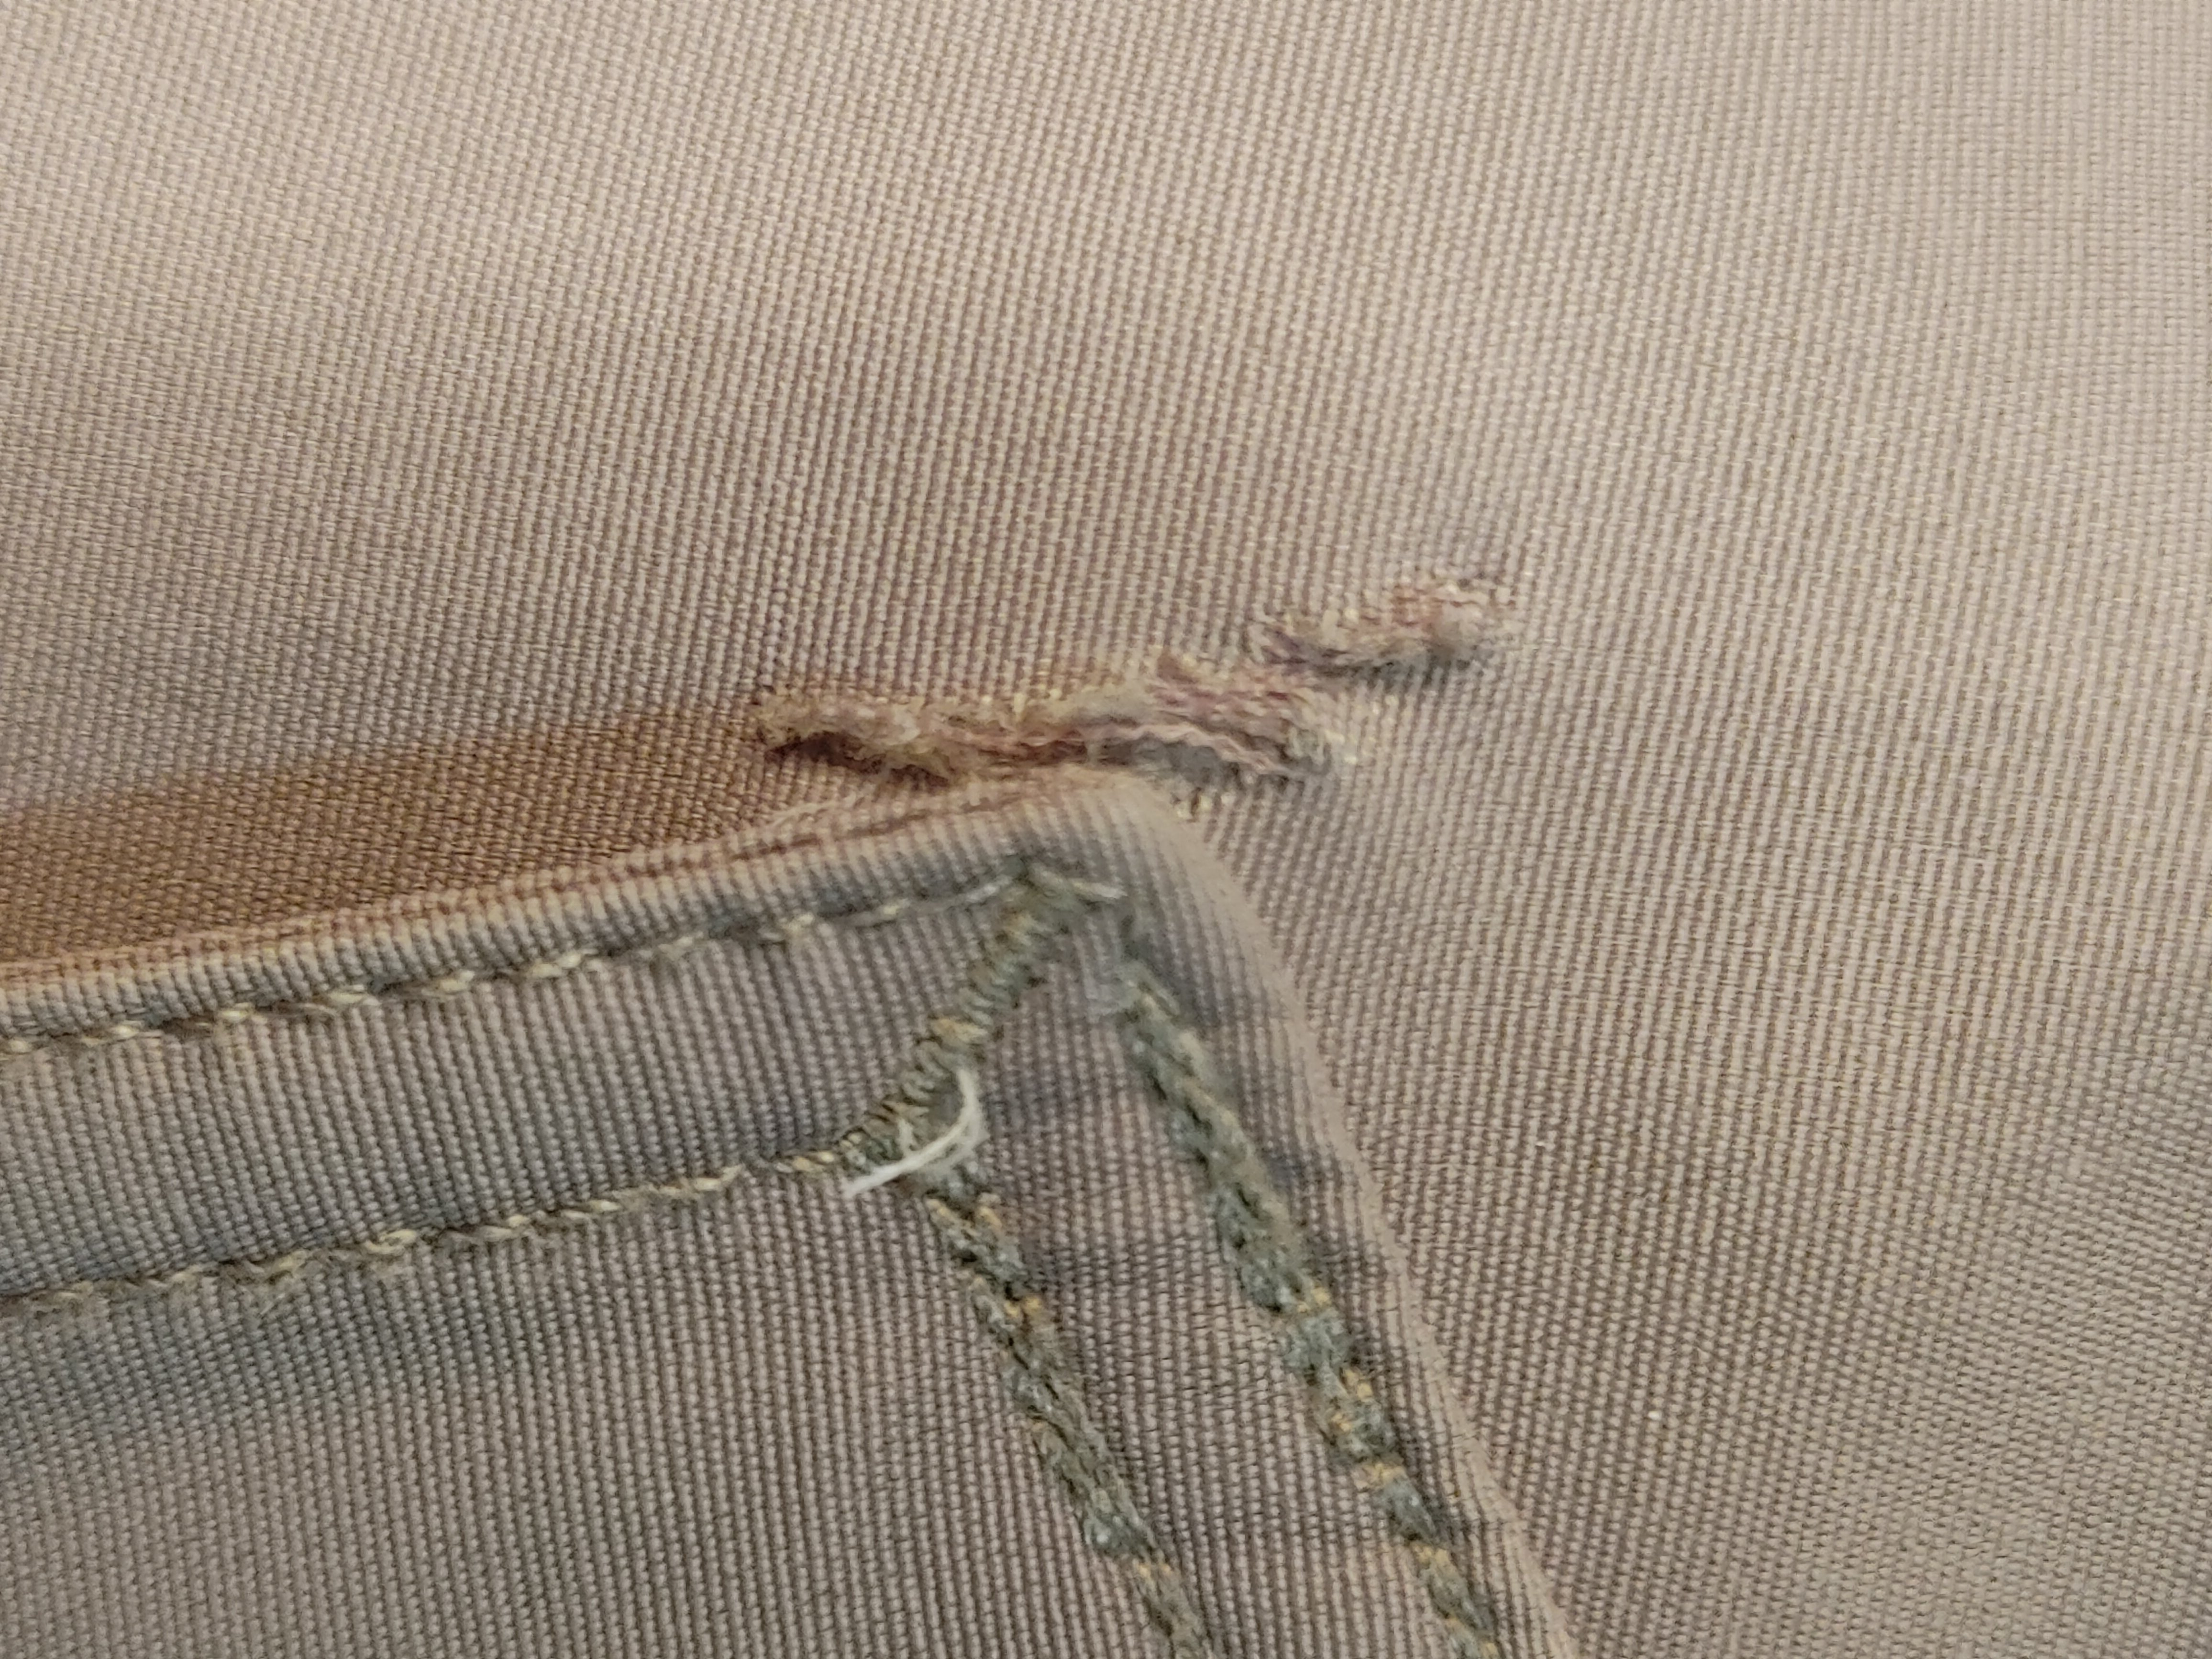
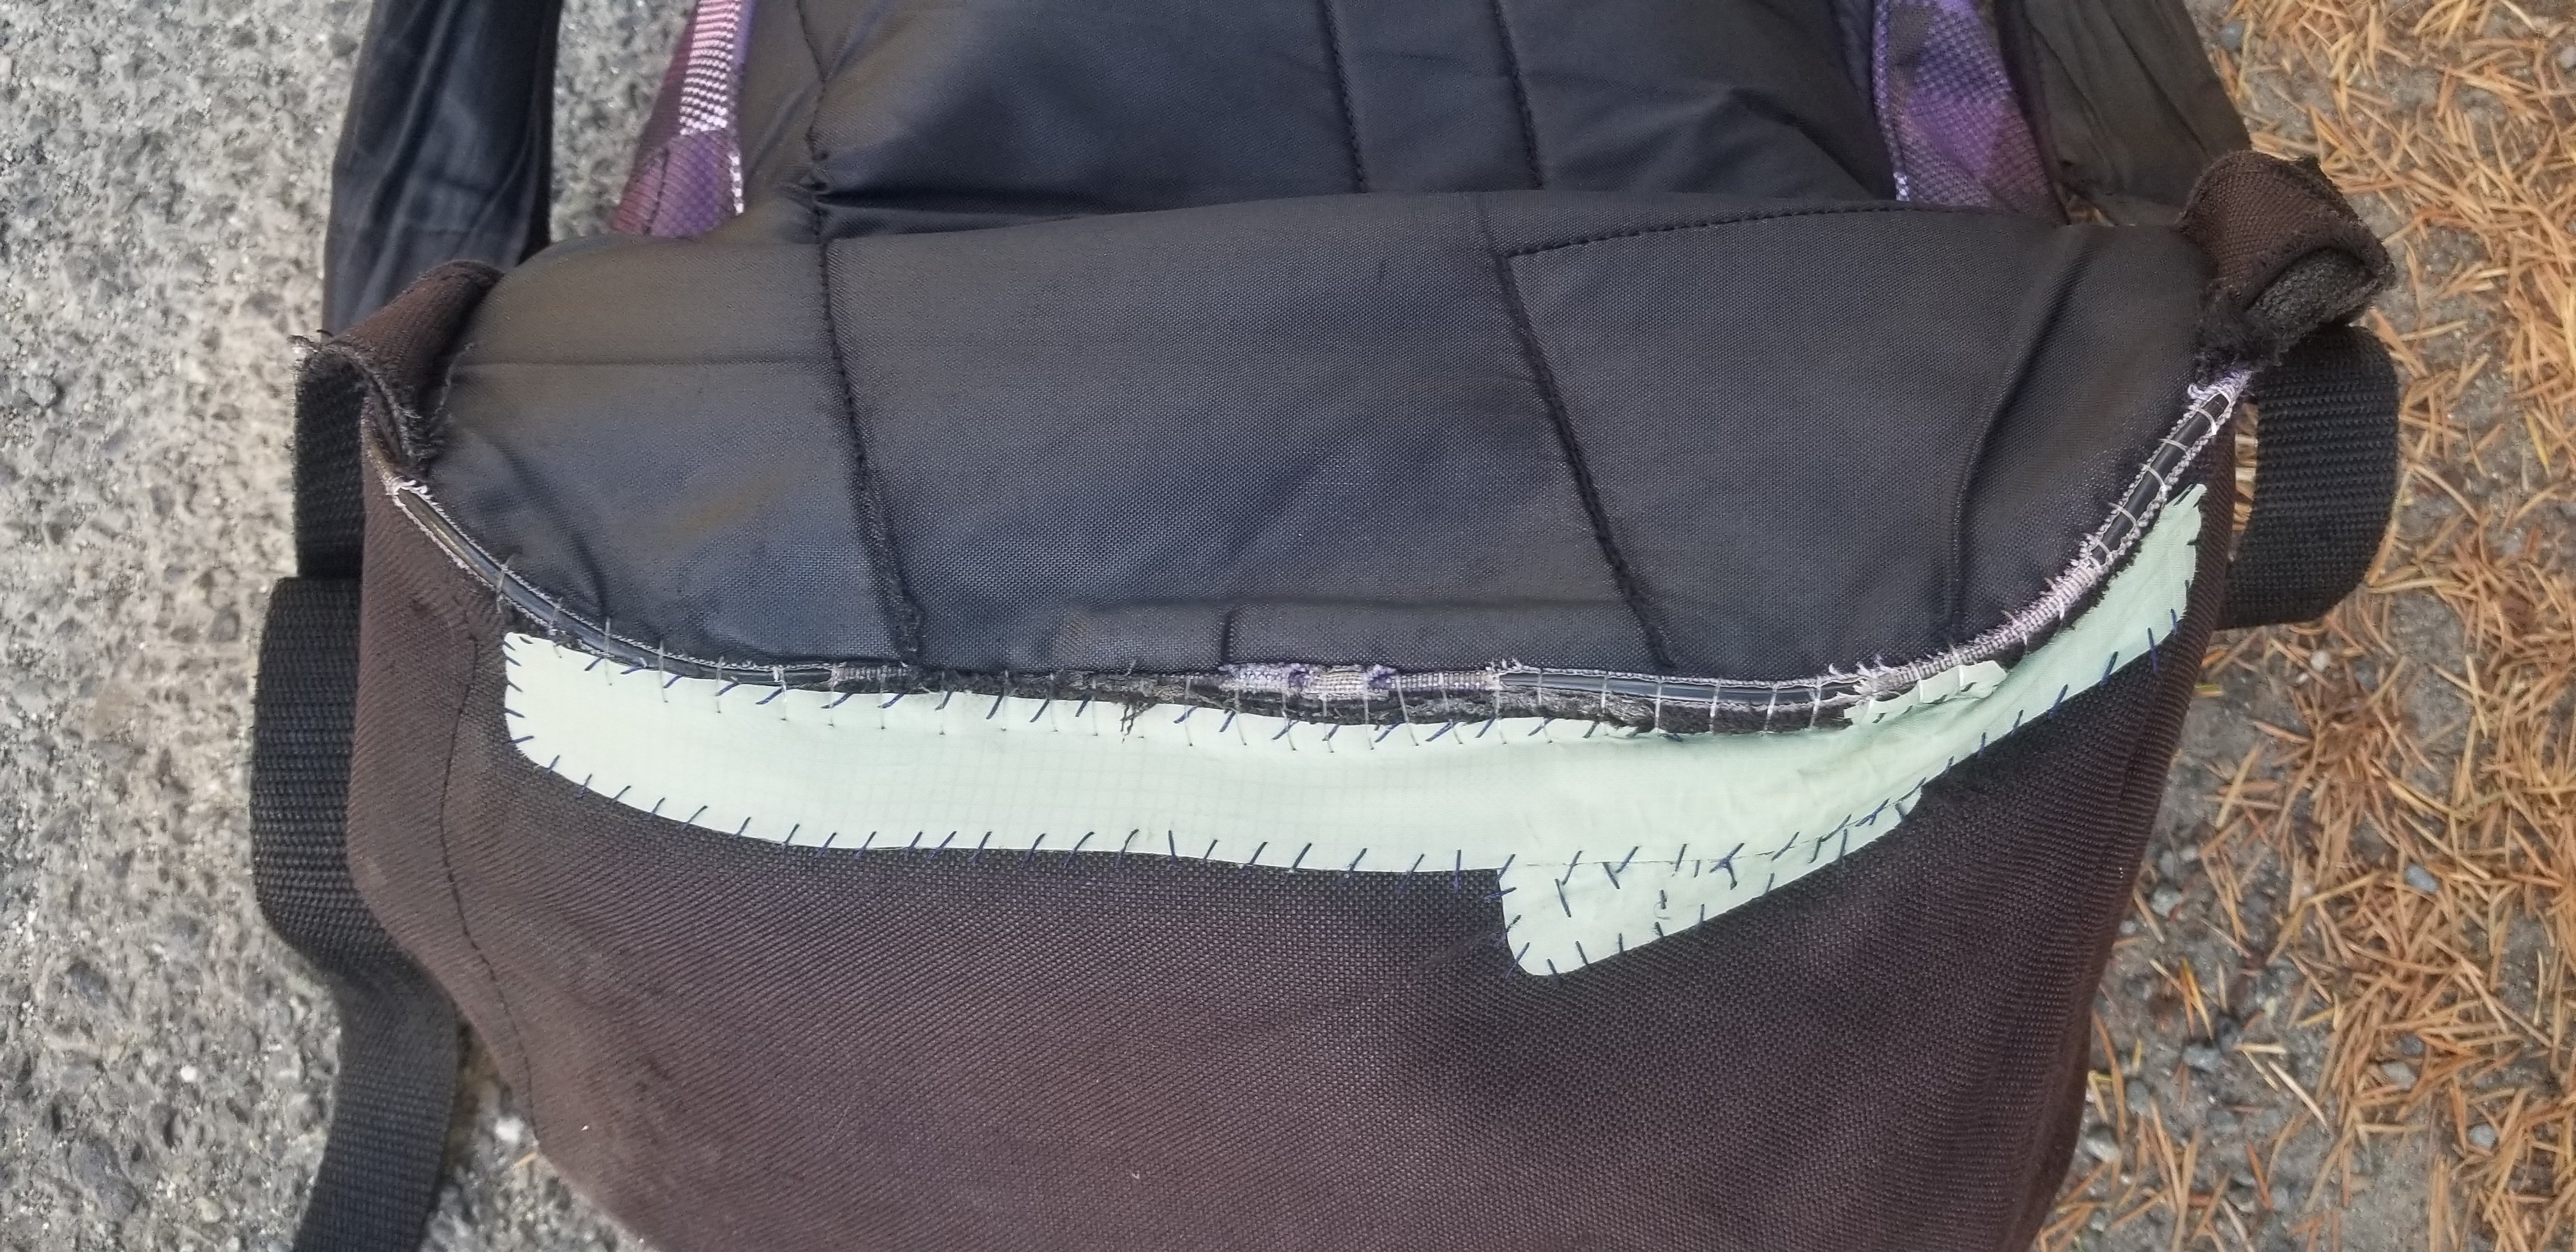
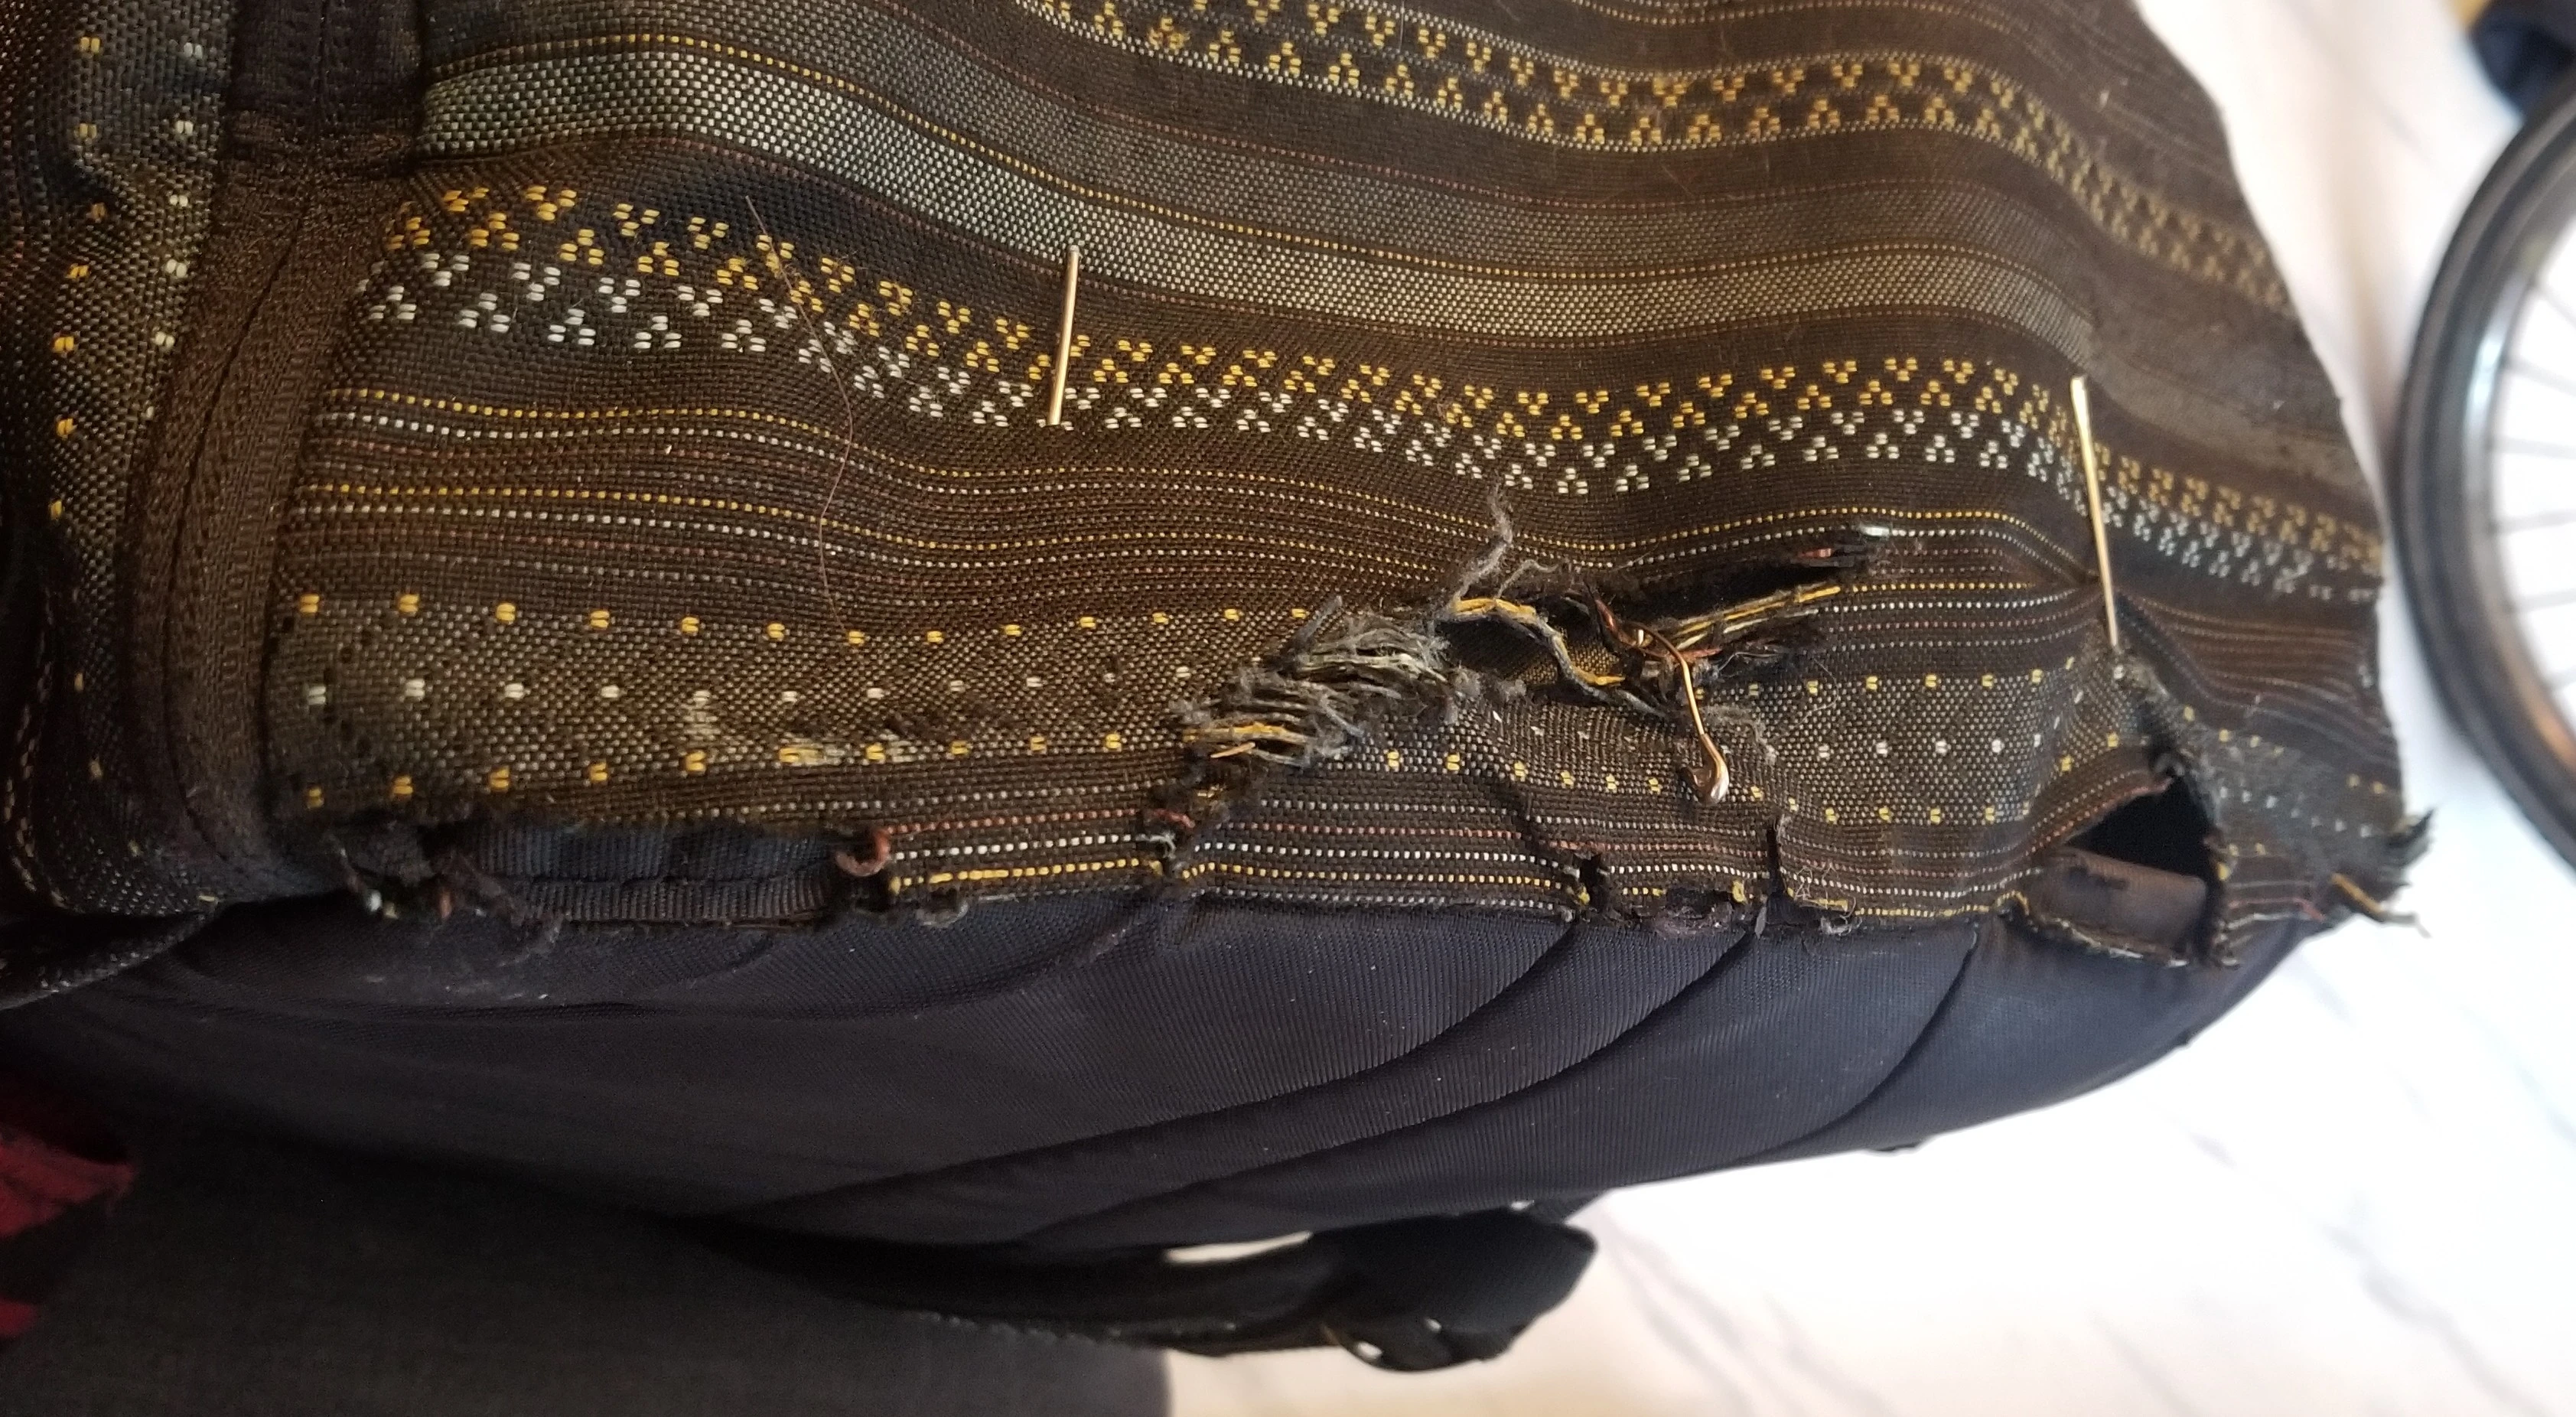
Sewed some of the smaller rips, then added repair tape to the largest one:

Next step will be to turn it inside out and add some more material to the large rip. The entire bottom is pretty much thin enough to let light through at this point. I'll try to post an update once I fix that!

15
34

Zipper pull made from some shoelace I had lying around:

Parts of the bottom of the bag were threadbare (literally starting to let light through). Gooped over everything with a bunch of Shoe Goo sealant, which turned out messy but effective:

Overall I'm pretty please with how this turned out. Maybe not too pretty to look at, but thoroughly functional, and I'm sure it'll extend the life of this bag quite a bit

16
20

Glued and sewed a larger piece of gear repair tape to add fidelity to the ripped edge: 
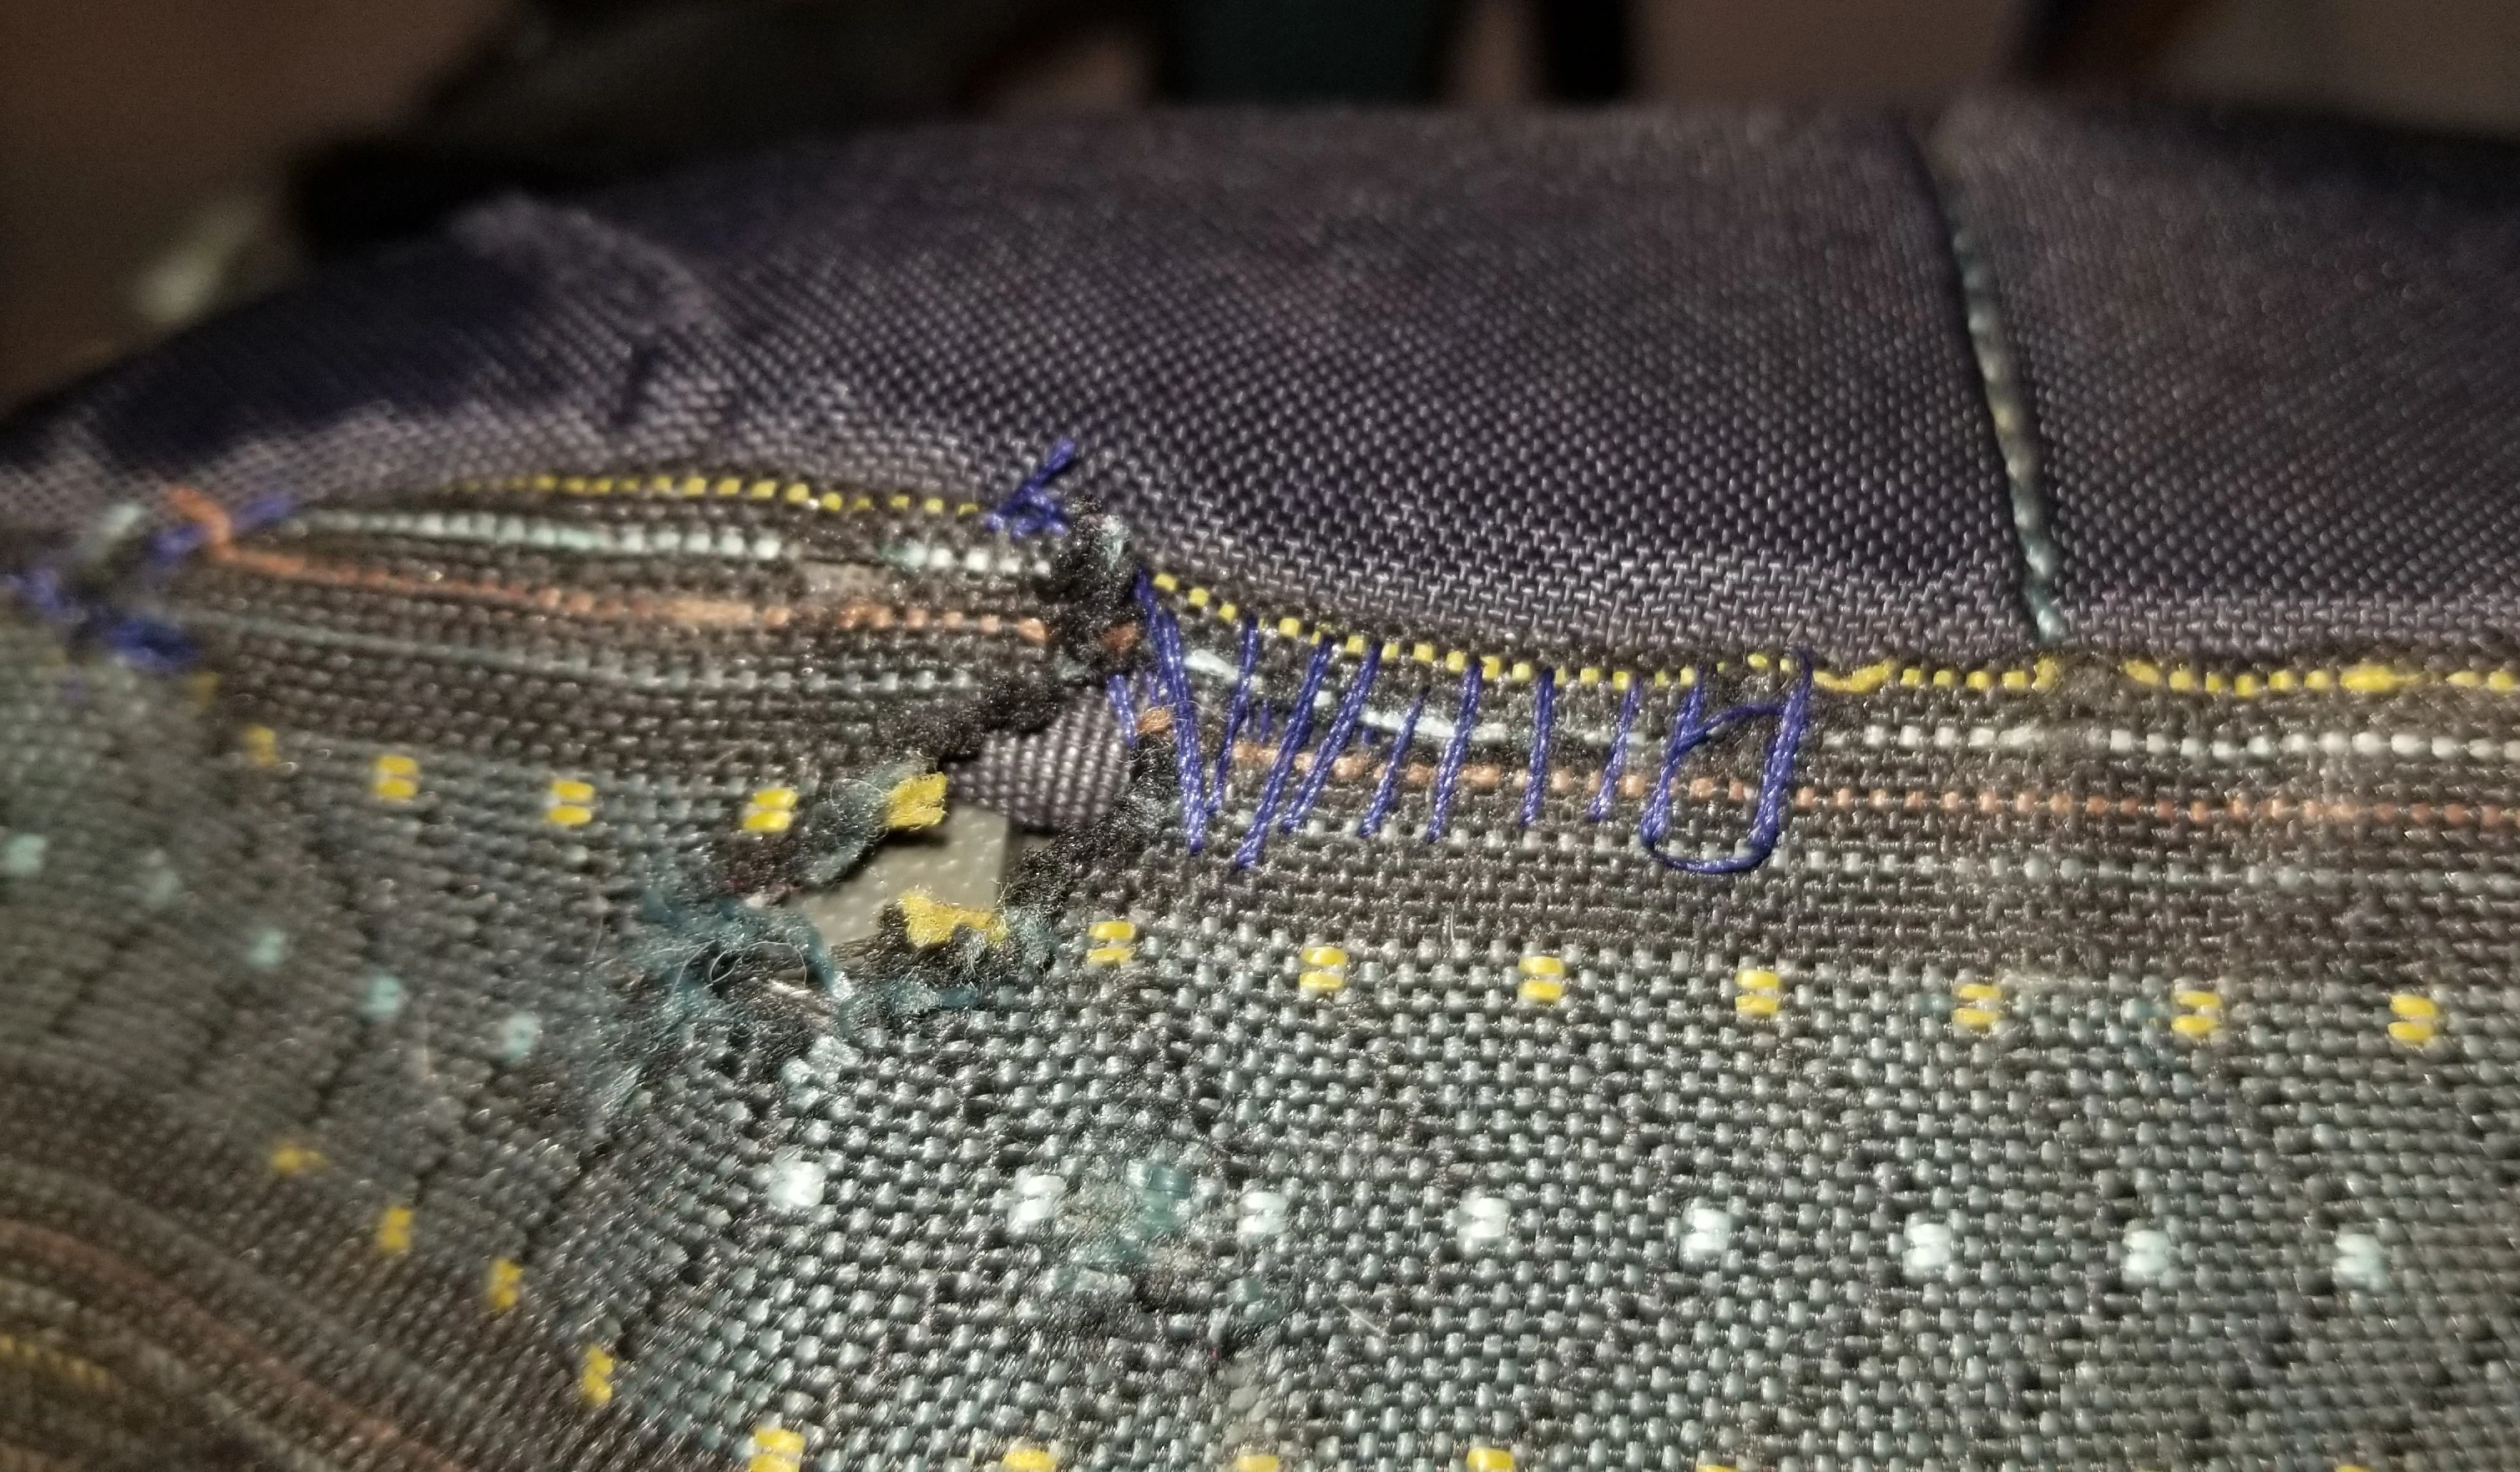
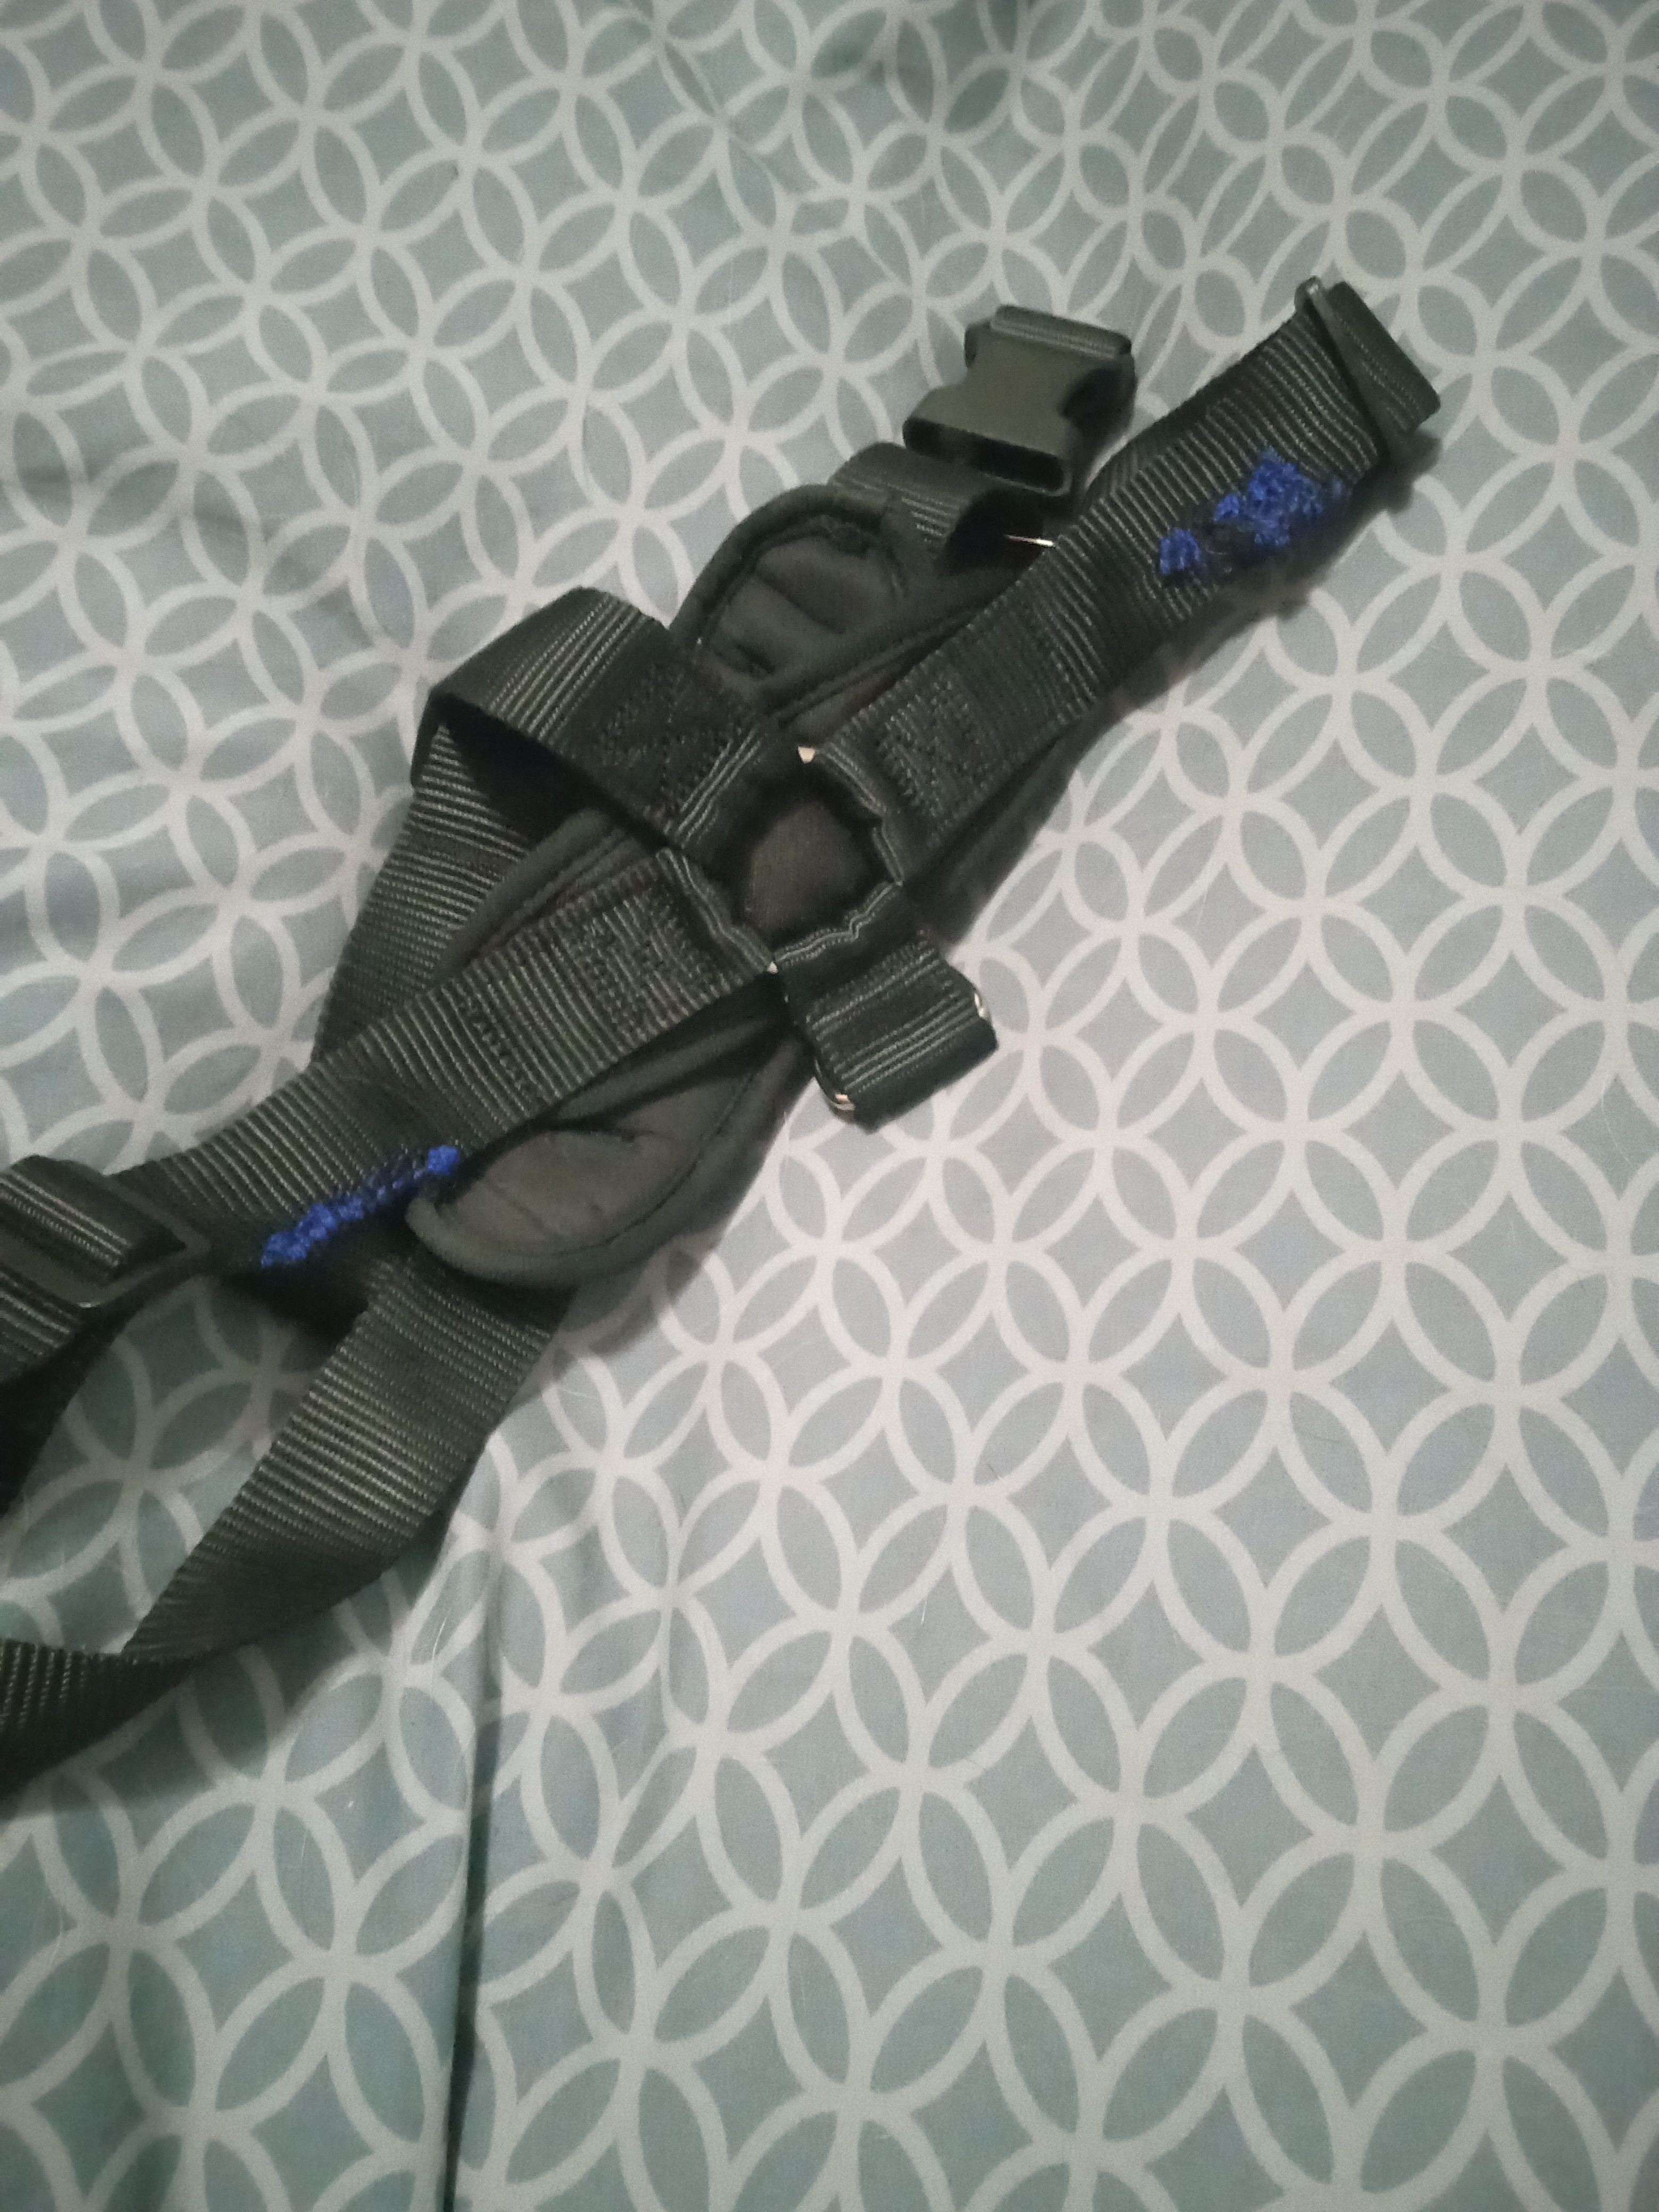
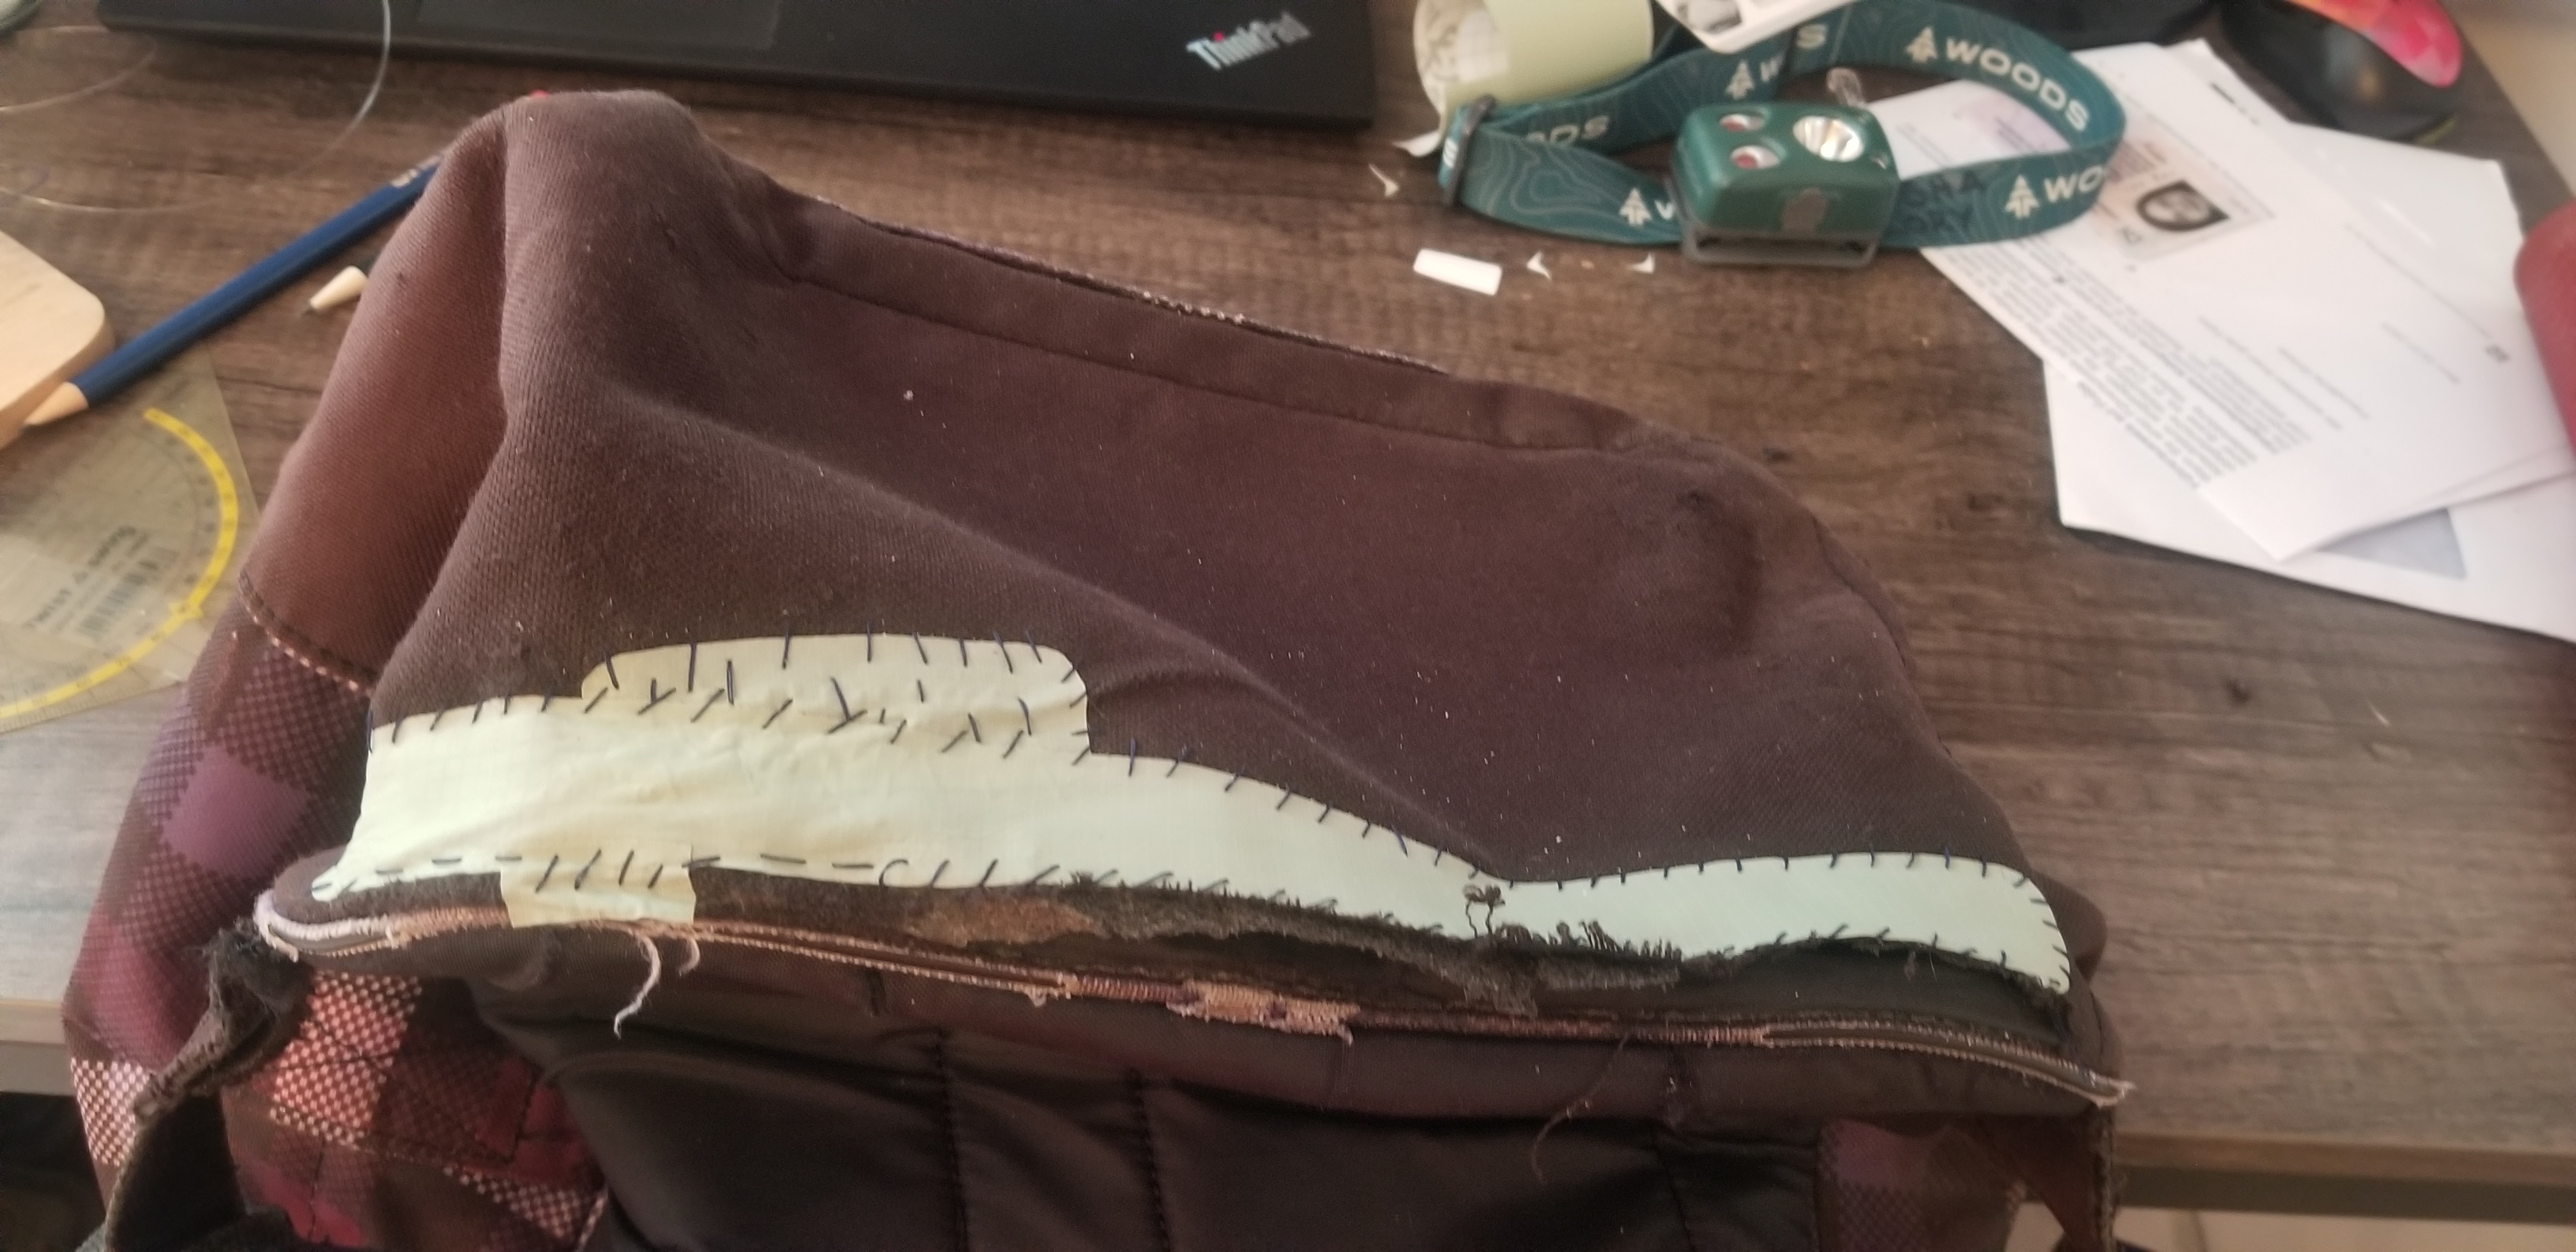
Then sewed the rip itself with fishing line (the strongest thing I could think of to hold the weight of the bag's contents, plus I just happened to have it at home:

As of this post, I've been using it for a week, and it's held up pretty well. I may add some sealant later to hold things in place.

Now all that's left to do is replace a missing zipper pull and fix some rodent damage to the front compartment... I may post about that at a later time

17
22

Basically the title. I would love to get at least a basic working knowledge of repairs and alterations, but I have no experience whatsoever. A “questions that don’t deserve their own post” or “starting resources” thing would be very helpful. Thank you!

18
14
Know your limits (feddit.de)

I have this expensive*) suit which is a bit too baggy. I managed to slim down the trousers a bit and now they fit like a glove. But after watching countless videos about altering jackets, I decided to hand it to a tailor. No way I would to touch that.

*) I got it for cheap, second hand in great condition, but still it's one of those brands I could never afford brand new.

19
25

The small rip was patched with gear repair tape, then sewn over. The larger rip will probably be my next project... any recommendations to make sure it holds?

20
11

I have made a short video showing how I darn my socks, using a netting stitch rather than straight stitches.

It's the first time I've ever made a video & the stitiching is not the finest or neatest I have ever done, but I hope it shows the process well enough to follow.

21
7

This looks like a great resource for anyone in USA & Canada

22
7
23
5
submitted 1 year ago* (last edited 1 year ago) by BrightFadedDog@sh.itjust.works to c/sewingrepairing@sh.itjust.works

This project is more stapling than sewing, but small upholstery projects are quite easy to do, and can be done with small amounts of fabric and padding. The padding for this project was mostly layers cut from an old quilt.

When you pull apart things like this you often find old repairs and layers of previous fabrics. It can be quite interesting to see the way they have been put together.

24
5
25
3
view more: next ›

Sewing, Repairing and Reducing Waste

1090 readers
1 users here now

A place to share ideas, knowledge and creations with textiles. The focus is on reducing waste, whether that be sewing from the scraps left from other projects, using the end of rolls and remnants, or repairing and remaking finished pieces.

founded 1 year ago
MODERATORS