Original Post
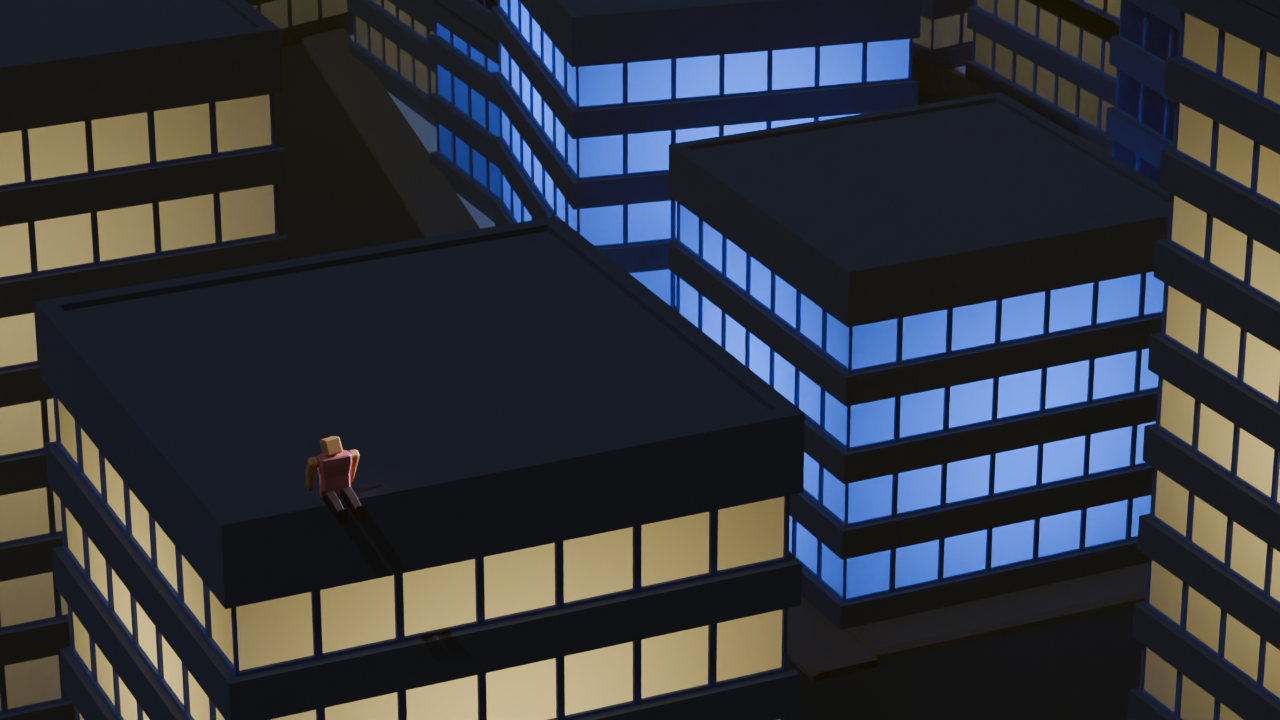
So this is one of my attempts at lighting.
It looks awful.
The skyscrapers here are lighted form inside with a point light, since they are hollow.
I am using a sun light too to make the general scene brighter, its too dim without one.
finally, one spot light that is linked to the humanoid (i.e it only applies to the humanoid) to give the humanoid more highlight.
oh forgot to mention there is a slight fog to dim the background, using a cube with volume scatter
So after following some of your tips and suggestions, I have achieved the following result:

What I did:
- Use an HDRI as a base
- Change sun position to make shadows visible
- lower sun strength
- change the light color of the skyscraper behind the humanoid
- change the highlights position and color to match the skyscrapers around
- modified the fog, increased its visibility and changed its color and density
Although it doesnt look perfect nor great, I am very happy with how it turned out , and that is thanks to everyone here.
I am planning to make more changes, based on the other comments, like that comment that suggested bloom, so expect another update inshallah 😄
Anyway, really like the new render, thank you lemmings 🤍
But how do I apply it? using an emissive material just makes the lightning seem flat and increases the brightness of the entire scene.
Or did you mean something else?
You could also try some of the other Glare subtypes, some are more subtle or extreme
Note that it is a bit of a trick/shortcut; you could probably achieve the the same effect with more realistic directionality just fine tuning lights and fog, but it would take a lot more tweaking of settings.