Original Post
So this is one of my attempts at lighting.
It looks awful.
The skyscrapers here are lighted form inside with a point light, since they are hollow.
I am using a sun light too to make the general scene brighter, its too dim without one.
finally, one spot light that is linked to the humanoid (i.e it only applies to the humanoid) to give the humanoid more highlight.
oh forgot to mention there is a slight fog to dim the background, using a cube with volume scatter
So after following some of your tips and suggestions, I have achieved the following result:
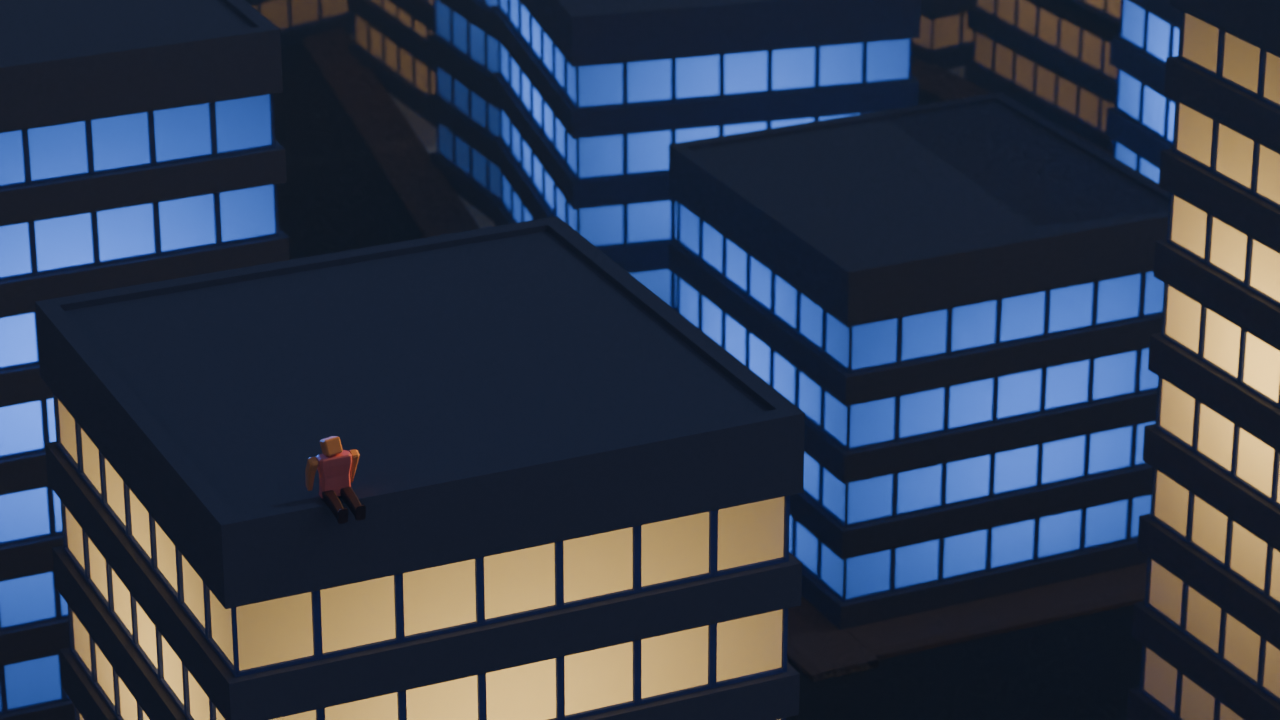
What I did:
- Use an HDRI as a base
- Change sun position to make shadows visible
- lower sun strength
- change the light color of the skyscraper behind the humanoid
- change the highlights position and color to match the skyscrapers around
- modified the fog, increased its visibility and changed its color and density
Although it doesnt look perfect nor great, I am very happy with how it turned out , and that is thanks to everyone here.
I am planning to make more changes, based on the other comments, like that comment that suggested bloom, so expect another update inshallah 😄
Anyway, really like the new render, thank you lemmings 🤍
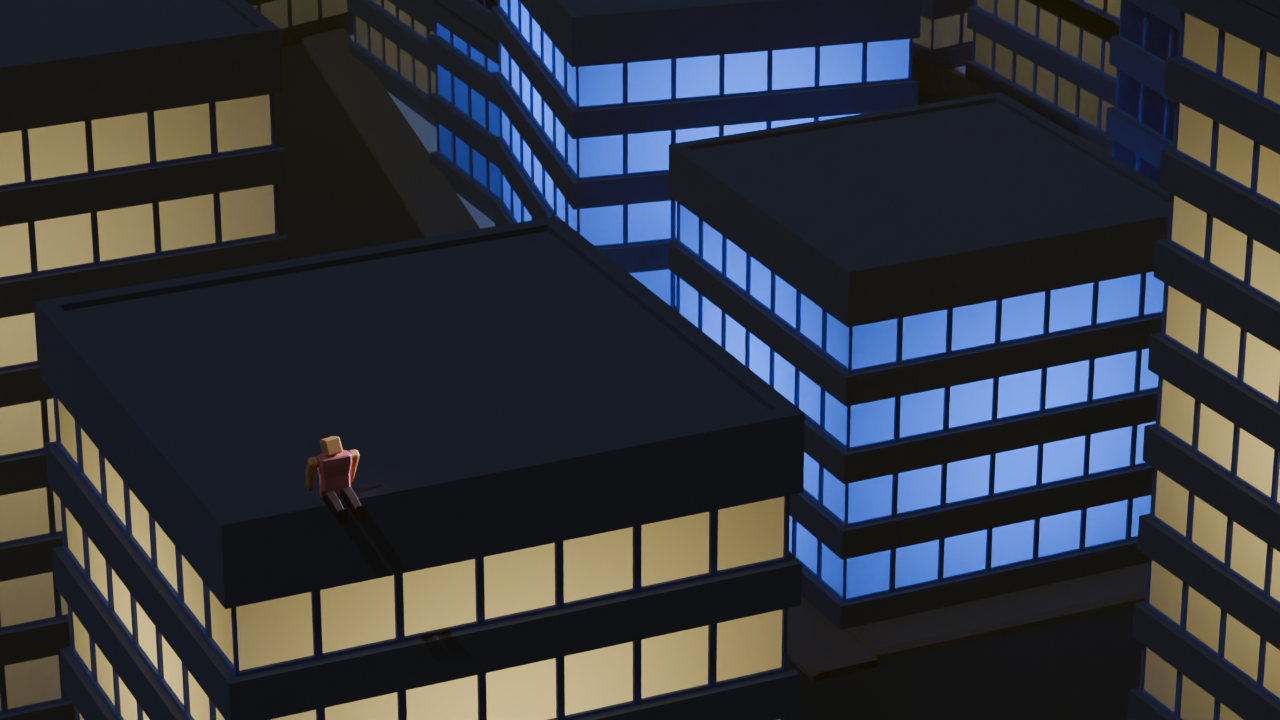
If you don't go for tutorial/course/workshop route then reference is probably the only way.
The "Item" panel in the right side N-panel shows objects scale and dimensions.
I believe non 1.0 scale have no effect on lighting (it will affect result from modifier) it is still good practice to make it 1.0
Dimensions group will show... dimensions, of the object. Keep it realistic. If you wish to place something in the scene as a reference, someone made an extension for that. It have not pass the approval yet though.
https://extensions.blender.org/approval-queue/autoscale-ref/
I think just knowing and keeping the scale in mind is enough.
For lights power, get it from manufacturer website. It is not a strict law and you can get away with some degree of artistic freedom. But be consistent, light from one candle should not be 5 times stronger than other candle.
There are some free extensions that copy "Photographer" add-on which have light presets, lumen or candela conversion all that stuff. Useful quick read
https://docs.blender.org/manual/en/latest/render/lights/light_object.html#power-of-lights
Size affect shadow blurriness. Distance affect how long bright-dark gradient is (falloff) Again, artistic freedom.
From technical standpoint, I think it comes down to knowing what will happen when tweaking certain number. The rest is artistic skill.
Bookmarked, will check it out, thanks. 🤍