mycology
403 readers
1 users here now
Mycology
be careful about self-doxxing
founded 2 years ago
MODERATORS
1
2
These lil fellas use the kinetic energy of rain drops to launch their spores, according to Wikipedia. Pretty cool. Here's one that popped already.


3
44
About to inoculate my first batch of oyster mushrooms in a couple big 5 gallon buckets
(hexbear.net)
If this goes well, I'll keep adding buckets until I am dropping mushroom jerky on the ground with every arm motion 
4
26
To save endangered trees, researchers in South America recruit an army of fungi
(news.mongabay.com)
5
First yield from this: log inoculation using sawdust spawn
These are lovely, they have a nice nutty flavor and are very, very tender. Hence why I've never seen them in a store.
One of the joys of gourmet mushroom cultivation is having access to all these edible species that I would otherwise never get to taste.
I was supposed to bury these per the north spore instructions but they seem to be doing just fine above ground? 

6

7
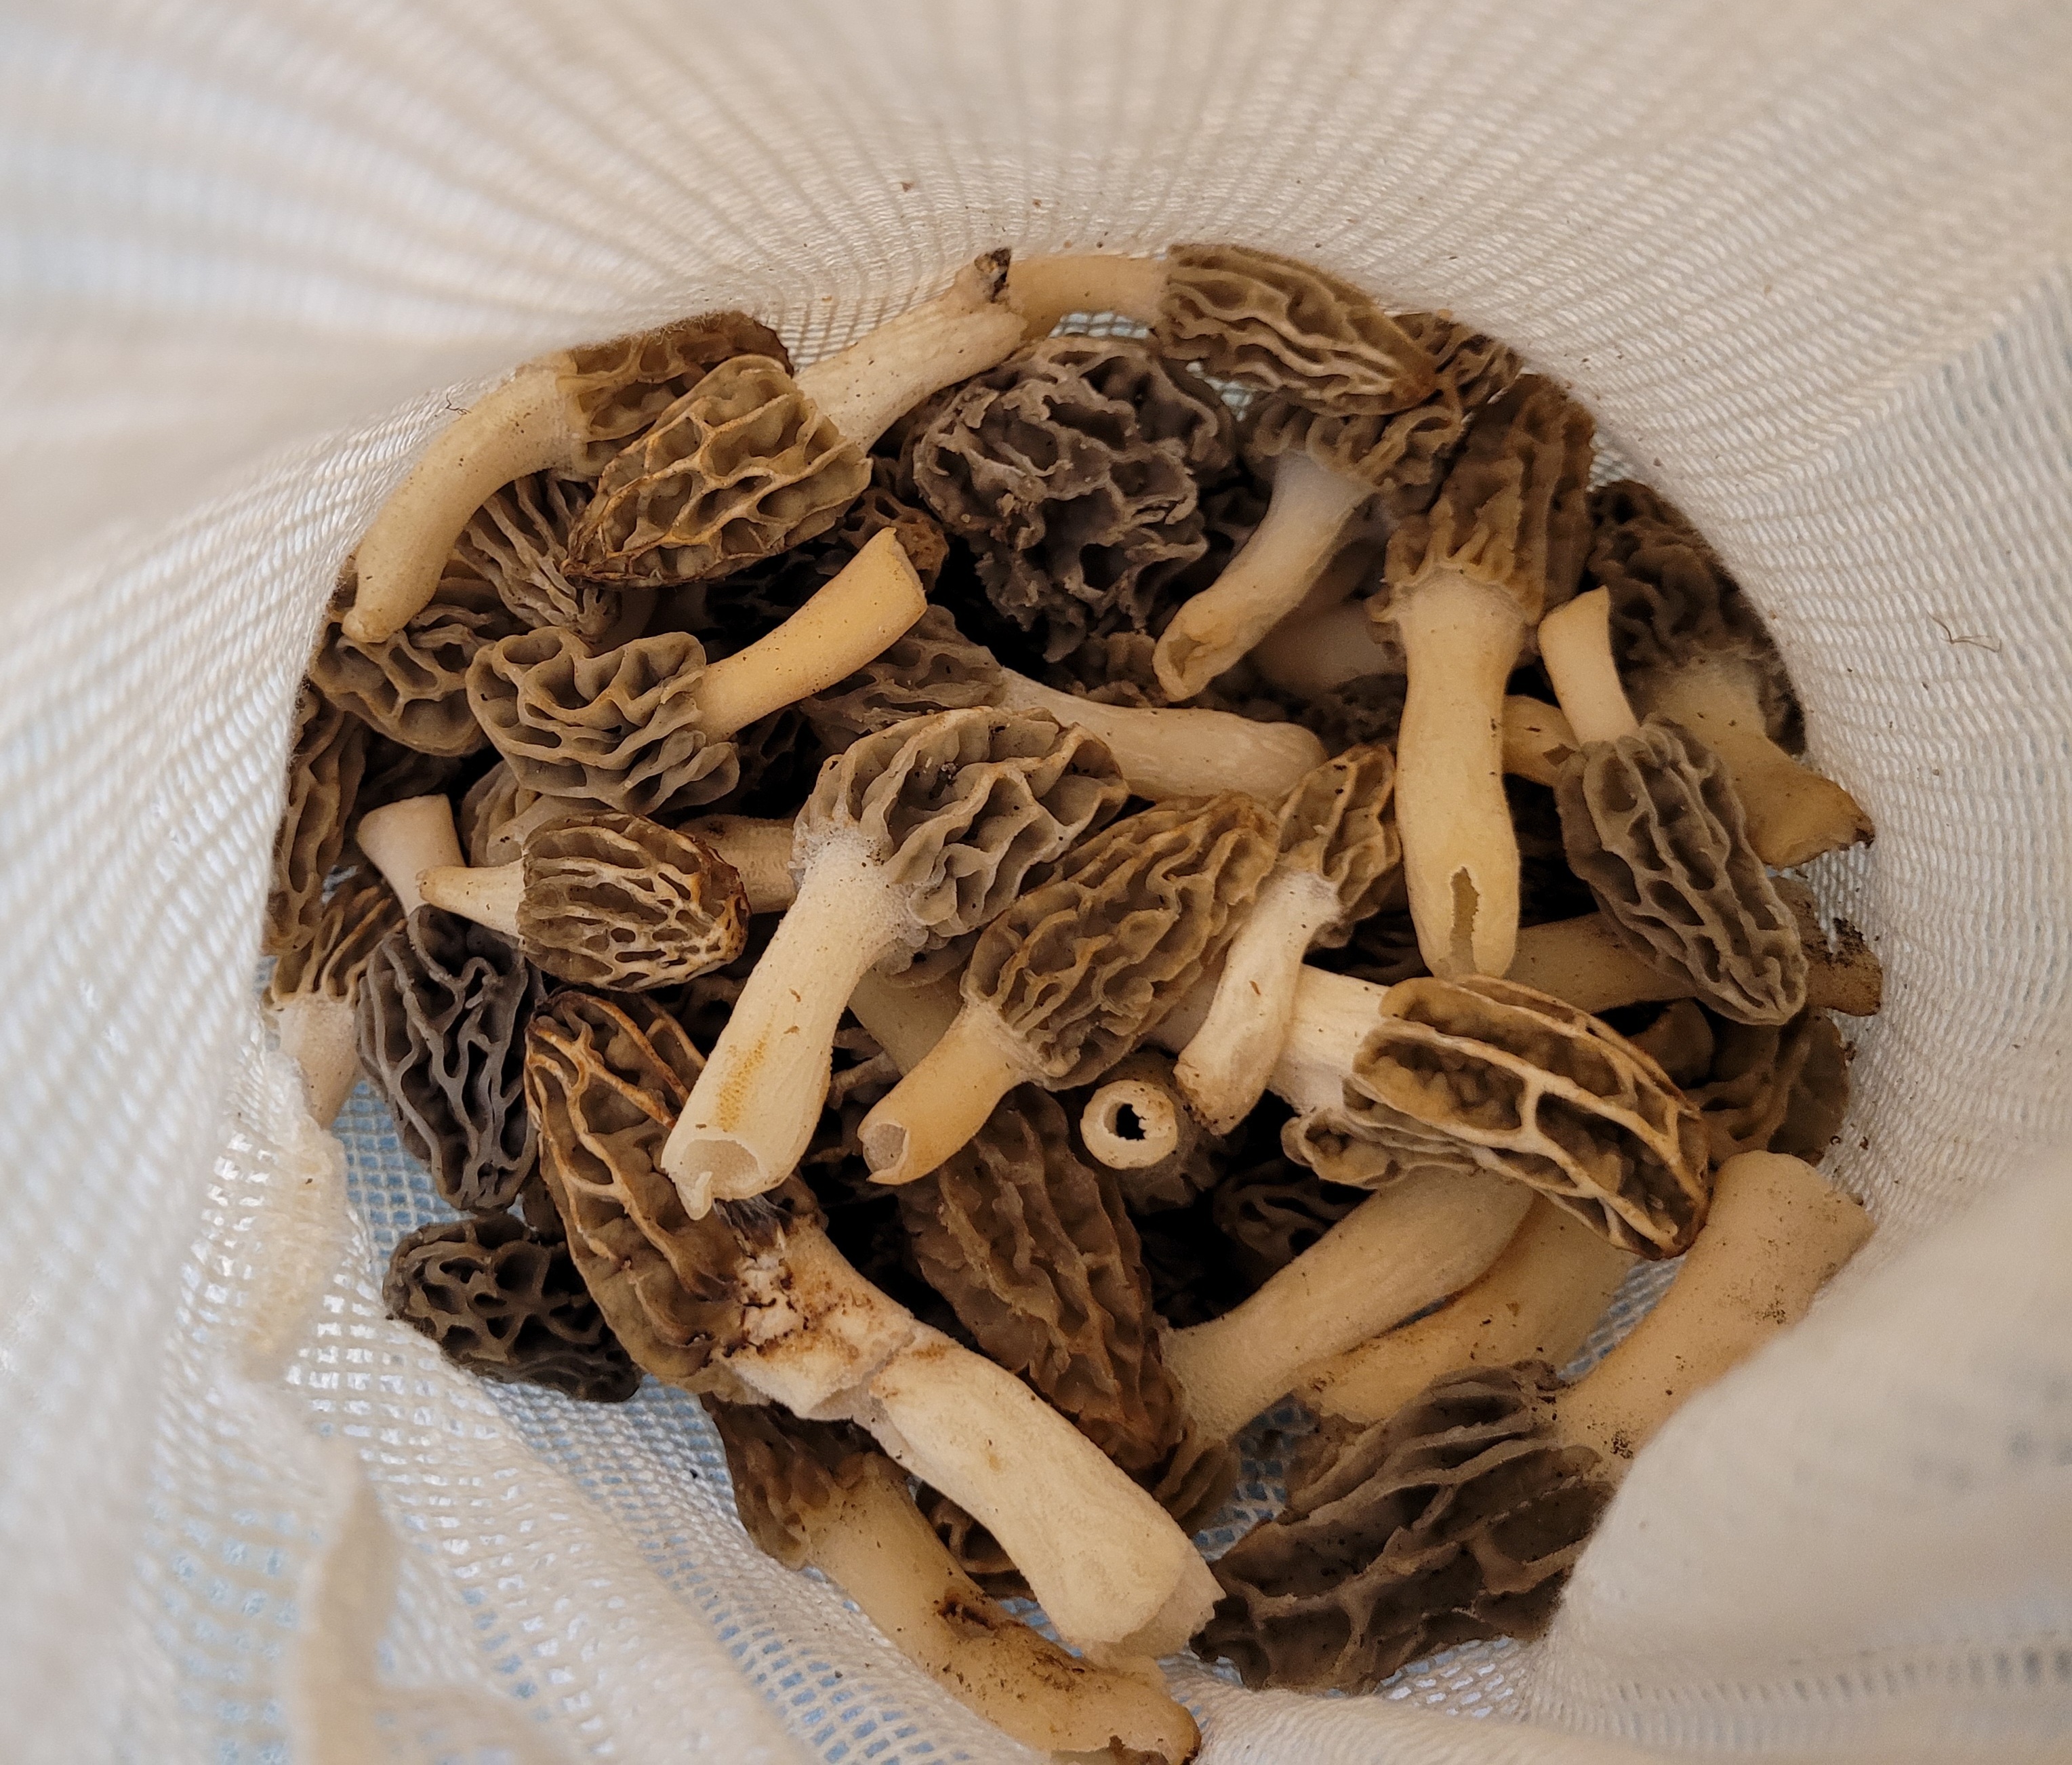
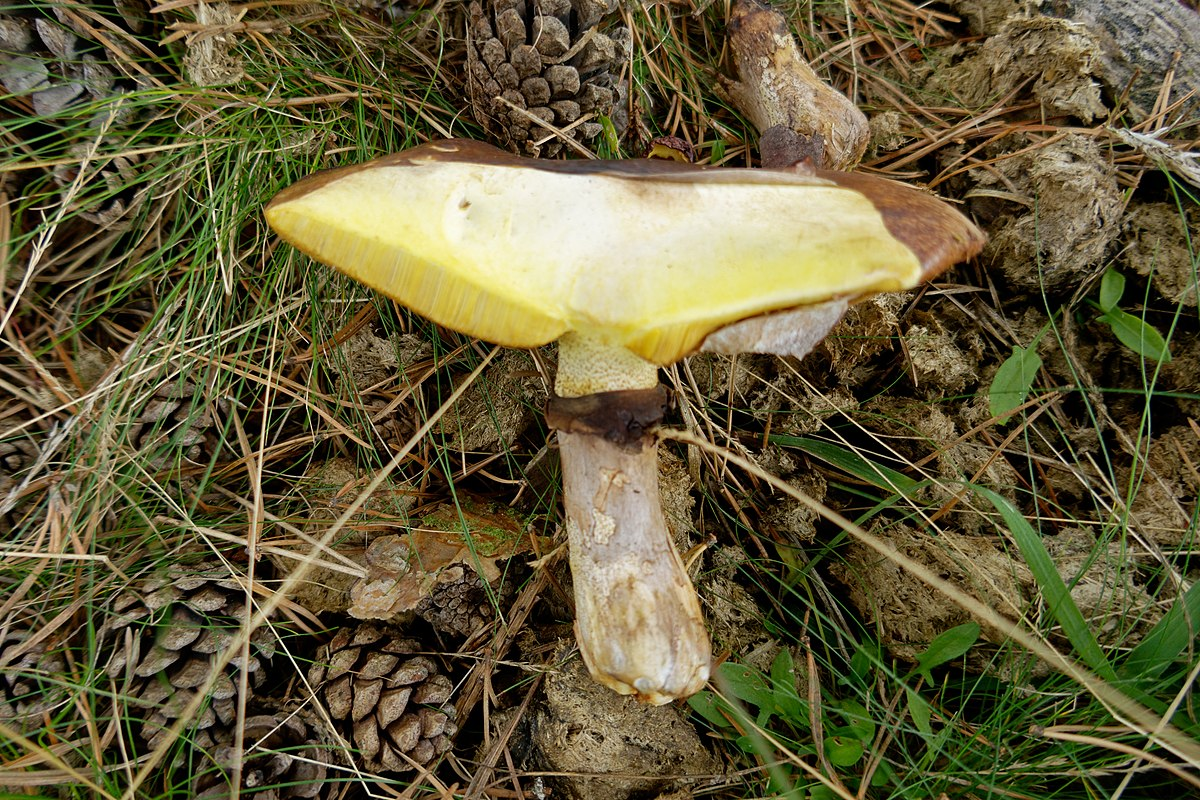
Early autumn loot is really getting started where I live. Chantarelles have been abundant for weeks now and these guys are just now starting to surface, about three weeks earlier than last year. And looking at how much small ones there were, it's going to be an epic year for mushroom drying. This truly is the poor mans truffle.

8
Chicken of the woods successful harvest demonstrates the viability of sous vide tek for medium pasteurization 

9
Chicken of the woods successful harvest demonstrates the viability of sous vide tek for medium pasteurization
10
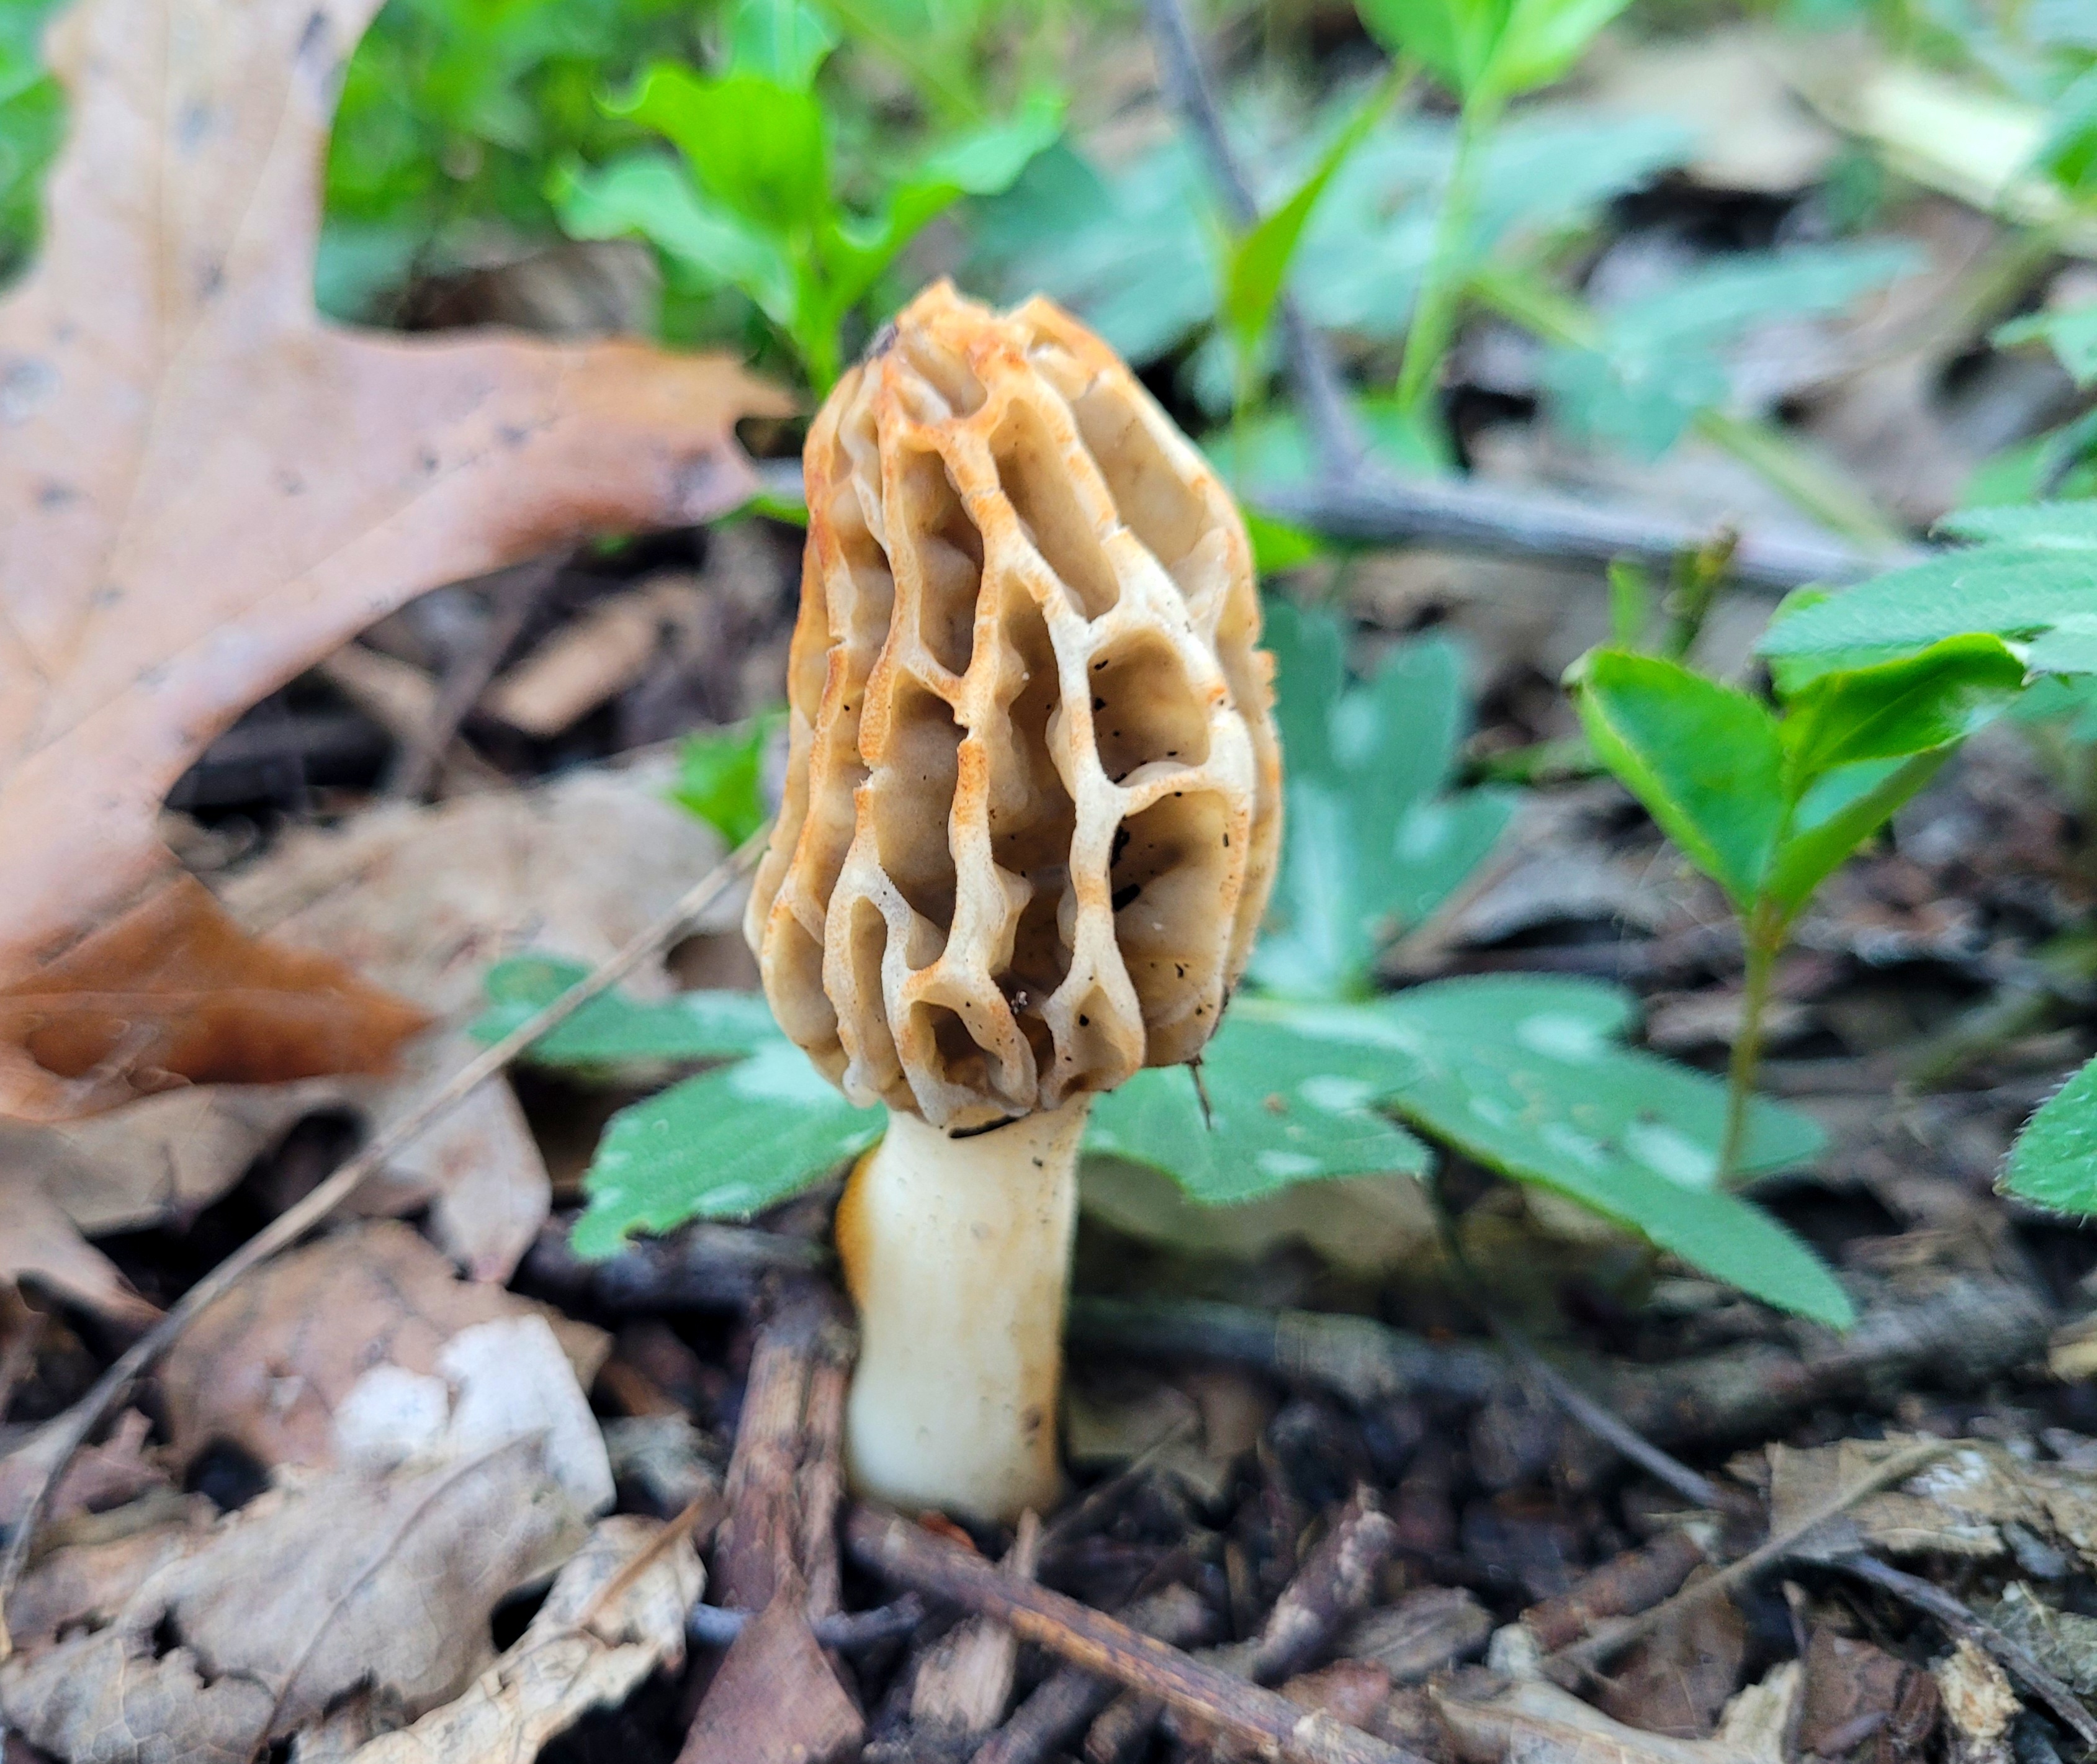
My fourth year searching for them and i finally found a place! Few hundred feet off the trail and there it was among the mayapple and waterleaf, i could hardly believe it. Tree ID is HARD and i don't have any tips on that front but i don't think there were any elms around because the (lack of) canopy in the area didn't show any sign of flowers/buds. Ended up with 9 ounces and i left some tiny ones behind that still seemed healthy enough to keep growing.
Shout out to the curious deer that patiently led me right to the spot.
11

13
14
found this image randomly and thought it would be appreciated here

15
2
16
Old and CRUSRY and HOME TO MQNY INSECTS! this is a proletarian mushroom. Truly.

17
1
Morgellons! It's got Morgellons! (bleeding mycena being parasitized by bonnet mold- SPOOKY!)
(hexbear.net)
Mycena haematopus and Spinellus fusiger. i should get a real camera


19
Took about four or five months with just a tiny amount of mail order spawn and no real effort. May not be as tasty as some of the hardwood types (will know soon enough) but they are fucking huge. Gonna keep adding to the bed and move some of the spawn around till they’re growing all over my garden.

20
Been getting a lot of mushrooms in the backyard lately. I'm no mycologist, but I still find these little dudes fascinating.

21
2’ section of clean maple from a log drop, roughly 8” or so in diameter. inoculated last winter with totem method. Overwinter inoculation in the garage was a good move, I had a fully inoculated log in the spring letting me start a full 3 months earlier. Probably wouldn’t have gotten a harvest this year otherwise.
You can see these all came out of the spawn so I’m hoping to get some from the log itself next year. Time will tell.
Biggest ball is 4” or so across.
Very hype for these as I have never tasted them before. They’re supposed to be delicious and are suuuuper expensive at the store (30-40 usd a pound)

22
1
But think of the spores 

23
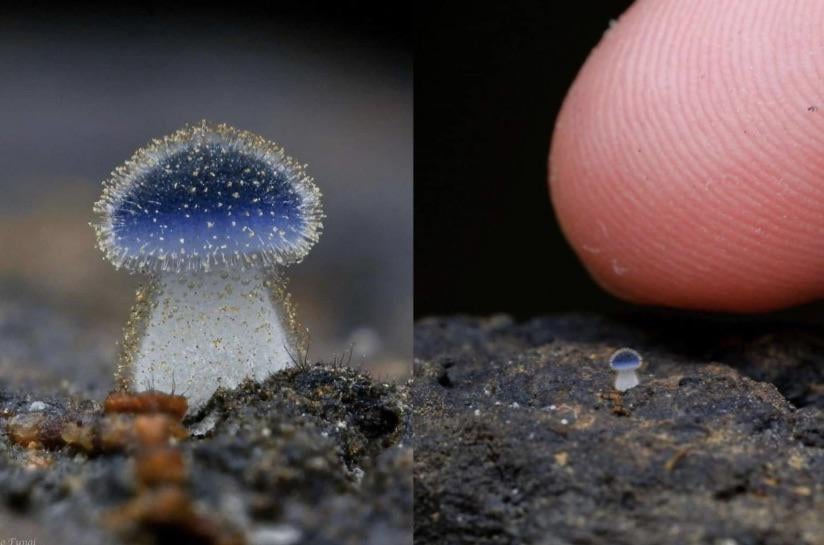
Seen this on so I know nothing about it. I just thought of you fungi nerds when I seen it.

Is apparently called mycena subcyanocephala .
24
25
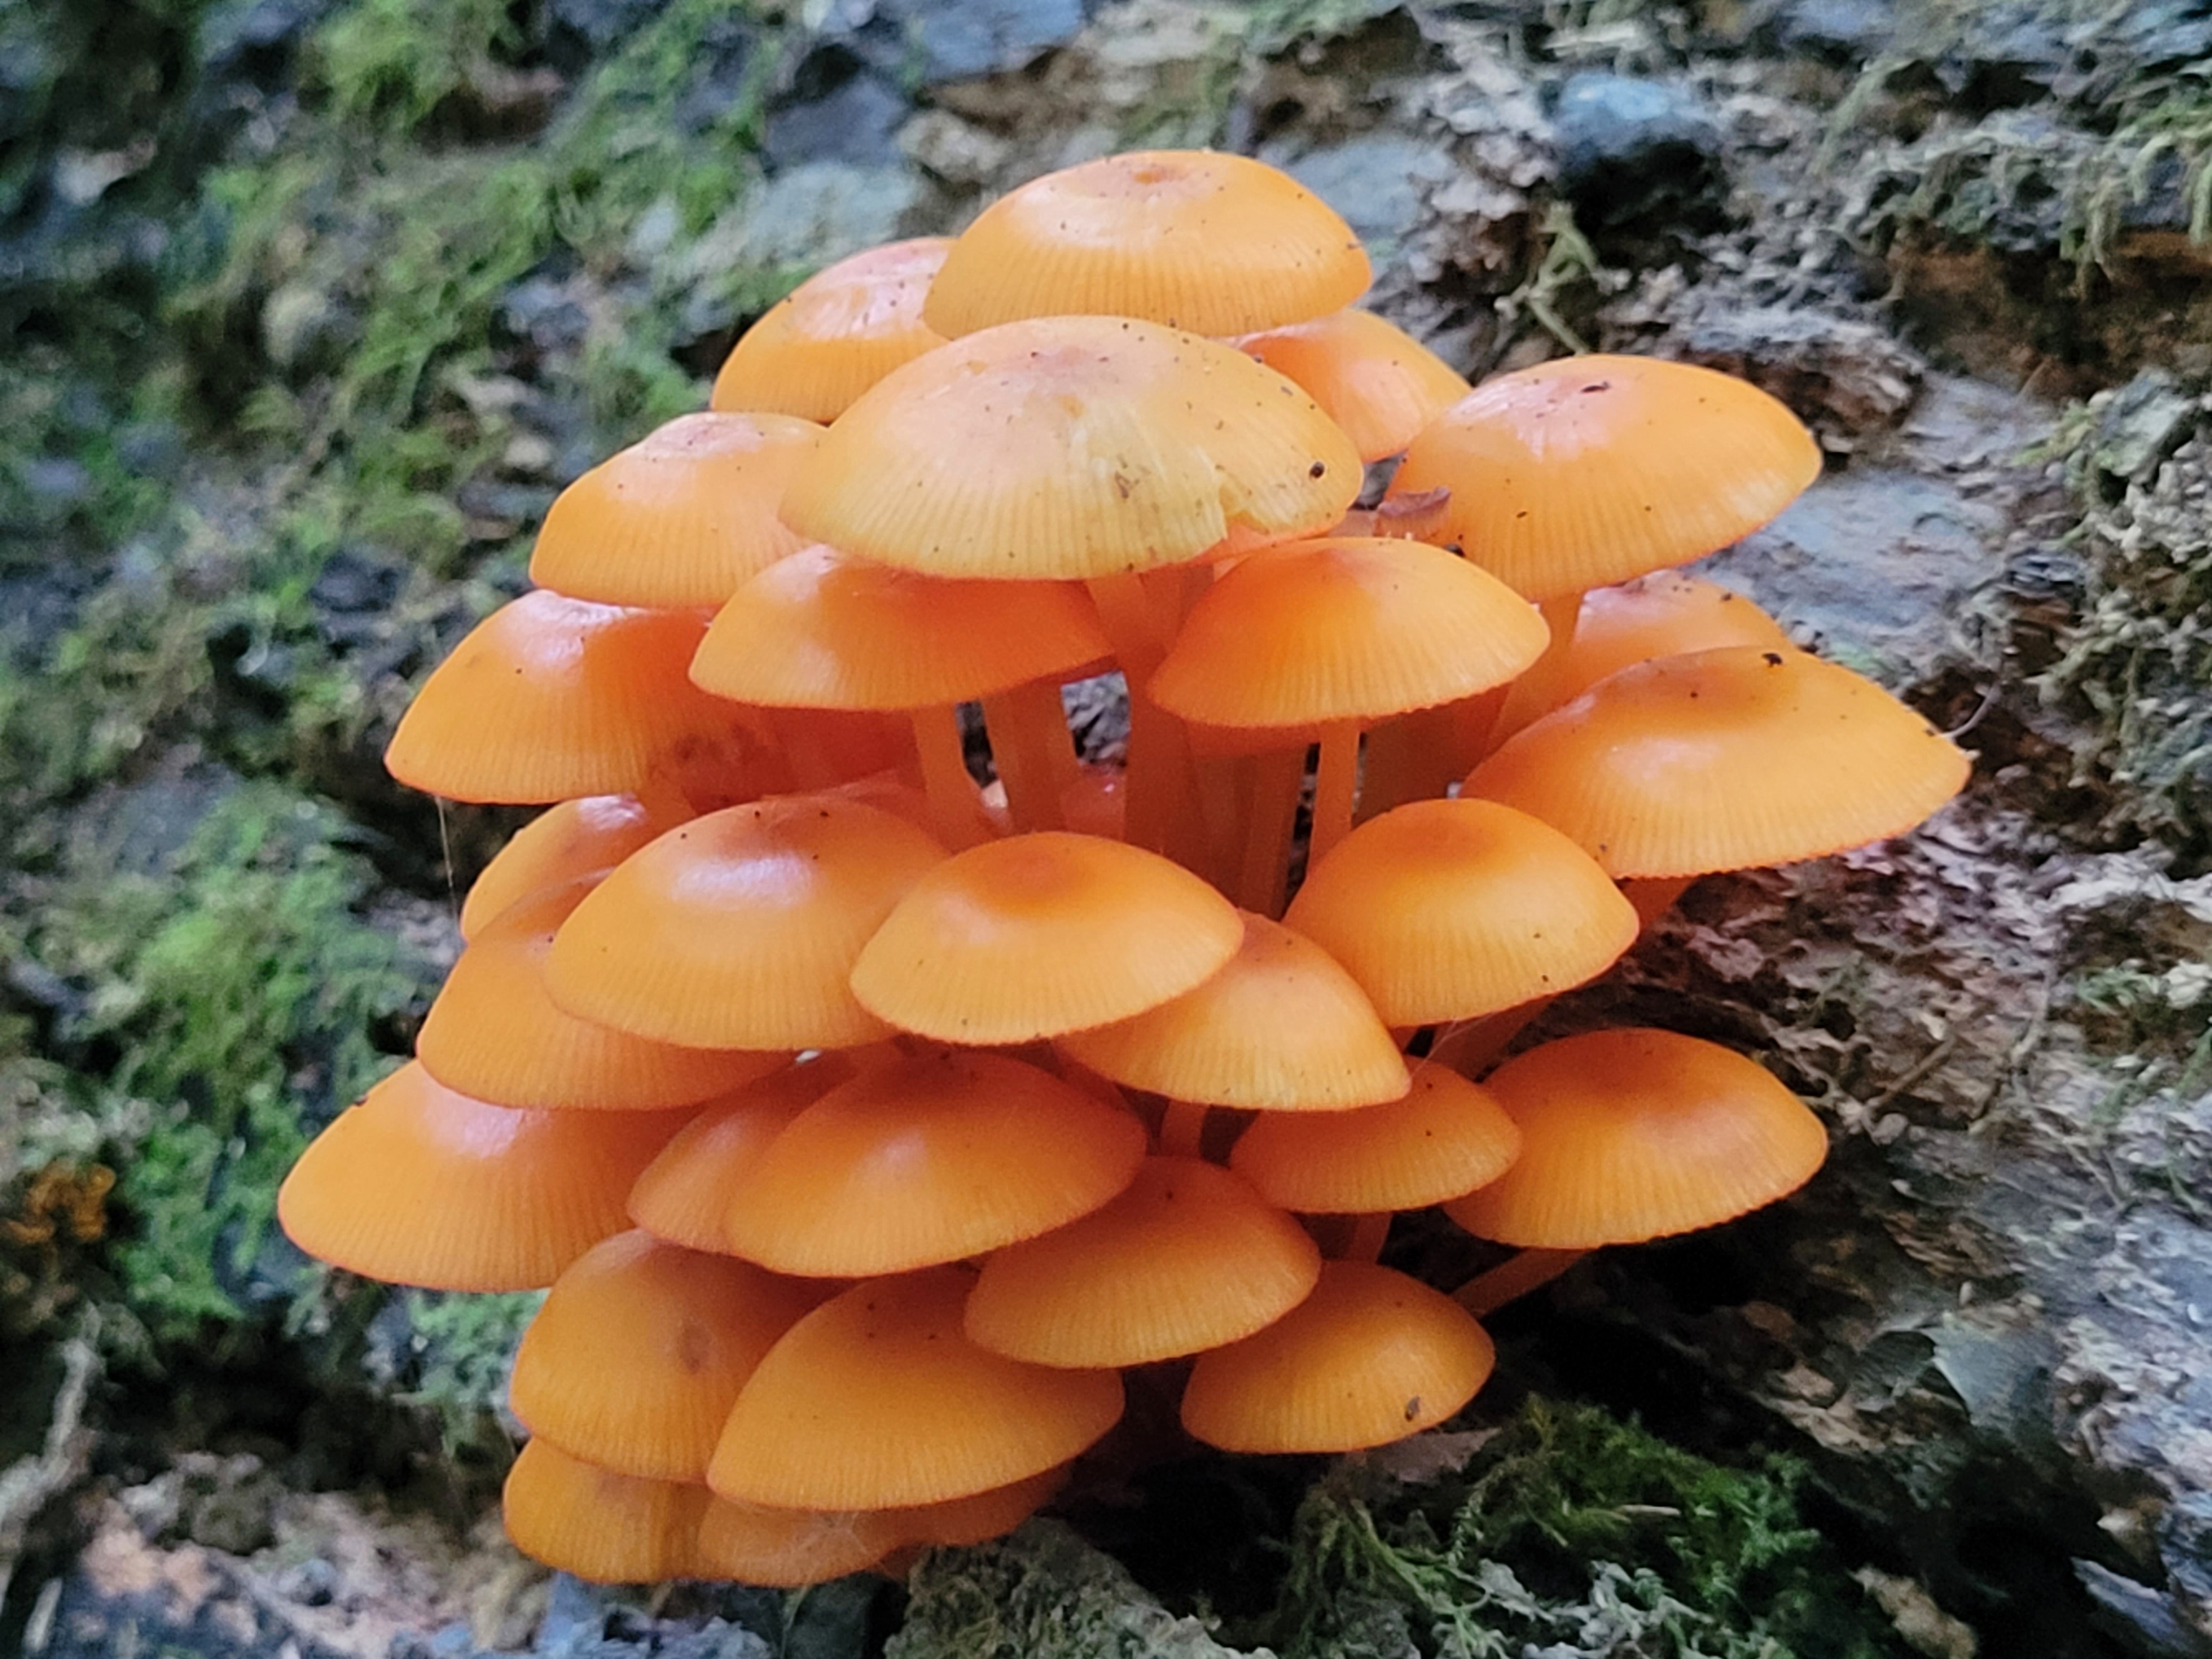
Mycena leaiana. There were honey mushrooms everywhere too but they were too old to eat
view more: next ›